My laundry closet is 32 inches wide. I know this because I measured it four times before buying a washer, convinced I had gotten it wrong. I had not – that is just what you get in a lot of houses built between 1985 and 2010, when laundry rooms were treated as an afterthought wedged between the garage and the kitchen. If you are reading this, you probably have a similar situation: a space that technically fits a washer and dryer and absolutely nothing else, and a growing pile of laundry that needs somewhere to go besides the floor.
The good news is that small laundry spaces are actually easier to make work well than big ones, because you do not have as many decisions to make. You are not choosing between six different zones. You are optimizing one 6-by-8-foot box, or one closet, or one hallway nook, and every inch has to earn its place. I have pulled together the ideas that actually move the needle – not the ones that look nice in a magazine spread but fall apart the first time you are trying to fold sheets at 7am before work. Let us get into it.
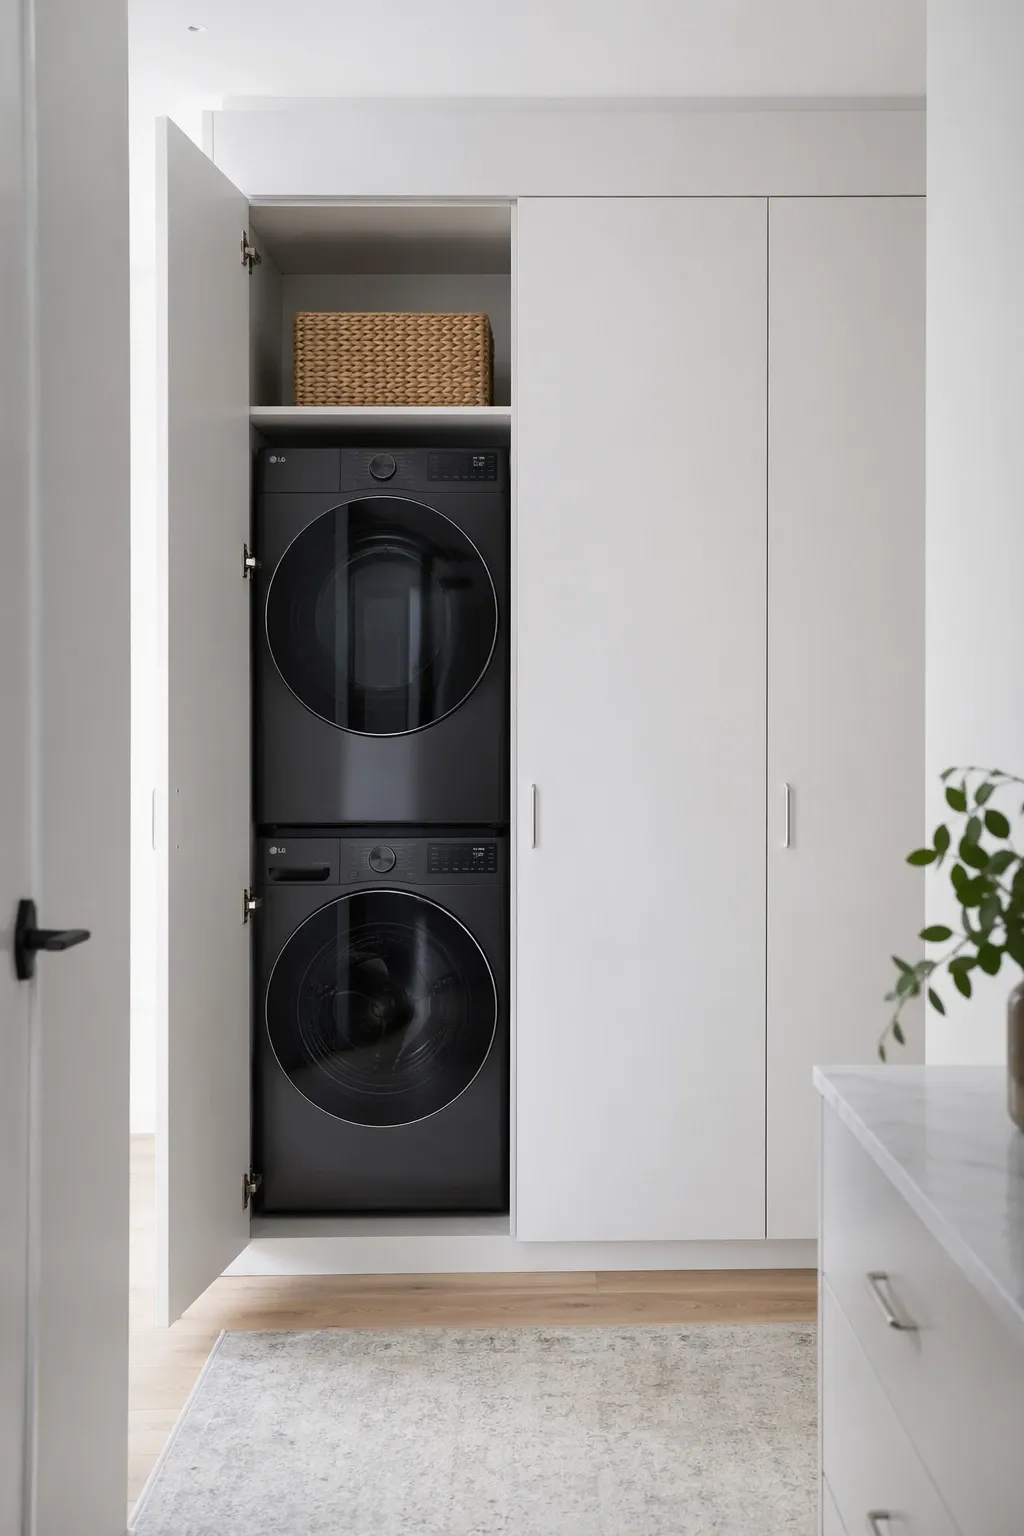
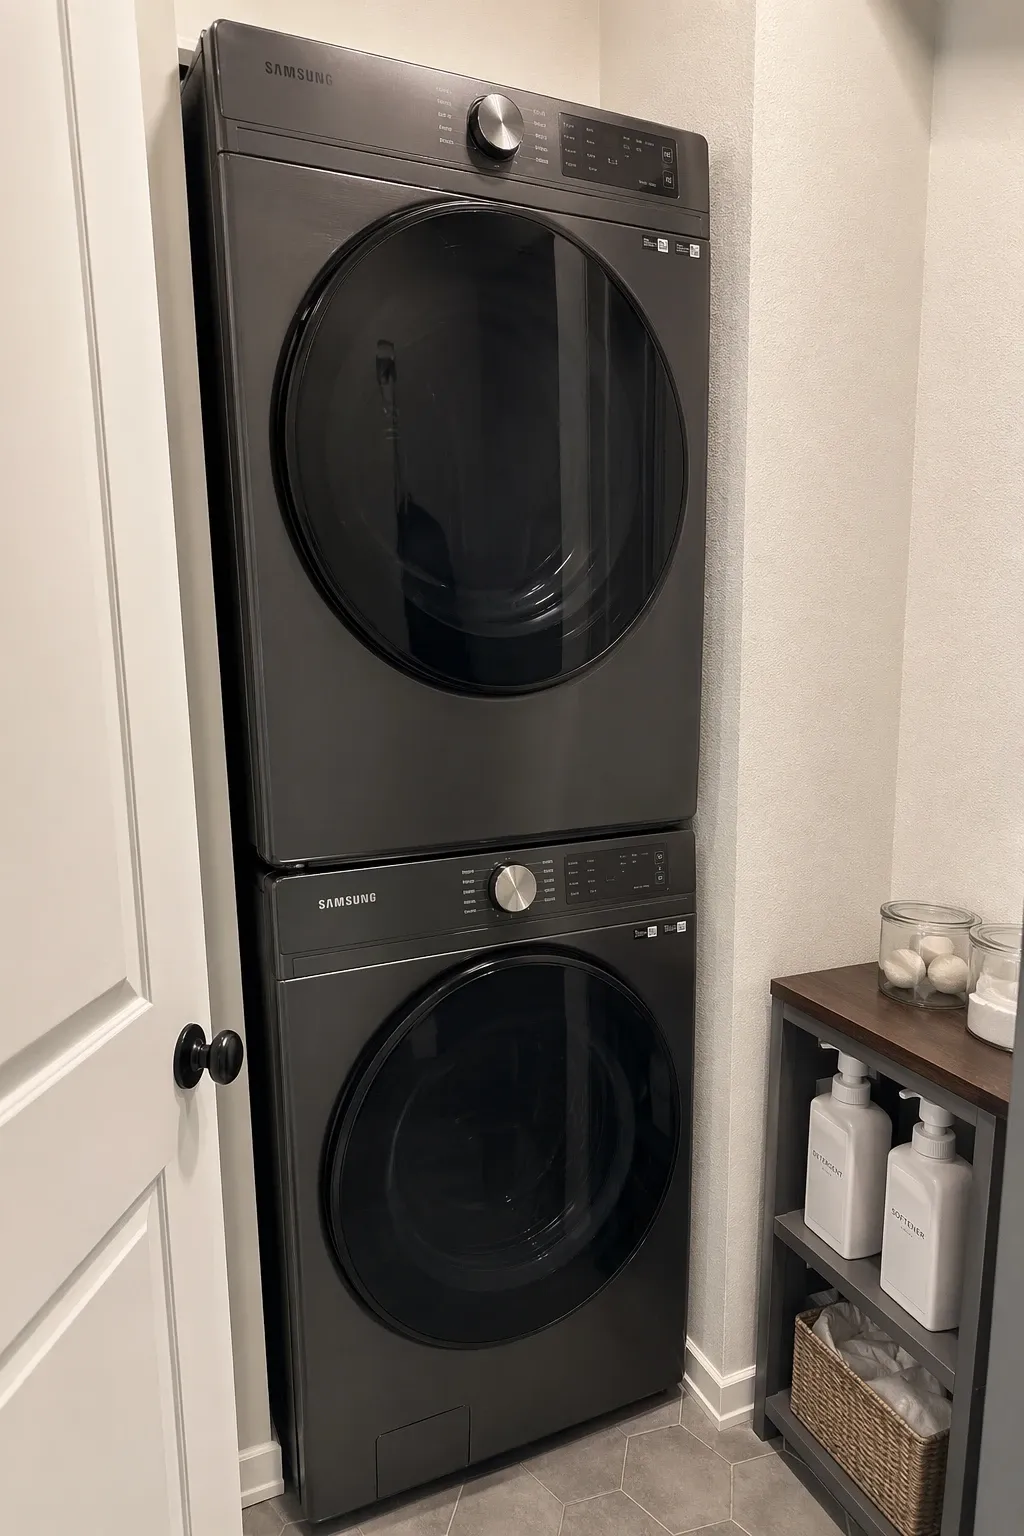
If your washer and dryer are currently side by side and your room is under 60 inches wide, stop and ask yourself why. Stacking is the single biggest space-reclaiming move you can make in a small laundry room, full stop. A standard stacked unit takes up roughly 27 to 33 inches of width depending on the brand, versus the 54-60 inches you need for side-by-side. That is an entire extra 2-3 feet you get back for shelving, a counter, or just room to not bang your elbow on the dryer door every time you are loading it.
Most front-load washers today are stackable with the manufacturer official kit – LG, Samsung, Whirlpool, and GE all make ones that run $80-150. Do not try to eyeball a universal stacking kit or, worse, just set the dryer on top without one. The kit is not decorative; it is what keeps the dryer from walking during the spin cycle and cracking the washer control panel underneath it, which is a repair bill nobody budgets for.
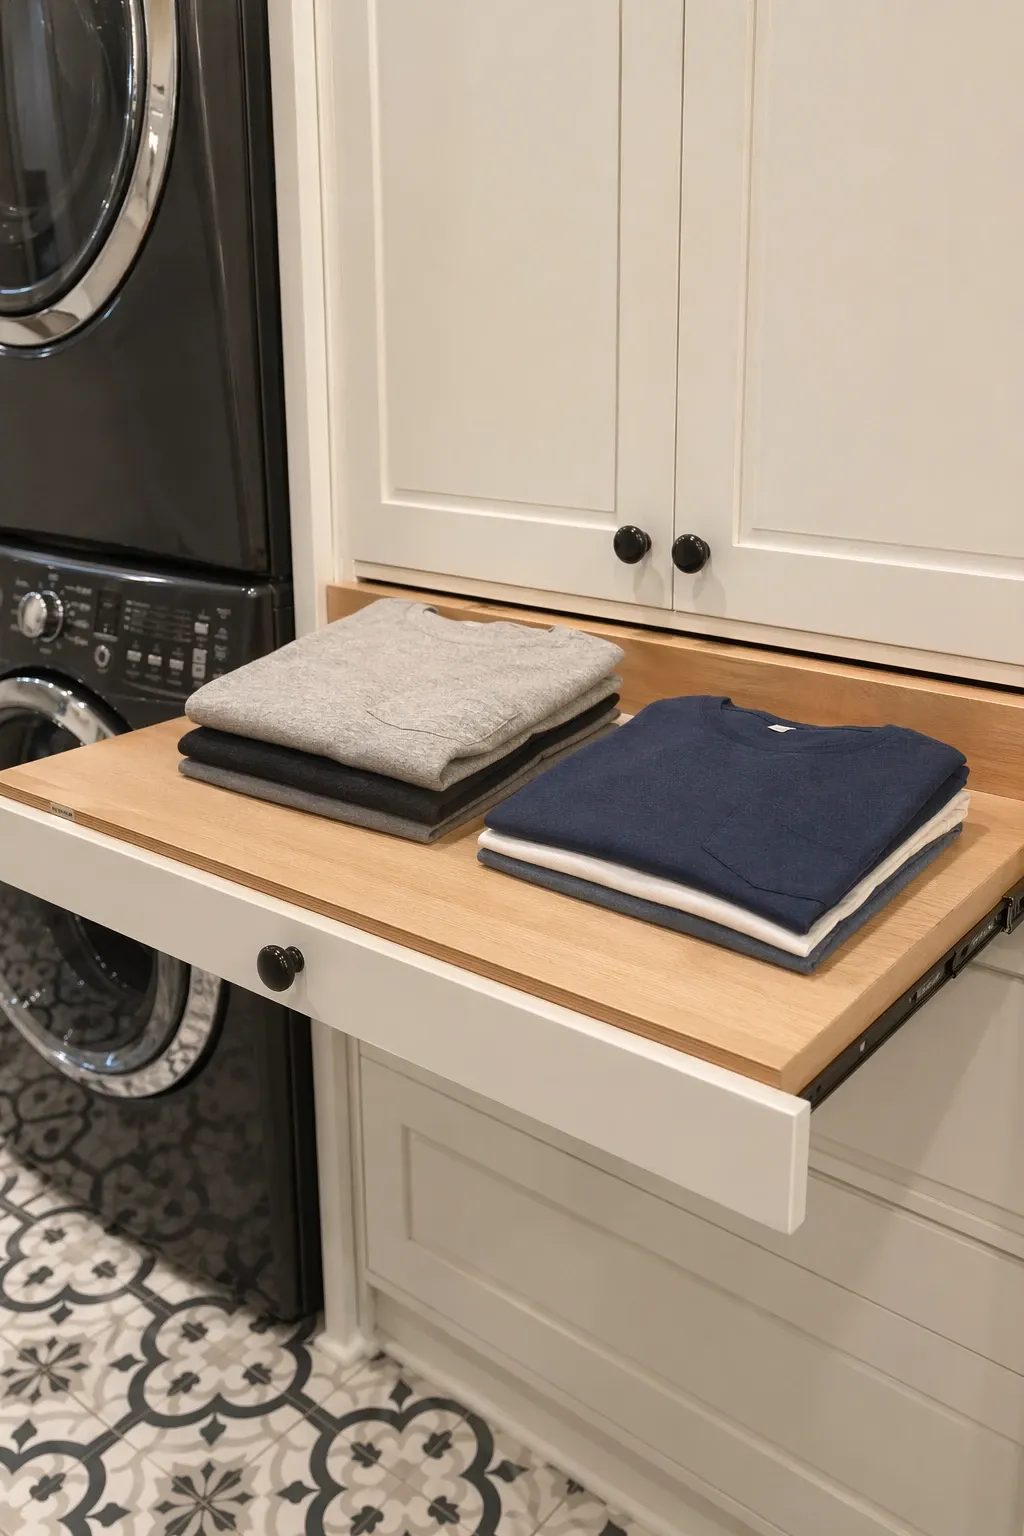
The catch: stacked units mean you lose the flat surface on top of the washer that a lot of people use for folding or as a catch-all. You will need to build that surface back in somewhere else, whether it is a fold-down shelf on the wall or a small table nearby. Also check your ceiling height before you commit – stacked units typically need at least 74-76 inches of clearance, and older homes with lower basement ceilings sometimes do not have it.
Designer Tip: Before buying, measure your door opening, not just the room. A washer is usually 27-28 inches wide and needs about a 30-inch doorway to clear comfortably with a hand truck.
2. Consider a Combo Washer-Dryer If You Are Truly Squeezed
For rooms under 24 inches wide – think coat closets, under-stair nooks – even a stacked unit will not fit. This is where a ventless combo washer-dryer earns its keep. Brands like LG, Samsung, and GE now make units that wash and dry in the same drum, no venting required, in a single appliance about 24 inches wide and deep.
The tradeoff is real and worth knowing before you buy: combo units run a full wash-and-dry cycle in 3-5 hours instead of the roughly 90 minutes you would spend running a washer and dryer separately. They also top out around 15-20 lbs of capacity, which is fine for one or two people but rough if you are doing towels and bedding for a family of four. I would only recommend this route if your alternative is literally no in-unit laundry at all – it beats hauling everything to a laundromat, but it is not going to replace a real washer-dryer pair for high-volume households.
Cost runs $1,200-2,000, which sounds steep next to a $600 washer, but remember you are not buying two appliances or paying for ventilation work.
Designer Tip: If you go this route, run a full-size load as your very first wash to confirm the drain hose and ventless condensation system are working before you commit to unpacking everything into the space around it.
Sometimes the fix for a cramped laundry room is not clever storage – it is more room, and you can often get it by borrowing 12-18 inches from a neighboring closet. This is a genuinely common renovation move in older homes where a laundry closet backs up to a bedroom or hallway closet that is deeper than it needs to be.
This is not a DIY-weekend project. You are moving a wall, which means checking for plumbing and electrical inside it first (a $150-300 inspection from an electrician or plumber is worth it before you swing a sledgehammer), and then framing, drywall, and paint after. Budget $1,500-4,000 depending on whether you are also moving outlets or vents. But the payoff – going from a 24-inch closet to a 36-inch one – is often the difference between appliances only and appliances plus a folding counter.
Designer Tip: Get a stud finder and a cheap borescope camera (about $30 on Amazon) and drill a small inspection hole before hiring anyone. It will save you from paying for a consultation on a wall that turns out to have a return air duct running through it.
4. Swap a Traditional Door for a Pocket or Bifold Door
A standard swinging door needs about 3 feet of clearance to open, and in a laundry room that is often 3 feet you do not have. If your appliances are stacked or side-loading and space is at a premium, switching to a bifold door (like the kind used on coat closets) or a sliding pocket door gets you that clearance back entirely.
Bifold doors run $60-150 for a basic louvered set and are a genuinely doable weekend project – you are mostly just swapping the door and adjusting the track. A pocket door is a bigger job, usually $500-1,500 installed, because it requires opening the wall to install the pocket frame, but it looks more finished and does not have the accordion-fold look bifolds sometimes get after a few years of use.
Designer Tip: If you go bifold, spring for solid-core rather than the cheapest hollow louvered doors. The hollow ones warp within a couple years in a room with this much humidity swing.
If your small laundry room has a utility sink, check whether it is a deep basin model that eats floor space you could reclaim. A lot of older utility sinks are 24 inches deep because they were designed for hand-washing large items. Swapping to a slimmer, wall-mounted utility sink (like the Utilatub 15-gallon slim models, around $150-250) can save you 6-10 inches of depth without losing basin capacity you would actually use.
If you do not need a utility sink at all – and a lot of small-space owners genuinely do not, since most stain pre-treatment now happens right at the washer – removing it entirely and capping the plumbing can free up 2-3 feet of wall space for shelving. Just budget for a plumber to cap it properly rather than doing it yourself; a laundry room floor is not where you want a slow leak going unnoticed behind a wall of shelving.
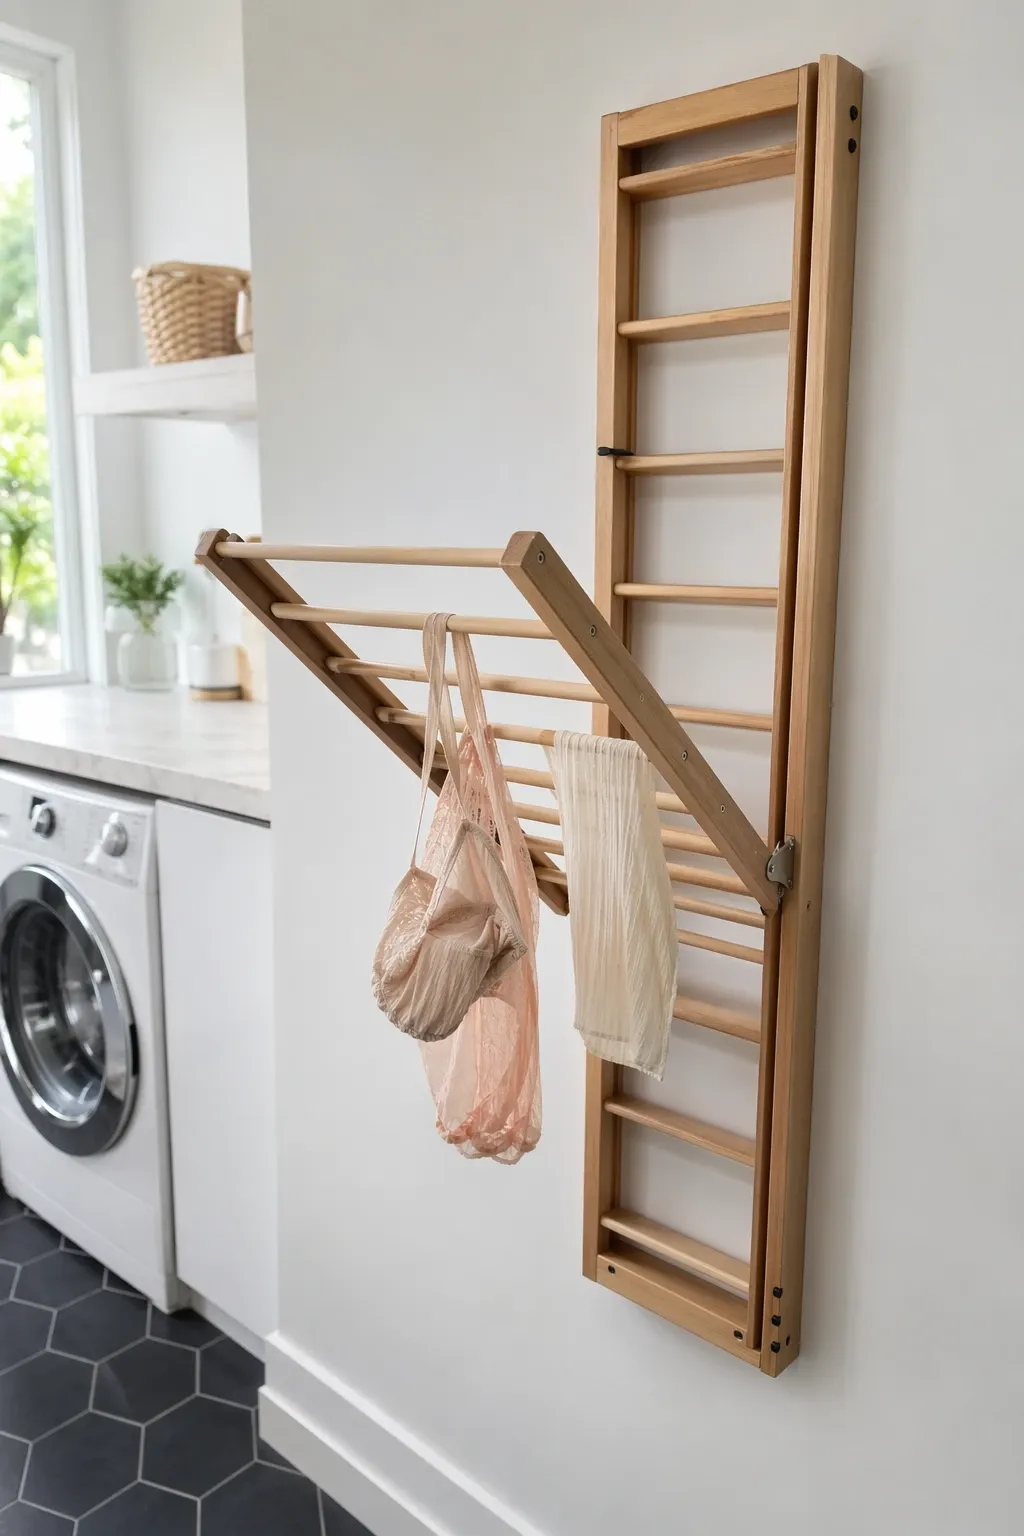
Designer Tip: If you are keeping the sink, mount a fold-down drying rack directly above it instead of buying a separate one. You get drip-drying without adding a single new footprint on the floor.
Storage That Actually Works
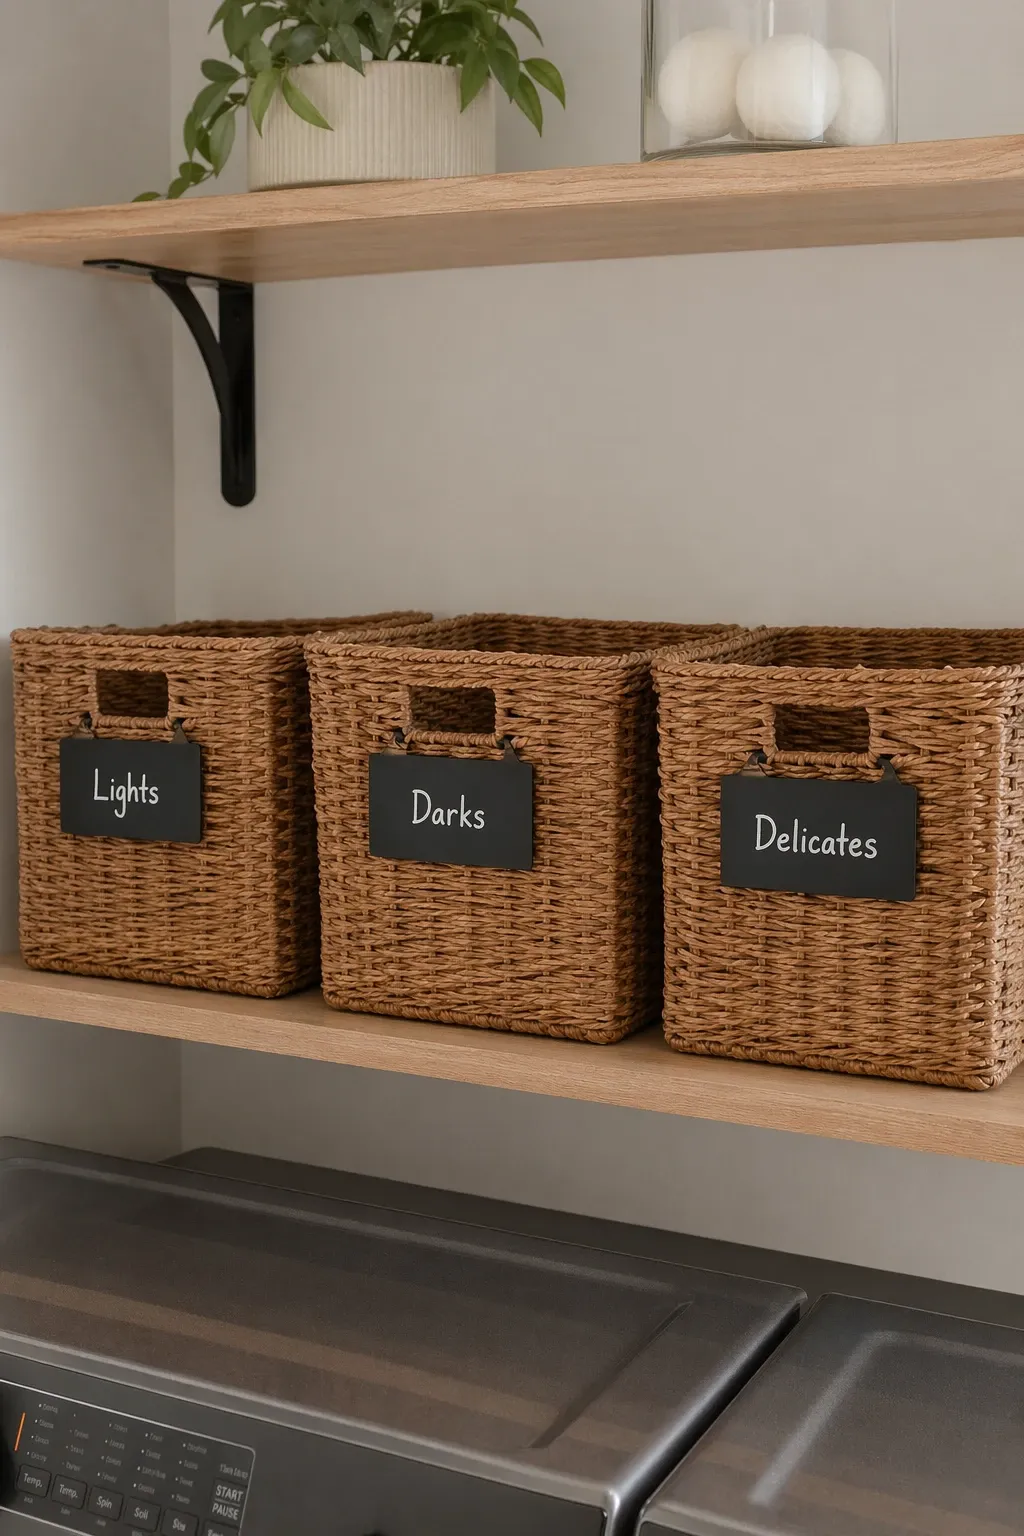
6. Install Shelving Above the Appliances, Not Just Beside Them
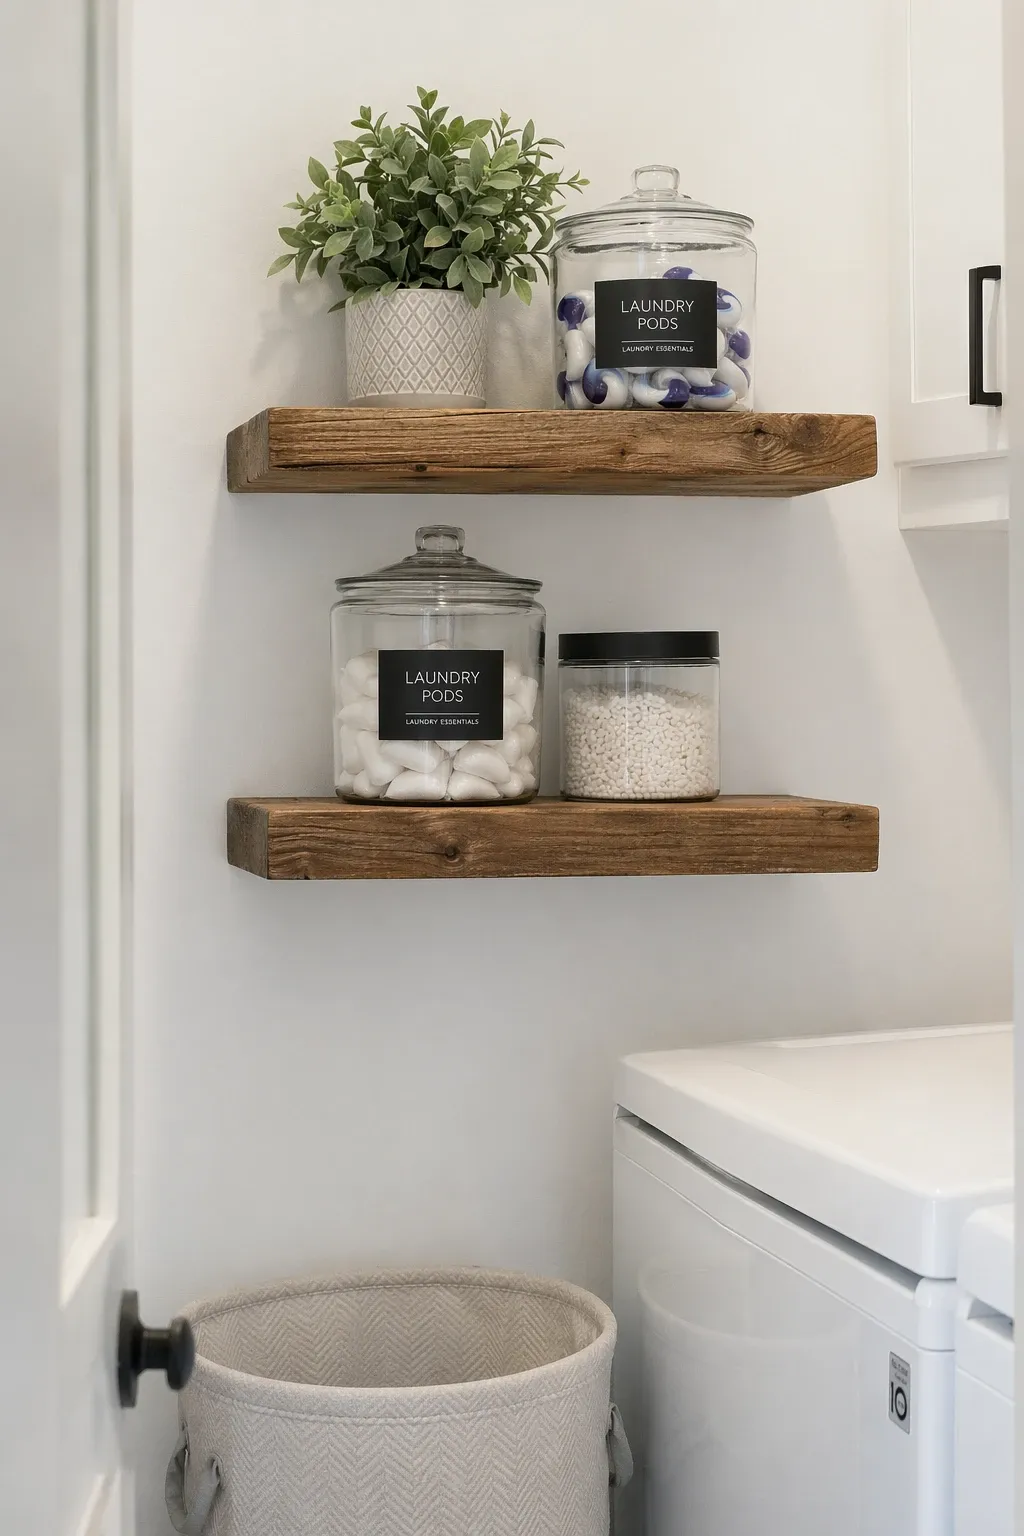
The most underused real estate in almost every small laundry room is the wall space above the washer and dryer, especially once you have stacked them. That is often a 5-6 foot vertical run of wall doing absolutely nothing. Floating shelves (IKEA LACK or MOSSLANDA lines run $15-40 each) mounted here hold detergent, dryer sheets, and baskets without taking an inch of floor space.
Go with closed cabinets instead of open shelving if you can afford it – IKEA SEKTION or ENHET lines let you build a laundry-specific upper cabinet run for $300-600, and closed doors matter more here than in almost any other room because you are hiding bottles of bleach and detergent pods from view, and from kids if that is a concern in your house.
Depth matters more than height here. Most detergent bottles and baskets need at least 12 inches of shelf depth to sit properly; anything shallower and you will be constantly knocking things off.
Designer Tip: Mount one shelf at exactly the height where you can see the contents without stretching, usually 15-18 inches above your sightline, and reserve everything above that for backstock you only grab monthly.
If you are already opening a wall for any reason – running a new outlet, fixing a vent – consider a recessed niche instead of just closing it back up. A wall cavity between studs is typically 14.5 inches wide and 3.5 inches deep, which is exactly enough room for a shallow shelf unit that holds detergent pods, stain sticks, and dryer balls without protruding into the room at all.
You can buy a prefabricated recessed medicine-cabinet-style unit (the kind meant for bathrooms, around $80-150) and repurpose it here, or have a carpenter frame one custom for about the same cost in labor. Either way, this is a genuinely free storage win because you are using space that would otherwise just be insulation and drywall.
Designer Tip: Do this project before you paint, not after. Patching and repainting around a recessed niche after the room is finished never blends as well as doing it during the original paint job.
8. Get a Rolling Cart That Fits the Gap Beside the Dryer
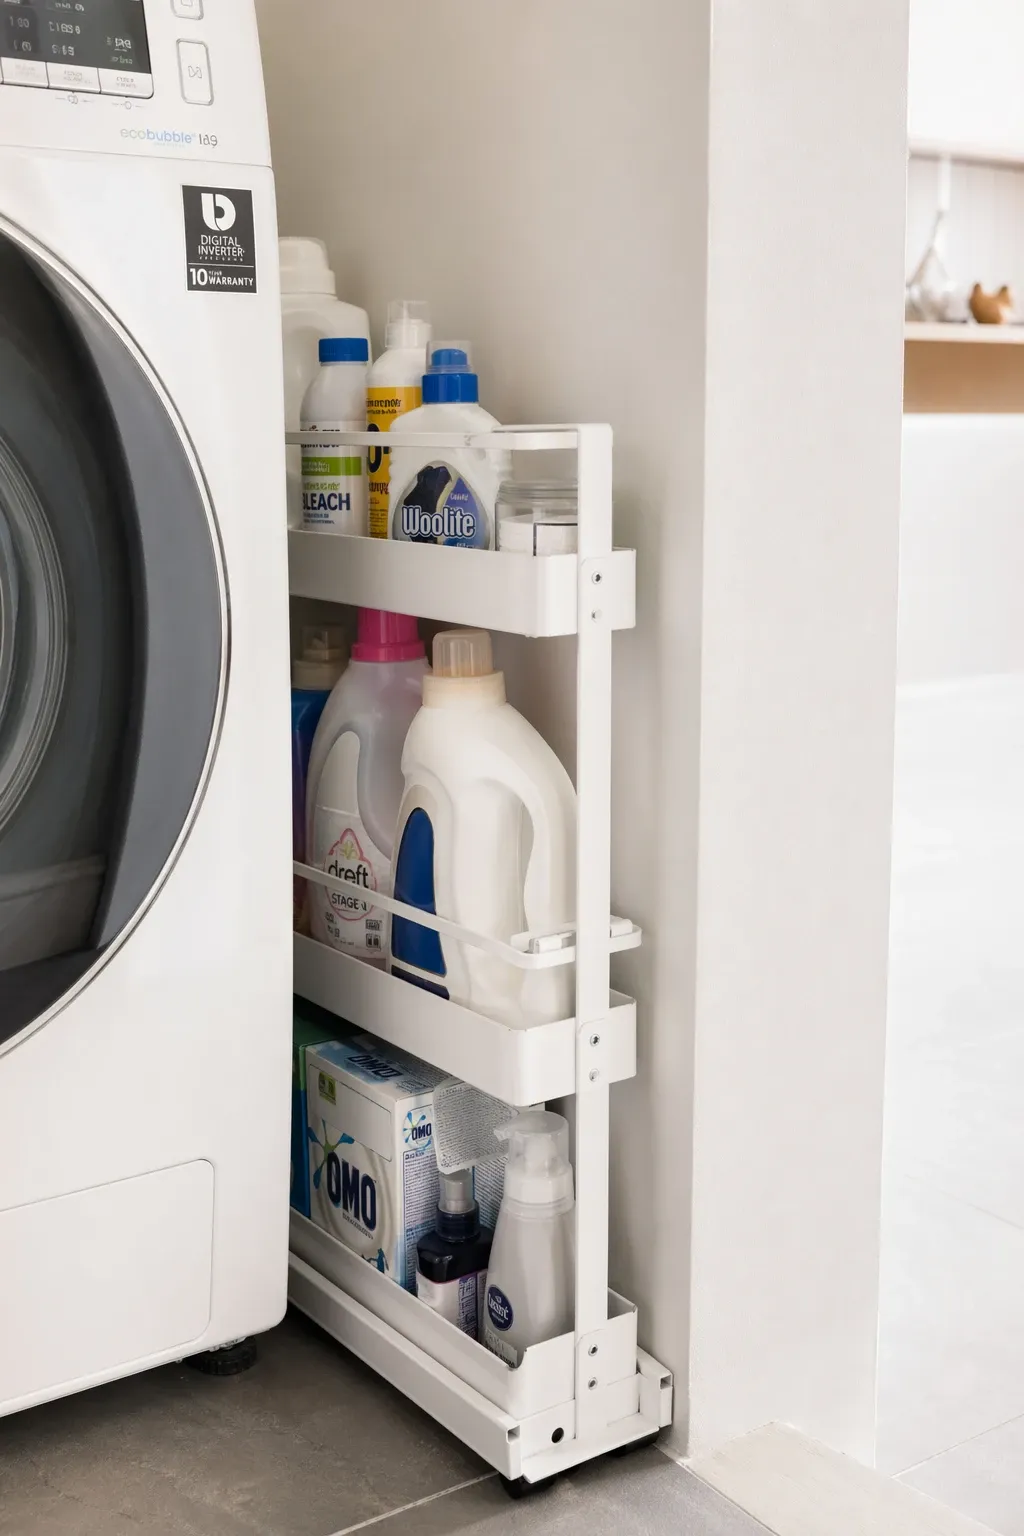
Almost every laundry room has a leftover 3-6 inch gap somewhere – beside the dryer, between the machines and the wall – that is too narrow to be useful and too wide to just ignore. A slim rolling laundry cart (the IKEA RASKOG at $40, or a narrower stainless option from The Container Store around $70-90) slots into gaps as tight as 6 inches and gives you three tiers of storage that roll out when you need them and disappear when you do not.
These are genuinely one of the best returns on investment in a small laundry room because they turn dead space into working storage without any construction. Fill the tiers with stain removers, mesh bags, and a lint roller, and you have got a mobile detailing station instead of a strip of nothing.
Designer Tip: Add a strip of adhesive-backed cork or a small magnetic panel to the side of the cart facing outward. It becomes a spot for stain-treatment reminders or a lost-sock log without needing extra wall space.
9. Hang a Pegboard Instead of Buying More Cabinets
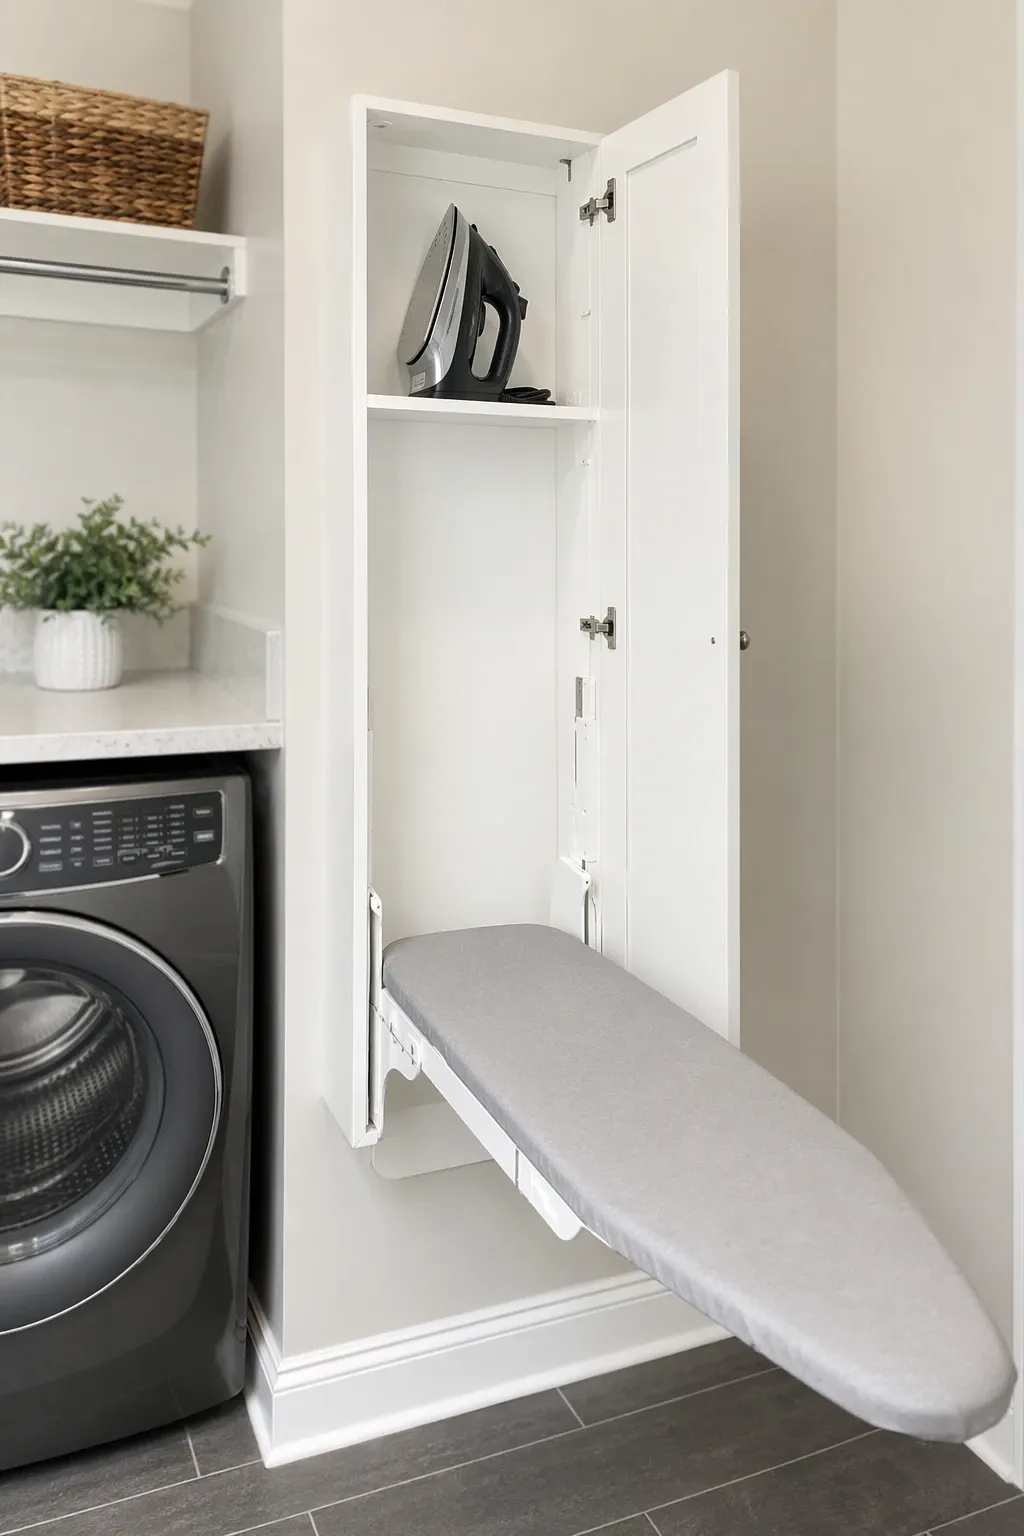
Pegboard is criminally underrated in laundry rooms. A 4×2-foot sheet from Lowe or Home Depot costs about $15-25, plus another $20 in hooks and baskets, and gives you completely reconfigurable storage for hangers, spray bottles, a broom, and an iron – all hanging vertically instead of sitting on a counter or floor.
The advantage over fixed cabinetry is flexibility. When your storage needs change, you just move the hooks. Paint it to match your wall color and it disappears into the room rather than looking like a garage leftover – Benjamin Moore Chantilly Lace or a soft Simply White work well if your walls are already a light neutral, since the pegboard holes cast small shadows that read as texture rather than clutter against a bright white.
Designer Tip: Outline tool and item silhouettes lightly in pencil behind each hook so everyone in the house knows where things go back to. It sounds fussy but it is the actual reason professional workshops do it – nobody has to think about where the lint roller lives.
10. Build a Hanging Rod Into Unused Vertical Space
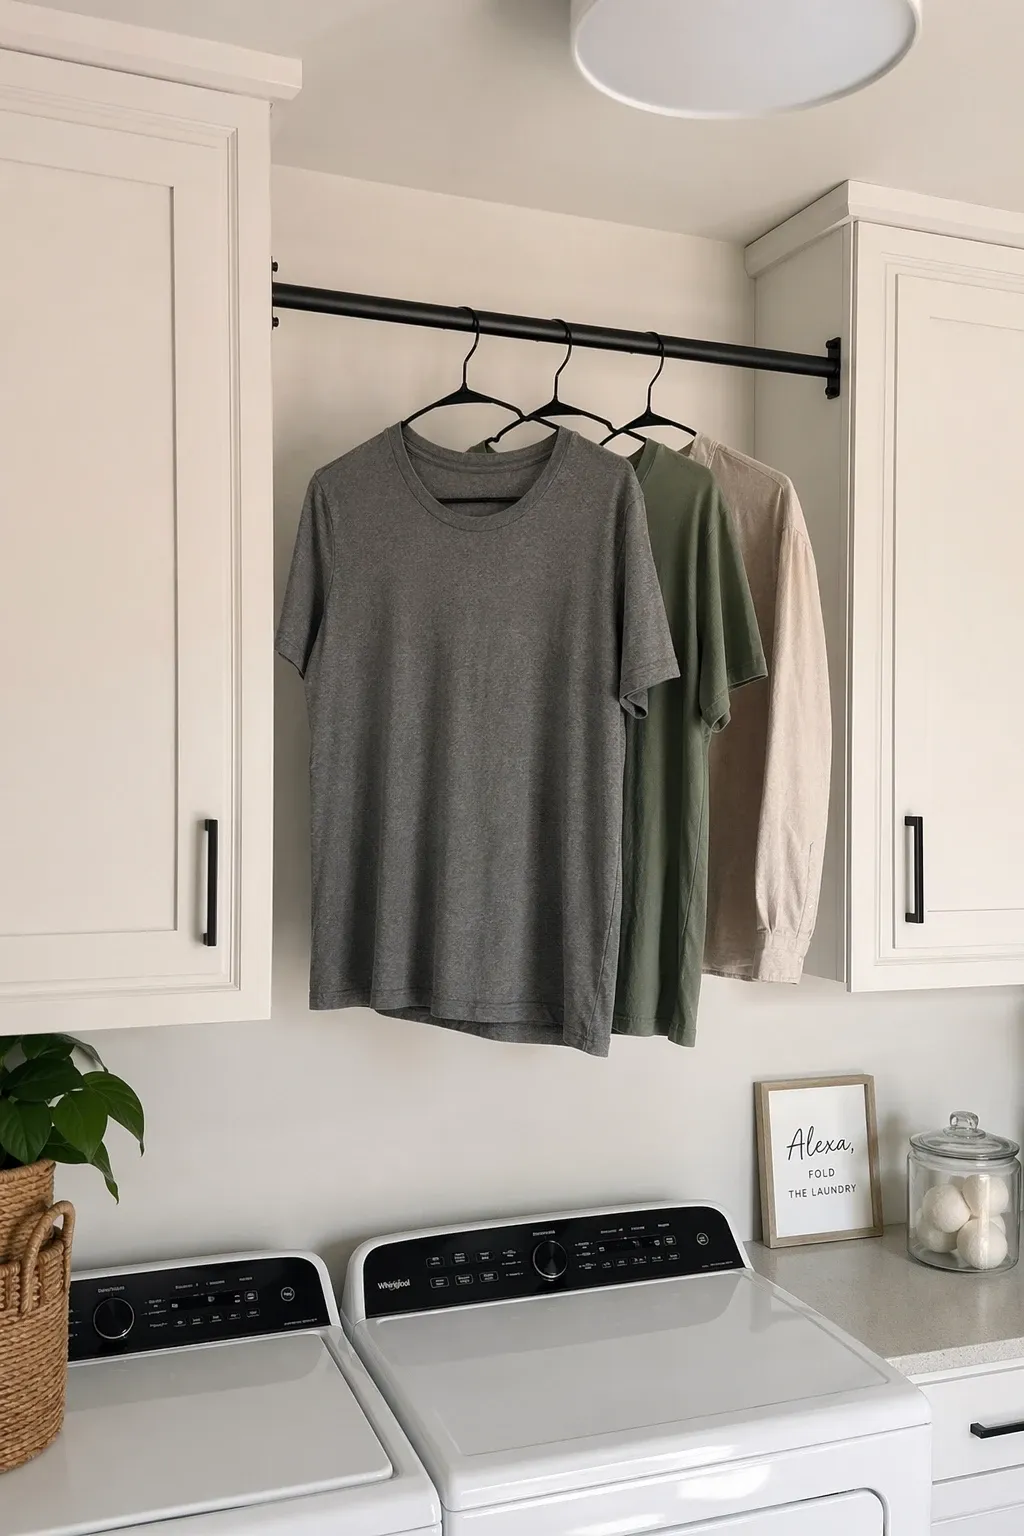
If you have got any wall space above head height that is not already claimed by shelving, a hanging rod mounted there (a basic closet rod bracket set runs $15-20) gives you somewhere to hang shirts straight out of the dryer before they wrinkle, which cuts down on ironing more than almost anything else on this list.
Mount it at 78-80 inches from the floor so it clears head height comfortably, and make sure it is at least 12 inches out from the wall so hangers do not scrape paint every time you slide something across. If you are tight on width, a retractable rod that pulls out only when needed is a smart compromise – it tucks flat against the wall the rest of the time.
Designer Tip: Put this rod directly above the dryer door swing path if you can. You want zero extra steps between clothes come out of dryer and clothes are on a hanger, because the two seconds of friction is exactly what makes people skip this step.
11. Use Door-Mounted Organizers on the Laundry Room Door
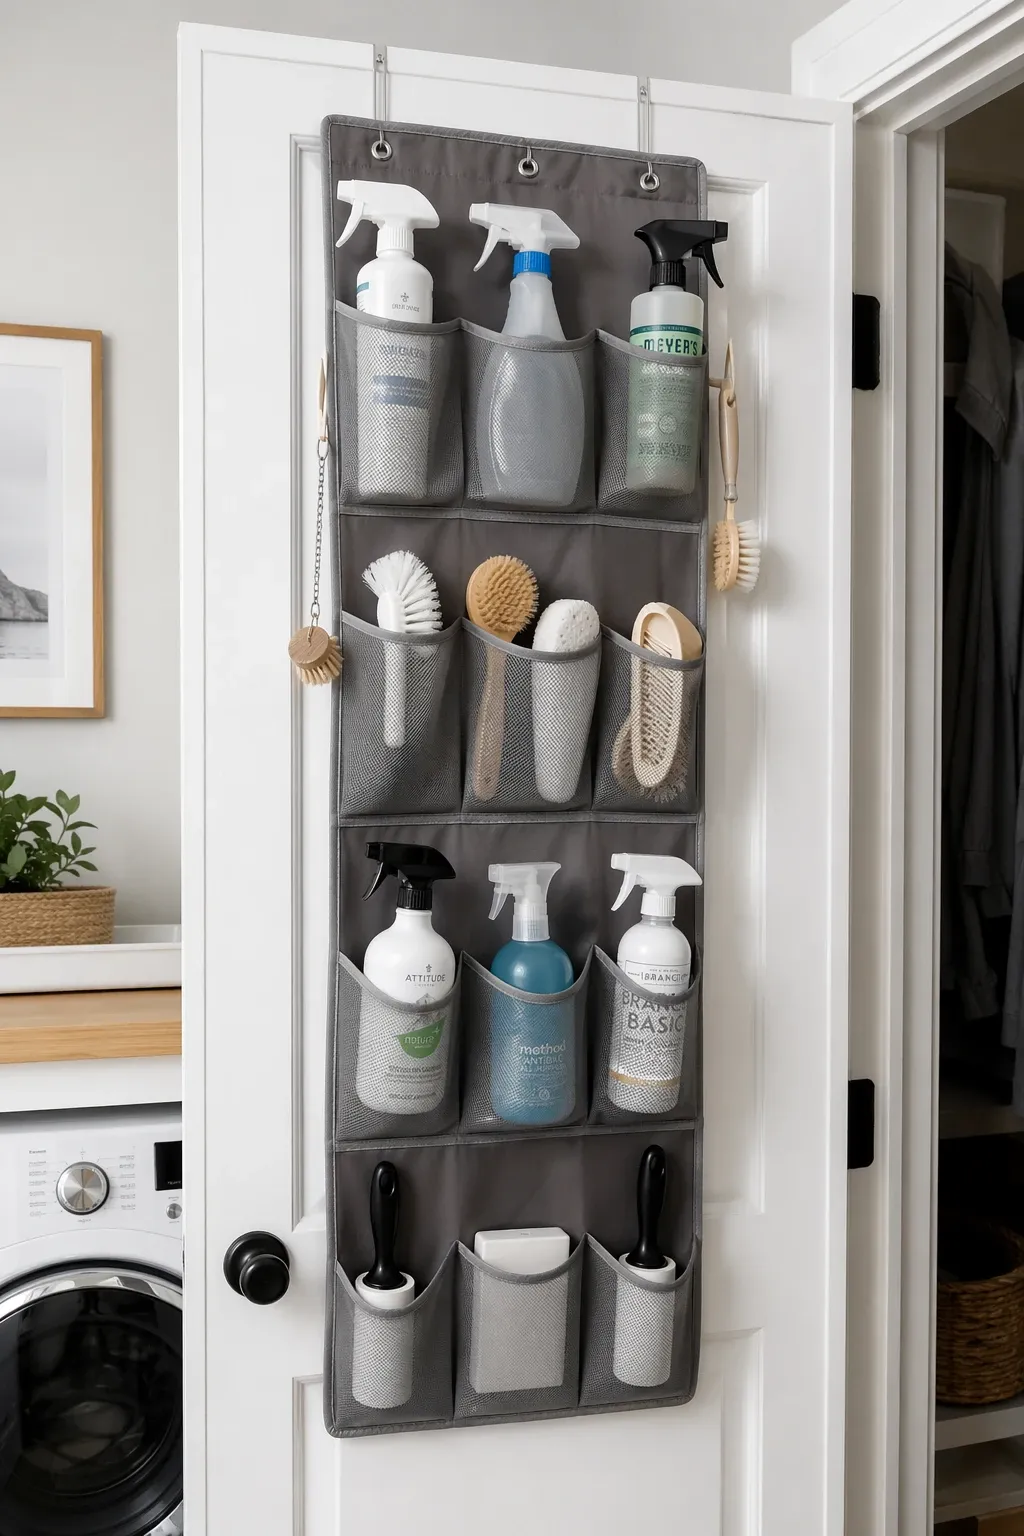
The back of the laundry room door is prime real estate that almost nobody uses. An over-the-door organizer meant for pantries (the mDesign or Simplehuman versions run $25-45) holds spray bottles, stain sticks, and dryer sheet boxes and adds zero footprint to the room, since it hangs on hardware you already have.
The one thing to watch for: measure your door swing radius before hanging anything with real depth on it. If the organizer sticks out more than 3-4 inches, it might hit the dryer or a shelf when the door opens fully, and you will be dealing with a dent or a broken bracket within a month.
Designer Tip: Reserve the door organizer for the products you use every single wash – stain treatment, dryer sheets, a lint brush – and keep bulk backstock elsewhere. Treat it like the junk drawer of laundry storage: only daily-use items belong there or it gets overwhelmed fast.
If you have got even a narrow counter or shelf with legroom beneath it, a slide-out hamper (IKEA VARIERA sorting bags, or a custom-built drawer with a removable canvas liner) keeps dirty laundry contained and out of sight until wash day, instead of piling in a basket that takes up floor space and never looks tidy no matter how you arrange it.
Two-bin versions that separate darks and lights are worth the extra $20-30 over a single bin, because presorting saves you the step of digging through one pile on wash day, which matters more in a small room where there is no floor space to spread things out and sort.
Designer Tip: Line the canvas bags with a slightly stiffer mesh liner rather than plain cotton. Cotton bags sag and stretch out within a year of daily use; mesh holds its shape and machine-washes easily when it needs a refresh.
Laundry rooms are one of the few spaces in the house where you can go bold without regretting it, because you are not living in there – you are in and out in a few minutes at a time. This is the room to use the color you were too nervous to put in the living room.
Benjamin Moore Hale Navy or Sherwin-Williams Rain (a soft, dusty blue-green) both photograph beautifully in laundry rooms and, more practically, hide the inevitable scuffs from baskets and rolling carts far better than a stark white does. If you want brightness without sterility, Benjamin Moore Simply White or Sherwin-Williams Alabaster read warmer than pure builder white and do not show every fingerprint on the wall by the light switch.
Whatever you choose, use a satin or semi-gloss finish, not matte. Laundry rooms deal with humidity and the occasional detergent splash, and a washable finish is the difference between wiping down a mark in ten seconds and it staining the paint permanently. Expect to pay $50-70 for a gallon of quality paint, which for a room this size is usually enough for two coats with some left over.
Designer Tip: Paint the inside of any open shelving or the recessed niche a contrasting color to the walls. A soft contrast – like navy walls with a Benjamin Moore Cloud White shelf interior – makes the storage feel intentional rather than like an afterthought.
14. Put Down Peel-and-Stick Tile Over the Ugly Vinyl
A shocking number of small laundry rooms are hiding under a sheet of dated builder-grade vinyl that nobody has touched since the house was built. If you are not ready for a full tile installation, peel-and-stick vinyl tile (SmartCore or Achim brands, roughly $2-4 per square foot) is a legitimate weekend fix that holds up fine in a low-traffic room like this one.
For a typical 6×8 laundry room, that is about 48 square feet, so budget $150-250 in materials for a real upgrade that photographs like tile and takes an afternoon, not a contractor visit. Make sure the subfloor is clean, dry, and level first – peel-and-stick tile telegraphs every bump and gap underneath it, so skipping the prep step is where these projects usually go wrong.
Designer Tip: Buy 10% more tile than your square footage calculation. You will want extra for cuts around appliance feet and doorways, and dye lots vary between batches if you order more later.
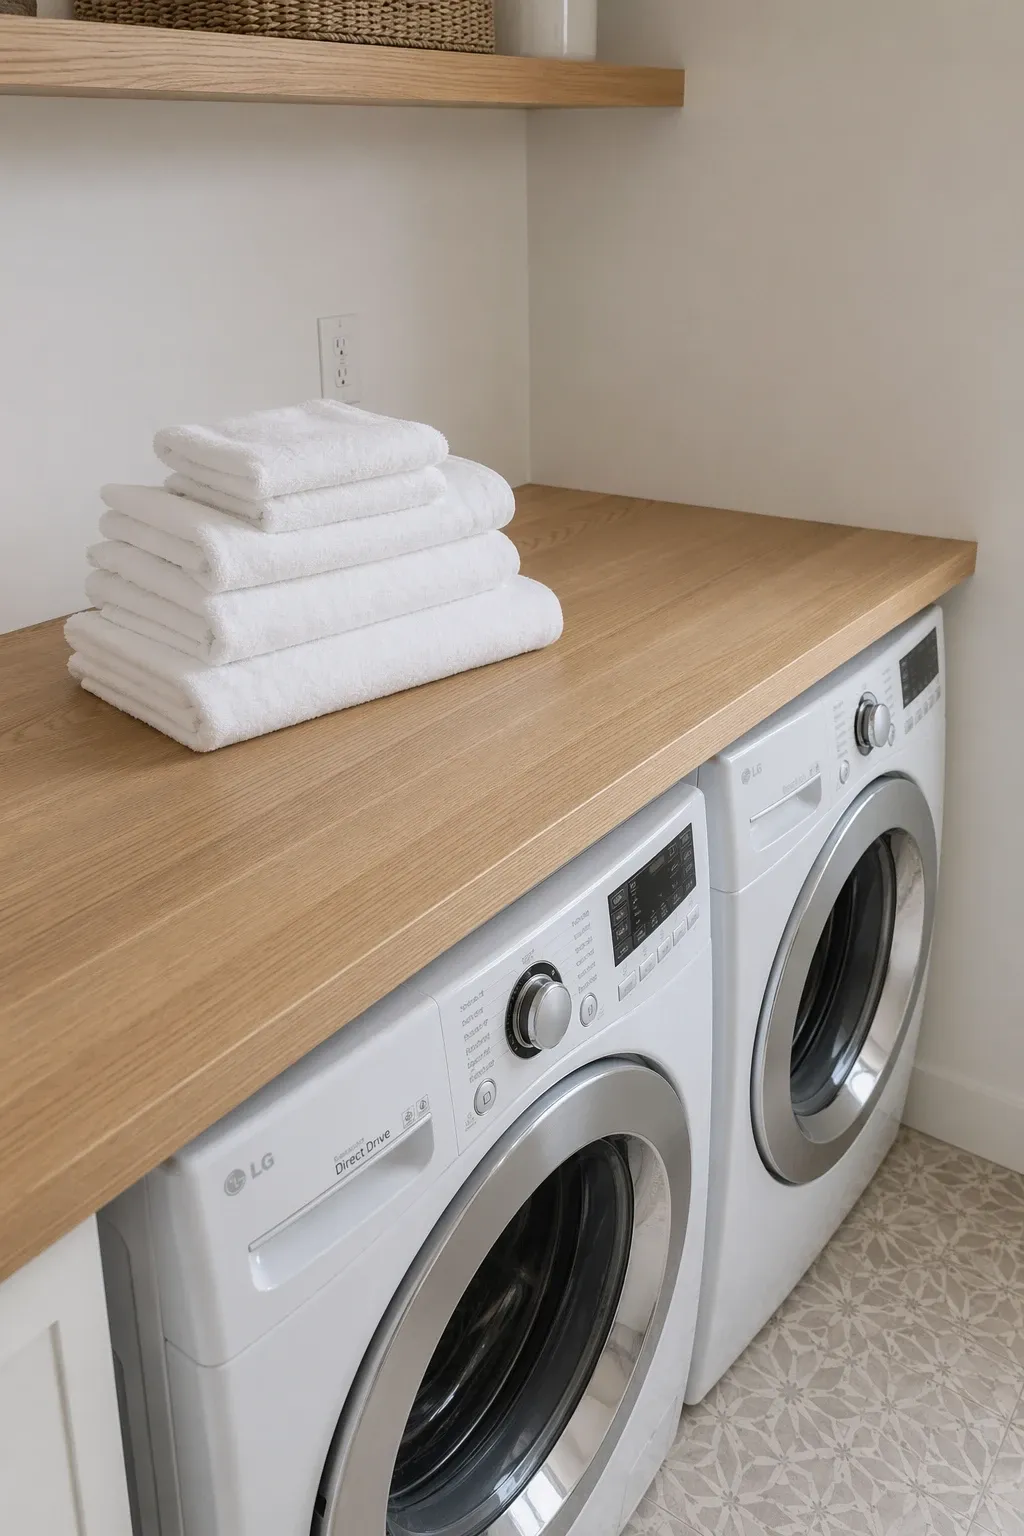
15. Choose a Countertop Material That Can Handle Wet Baskets
If you are adding any counter space – over a front-load stacked unit, beside a sink – skip anything porous. Butcher block looks great in photos but swells and warps within a year in a room where wet clothes and dripping baskets are a daily occurrence. Quartz remnants (ask your local fabricator about offcuts, often $150-300 installed for a small laundry-sized piece versus $1,000+ for a full kitchen slab) or a simple laminate counter ($100-200 for a laundry-sized piece from a home center) both shrug off moisture without maintenance.
If budget is tight, a butcher-block look is not off the table entirely – just seal it aggressively with a marine-grade polyurethane rather than the food-safe mineral oil you would use in a kitchen, since you are not cutting food on it and durability matters more than food safety here.
Designer Tip: Round the front edge of any counter you install over a stacked unit. Square edges at hip height in a tight room are exactly where you will bruise yourself reaching past the dryer door.
16. Use a Washable Wallpaper for Personality Without the Risk
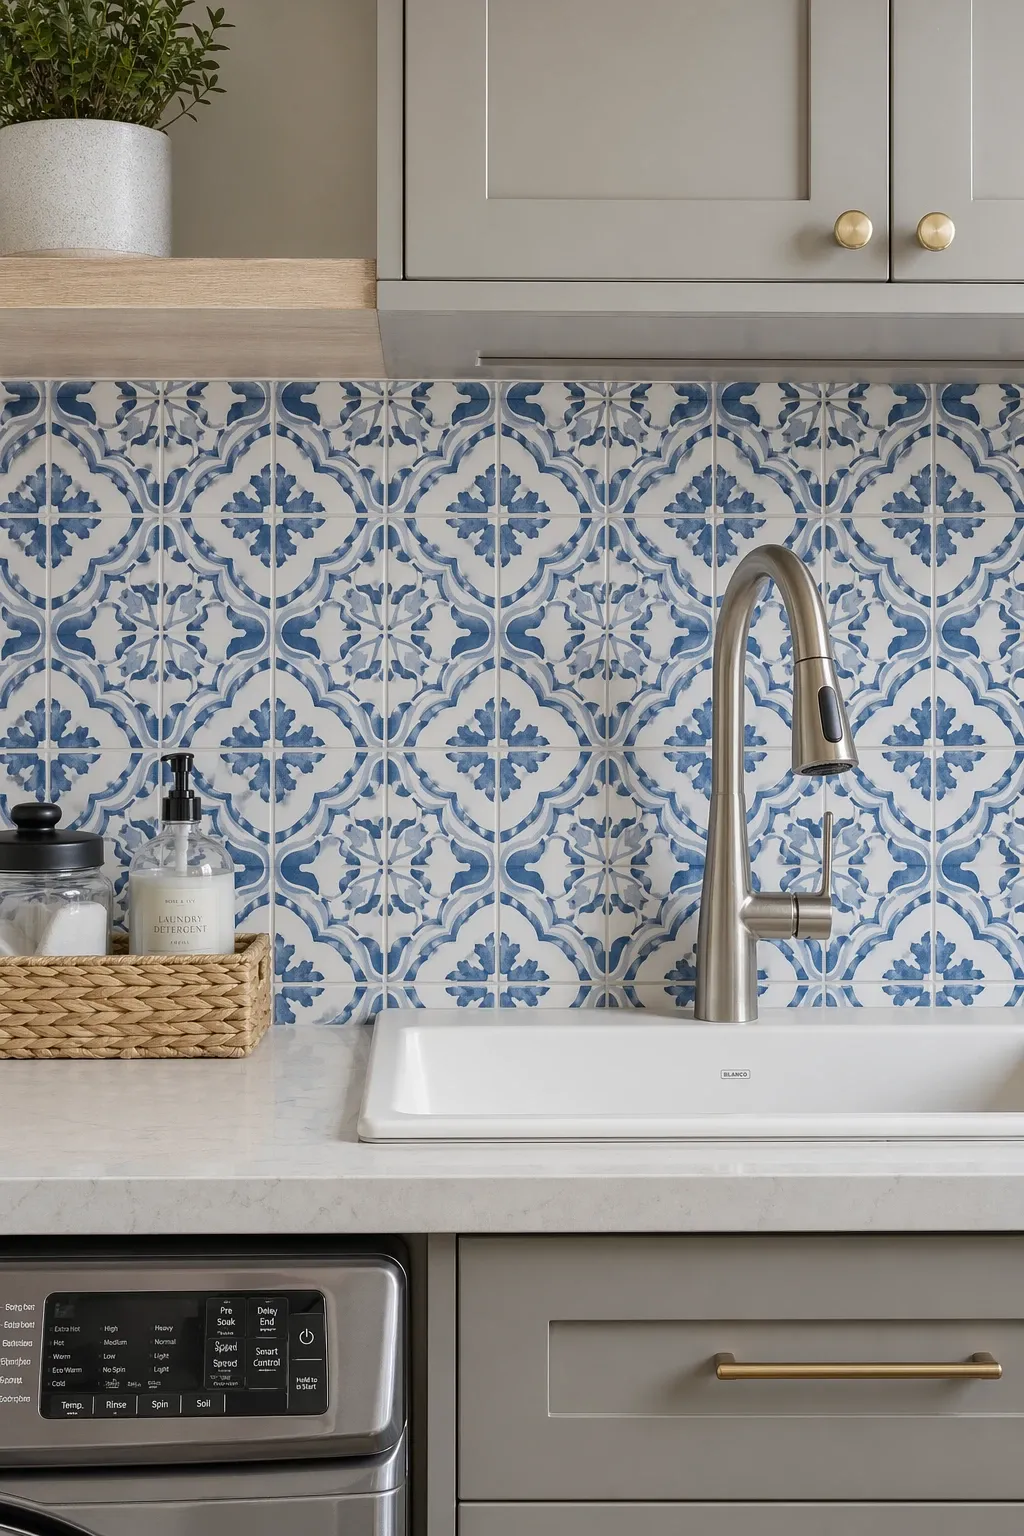
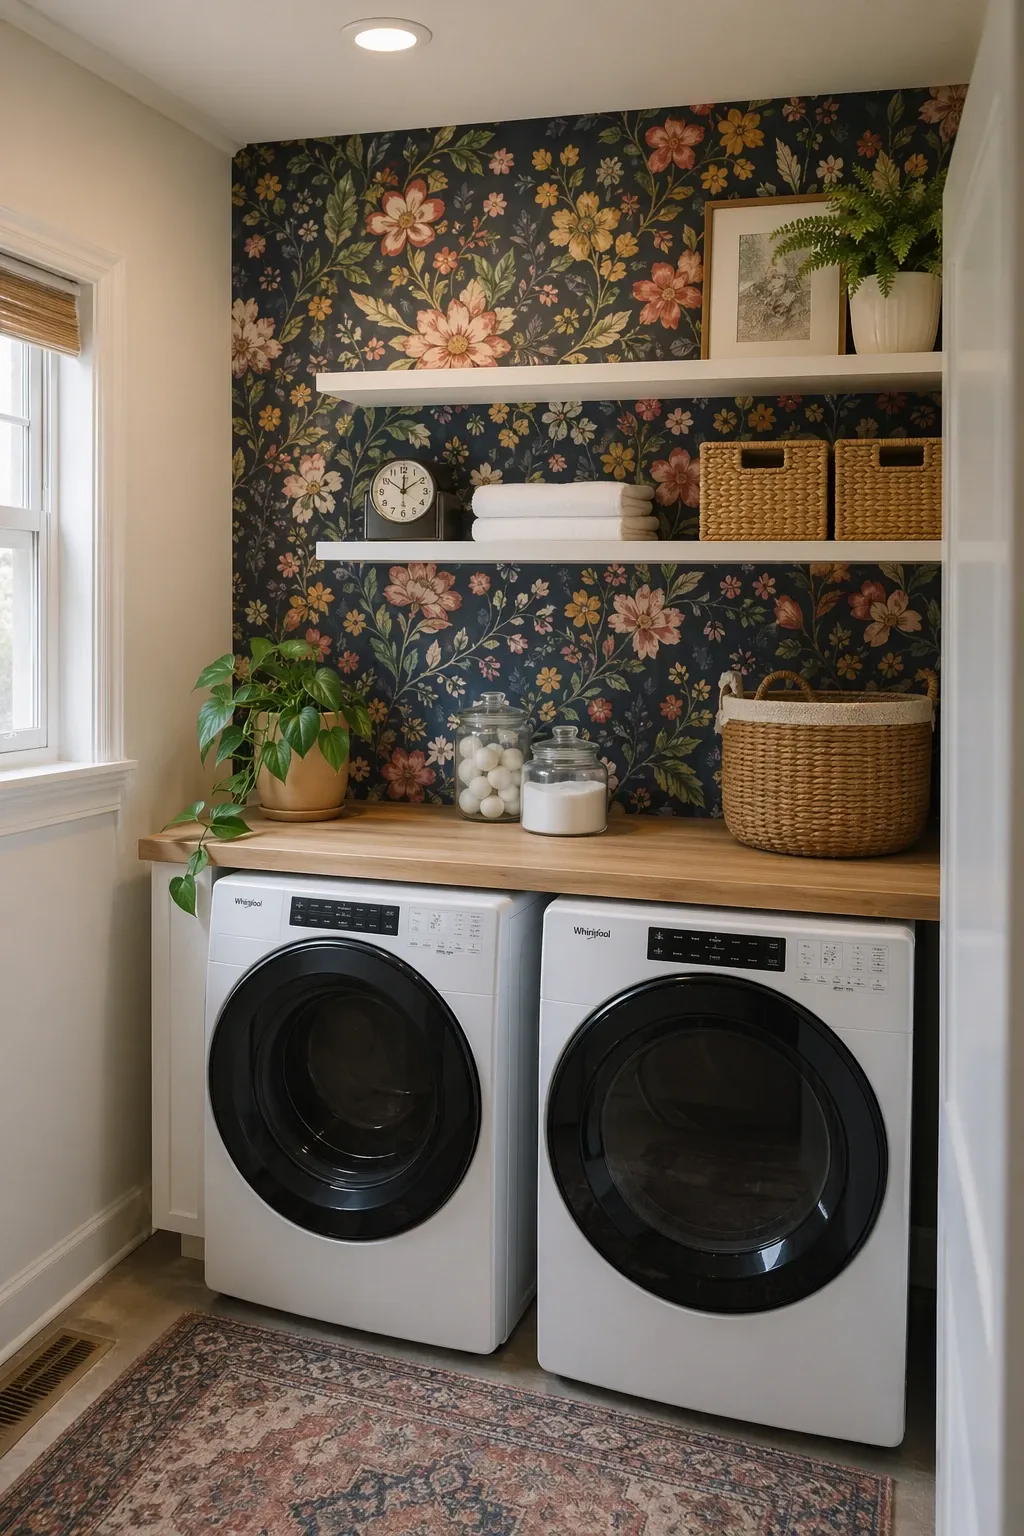
If solid paint feels too plain but you are nervous about pattern in a small room, laundry-specific washable wallpaper is worth a look. Removable options from Spoonflower or Chasing Paper run $40-80 per roll and are specifically formulated to handle the humidity swings of a laundry room better than standard wallpaper, which can bubble and peel in a space that gets warm and damp every time the dryer runs.
Small rooms actually handle bold pattern better than big ones – a busy floral or geometric print in an 8×6 room reads as a distinct, intentional space rather than overwhelming. Reserve it for one accent wall, usually the one you see first walking in, rather than wrapping the whole room, both for cost reasons and because full wraparound pattern in a small space can start to feel like you are inside a wrapped package.
Designer Tip: Test a sample strip taped up for a full week, including a few dryer cycles, before committing to a full roll. Some washable wallpapers still show slight bubbling in rooms with poor ventilation, and you want to know that before you have covered four walls.
17. Install Better Lighting Than the Single Overhead Bulb
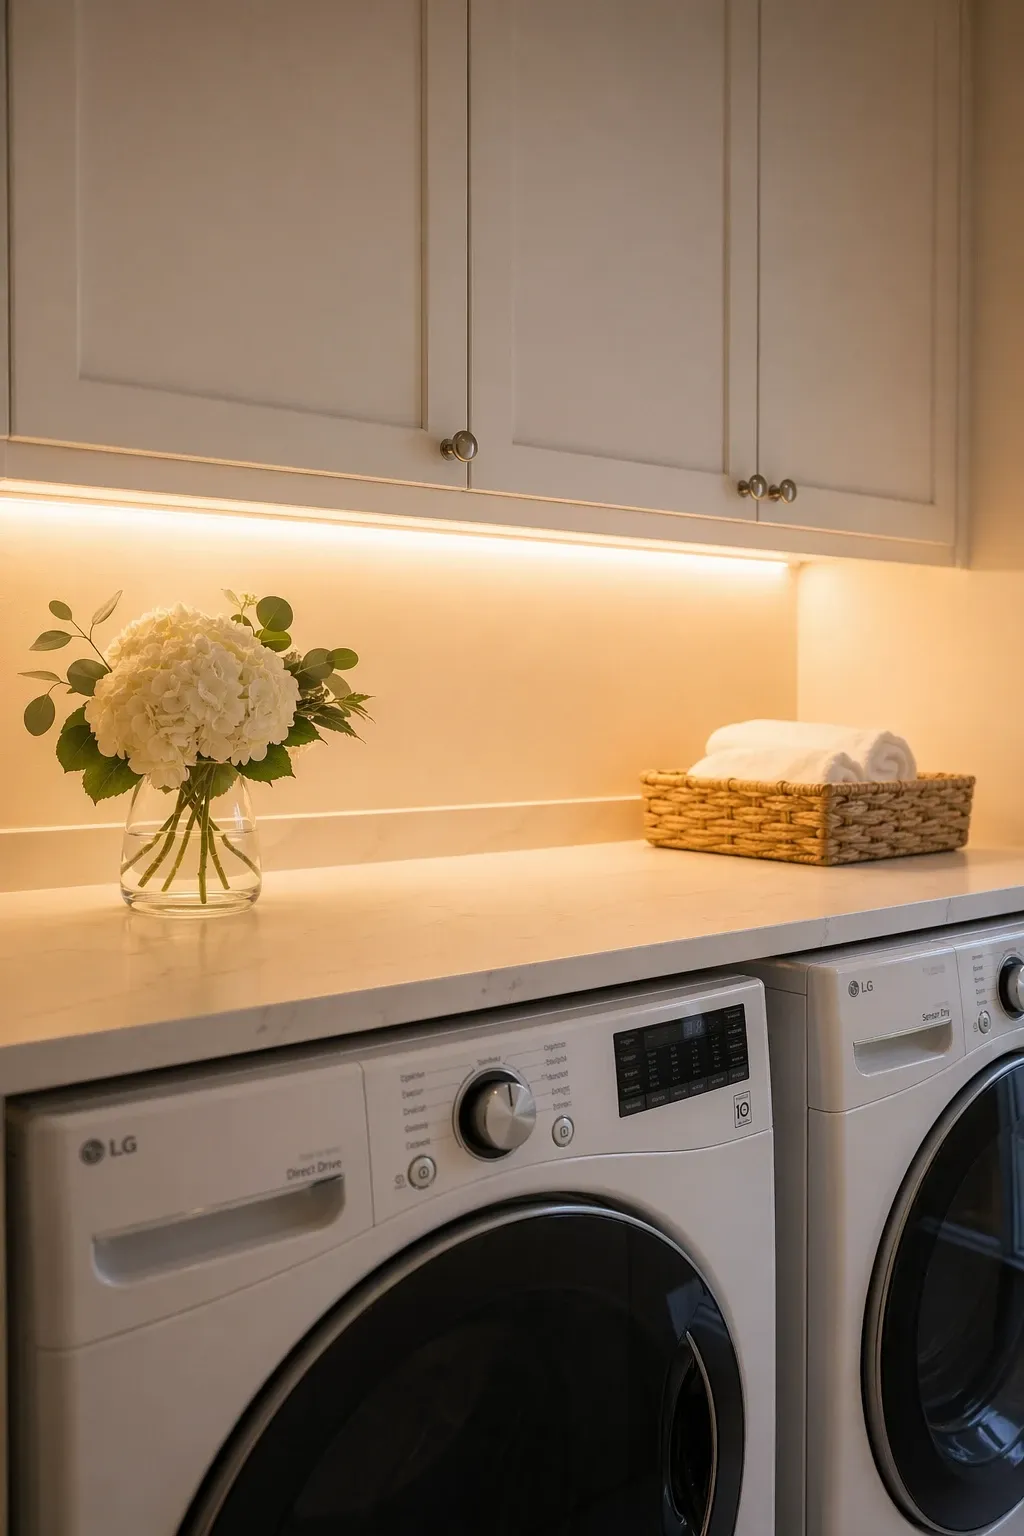
Most small laundry rooms come with one ceiling-mounted fixture and call it done, which leaves the inside of the washer drum and the bottom shelf in shadow exactly where you need to see a stain or a lost sock. Adding a strip of LED puck lights under the upper cabinets or shelving (a basic battery or plug-in kit runs $25-40 from Amazon or IKEA own under-cabinet line) solves this without an electrician.
If you are comfortable with a slightly bigger project, swapping the single ceiling fixture for a brighter flush-mount with a higher lumen output – aim for 800-1,100 lumens in a room this size – makes stain-checking and sorting genuinely easier and costs about $40-80 for the fixture plus whatever an electrician charges for a swap, usually $75-150.
Designer Tip: Choose a bulb in the 3000-3500K range, not the 5000K+ daylight bulbs. Daylight bulbs make stains easier to spot, sure, but they also make a small room feel clinical. 3000-3500K keeps things bright enough to work but still feels like part of your house.
Making It Feel Like a Real Room
18. Hang One Piece of Real Art or a Framed Print
It sounds small, but a laundry room with a single framed print – even a $15 print from Etsy in a $20 frame from Target – reads as a designed room instead of a utility closet that got forgotten. Skip the novelty Laundry: Wash, Dry, Fold, Repeat text signs everyone has seen a hundred times, and go with something that actually matches your taste elsewhere in the house: a botanical print, an abstract piece, whatever is already working in your hallway or entry.
Scale matters more than you would think in a small room. A single 11×14 print in a clean frame looks more intentional than a gallery wall crammed into a 6-foot space – the gallery wall approach that works in a living room reads as cluttered in a laundry closet because there is no negative space around it to let it breathe.
Designer Tip: Hang it at 57-60 inches to the center of the piece, the standard eye level gallery height, even in a small room. It is tempting to hang lower to fit the space, but sticking to that standard height is what makes the room feel considered rather than makeshift.
19. Add a Small Rug That Can Handle Water
A rug in a laundry room does two things: it makes the floor feel less like a garage, and it gives you somewhere absorbent to stand instead of a puddle when a hose connection drips. Skip anything with a jute or natural-fiber backing – it holds moisture and mildews fast in a room that is damp by nature. Look for a flat-weave, machine-washable option instead; Ruggable washable rugs run $80-150 for a small laundry-sized runner and the whole thing goes in your own washer when it needs cleaning.
A runner in front of the machines, roughly 2×4 or 2×5 feet, is usually the right scale – you are not trying to cover the whole floor, just soften the specific spot where you stand while loading and unloading.
Designer Tip: Put a thin non-slip pad underneath even a flat-weave rug. Laundry room floors get slicker than you would expect from stray detergent drips, and a rug that slides on a wet floor is a genuine fall hazard, not just an annoyance.
20. Address the Noise Problem Nobody Talks About
Small laundry rooms are often directly adjacent to a kitchen, living room, or bedroom because that is where the plumbing already runs, which means the sound of a spin cycle carries in a way it would not in a basement or garage setup. A few fixes actually help here: anti-vibration pads under the washer feet ($15-25 for a set of four, brands like Steady Hand or RIGID) cut down on the walking and thumping sound significantly, and they are a five-minute install with zero tools.
If the walls between the laundry room and living space are thin, adding a layer of mass-loaded vinyl sound barrier behind the drywall during any renovation ($1-2 per square foot in material) makes a real difference, though it only makes sense if you are already opening the wall for another reason – it is not worth demo-ing a finished wall for sound alone.
Designer Tip: Check that your washer is actually level before assuming you need sound insulation. A washer that is rocking slightly because one foot is not adjusted correctly will sound dramatically louder than a properly leveled one, and fixing that is free.
FAQ
How much clearance do I actually need behind and beside a washer and dryer?
Most manufacturers want at least 1-2 inches on the sides for airflow and roughly 4-6 inches behind the dryer specifically for its exhaust vent to bend properly without kinking. Front clearance is really about you – you need enough room to fully open the door and load the drum without hitting a wall or cabinet, so measure your specific unit door swing rather than going off a generic number.
Can I put a laundry closet directly next to a bedroom without major noise?
Yes, with the right prep. Anti-vibration pads under the machine feet, making sure the unit is properly leveled, and if you are renovating anyway, adding mass-loaded vinyl or extra insulation in the shared wall will get you most of the way there. It will not be totally silent, but it will go from disruptive to background noise.
Is a ventless dryer actually a good option for a small space?
It is a real tradeoff, not strictly a downgrade. Ventless dryers run longer cycles – often 2-3 hours versus 45-60 minutes for a vented dryer – but they do not require any exterior venting, which opens up locations like interior closets or apartments where running ductwork to an outside wall is not possible. If you have the option to vent outside, a standard vented dryer is faster and generally cheaper upfront. If you do not have that option, a heat-pump ventless model is worth the extra cost – they run more efficiently and do not heat up the room nearly as much.
What is the minimum width I need for a stacked washer-dryer unit?
Most stacked units need 27-33 inches of width depending on brand and model, plus a little breathing room on each side – budget for at least 30 inches of actual closet width to avoid a unit that fits on paper but is a nightmare to install and service later.
How do I deal with only having one electrical outlet in a small laundry space?
Do not run a dryer off an extension cord or a power strip – dryers need a dedicated 240V outlet (for electric models) and drawing that much power through anything but a proper outlet is a real fire risk. If you are short on outlets for smaller things like an iron or a phone charger, have an electrician add a second general-purpose outlet during any other electrical work you are doing in the room; it is usually a small add-on cost compared to a standalone service call.
Do I need a floor drain in a small laundry room?
It is not required by most codes for a basic setup, but if you are doing any renovation work in the space anyway, adding one is genuinely cheap insurance – a supply line failure on a washer can dump gallons of water in minutes, and a floor drain means that is an inconvenience instead of a flooring replacement. Budget roughly $500-1,000 for a plumber to add one if the room does not already have it, more if your slab needs to be cut.
Small laundry rooms punish half-measures. A pretty shelf that is too shallow to hold a detergent bottle, a rug that slides on a wet floor, a stacked unit installed without checking the doorway – none of it works if you skip the measuring step. But the flip side is that because the space is small, even modest changes read as dramatic. Paint one wall, add a rolling cart in that dead gap by the dryer, hang one framed print, and the room stops feeling like something you tolerate and starts feeling like a room you actually designed on purpose.
If you are doing this on a real budget, prioritize in this order: fix the layout problem first (stacking, door swap, borrowed closet depth), then storage (shelving, pegboard, the rolling cart), then finishes (paint, flooring, lighting) last. Finishes are what everyone wants to do first because they are the fun, visible part, but they do not fix a room where you cannot actually open the dryer door all the way. Get the bones right, then make it pretty.
One last thing worth saying: do not let a small laundry room talk you into buying appliances that do not actually fit your household laundry volume just because they are marketed as space-saving. A combo washer-dryer that takes five hours per load is a real problem if you are washing for a family of five. Measure the room, be honest about your actual laundry needs, and pick the tradeoffs that fit your life – not just the ones that fit the floor plan.