Garage organization does not have to cost hundreds of dollars. Most of the best storage solutions use basic materials from the hardware store, things you already own, or simple DIY builds that take a Saturday afternoon. If your garage looks like a storage unit exploded, these 15 budget-friendly ideas will help you sort it out without breaking the bank.
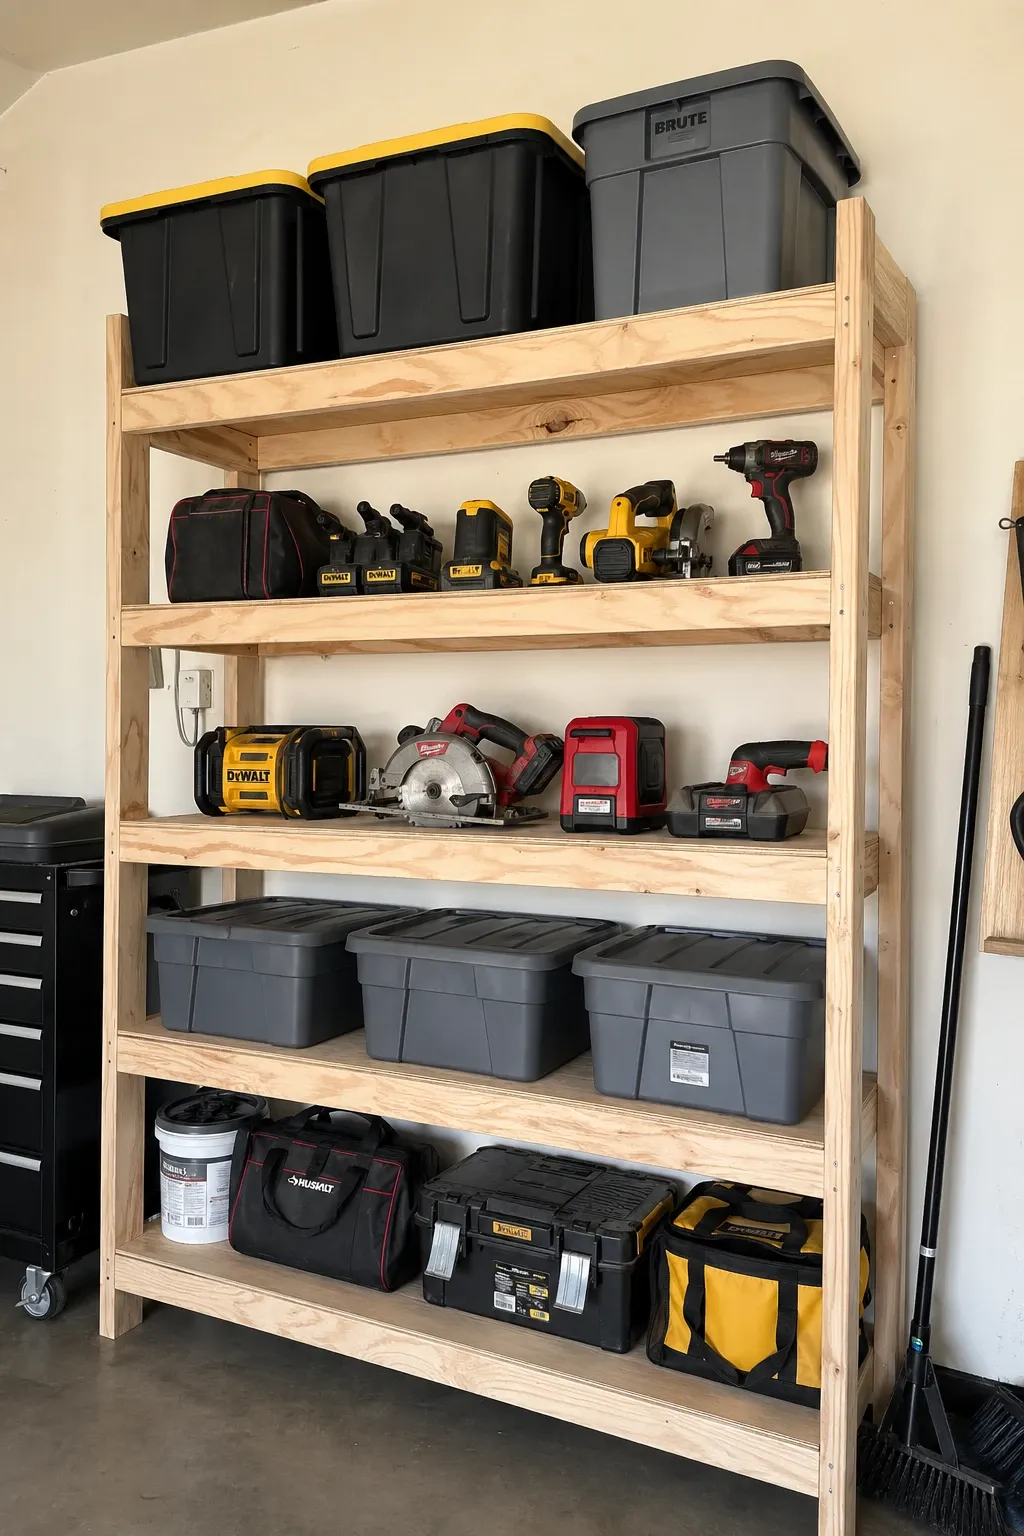
A few sheets of plywood cut into shelves and mounted on wall-mounted brackets create a simple, strong storage system for a fraction of the cost of pre-built shelving. You can customize the shelf width, depth, and spacing to fit exactly what you are storing. Paint or stain the plywood for a cleaner look, or leave it raw for a utility-first approach. Either way, the cost per shelf is under ten dollars.
Designer Tip: Use 3/4-inch plywood rather than thinner sheets. Thin plywood sags under heavy items like paint cans and power tools. Three-quarter inch stays flat and supports real weight across standard shelf spans.
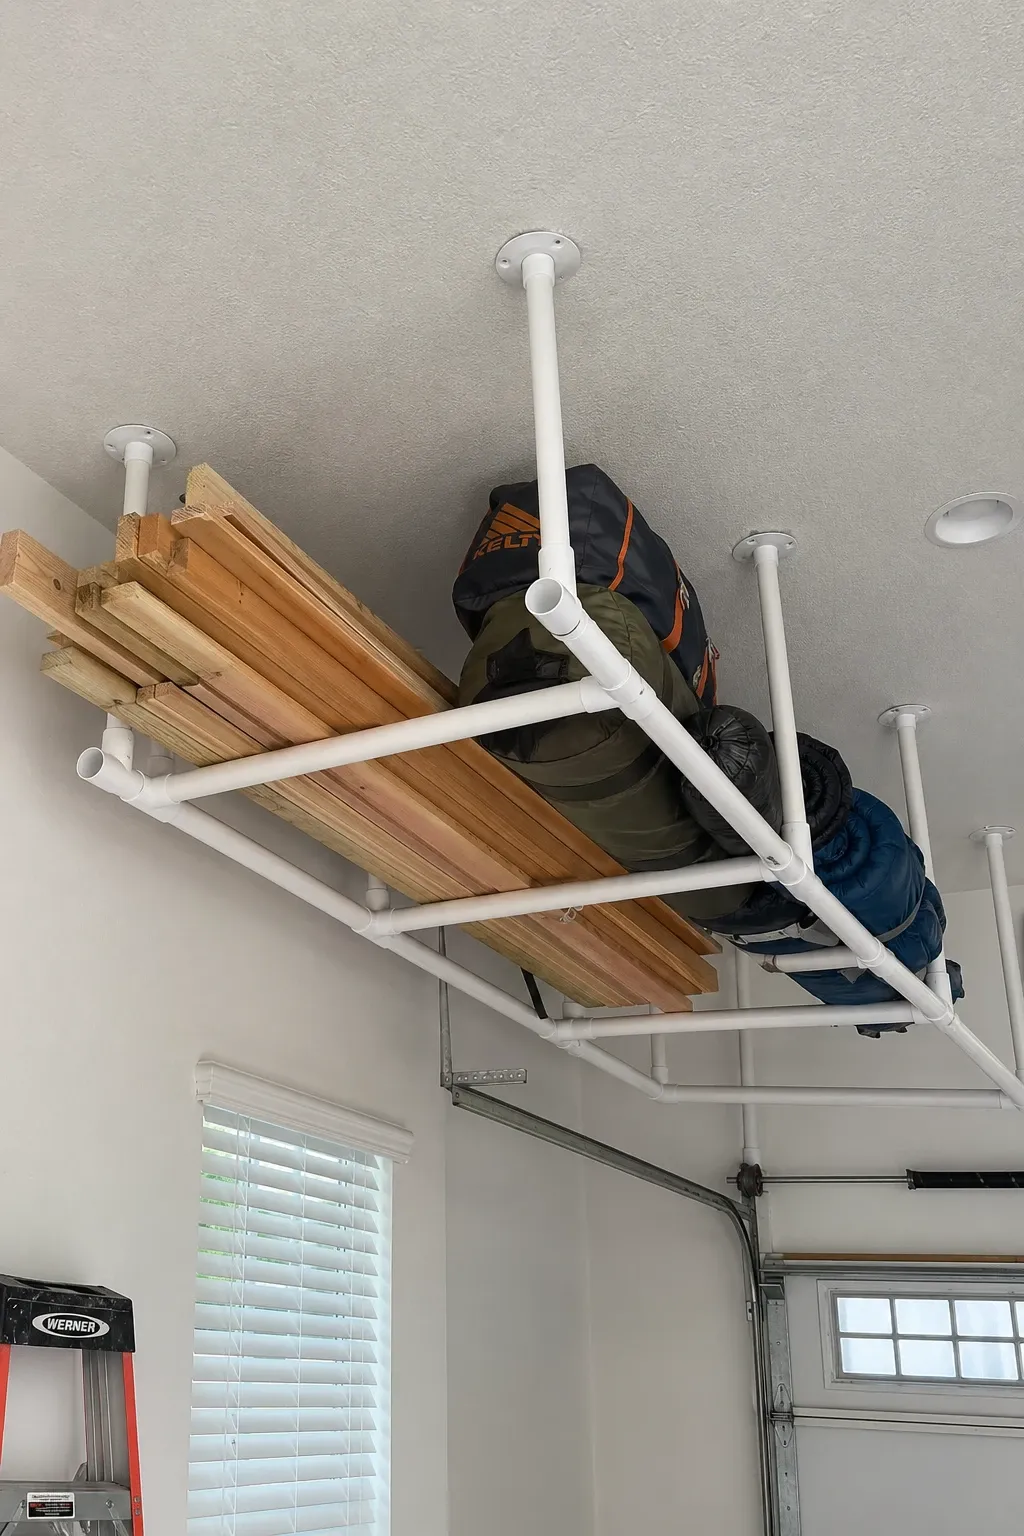
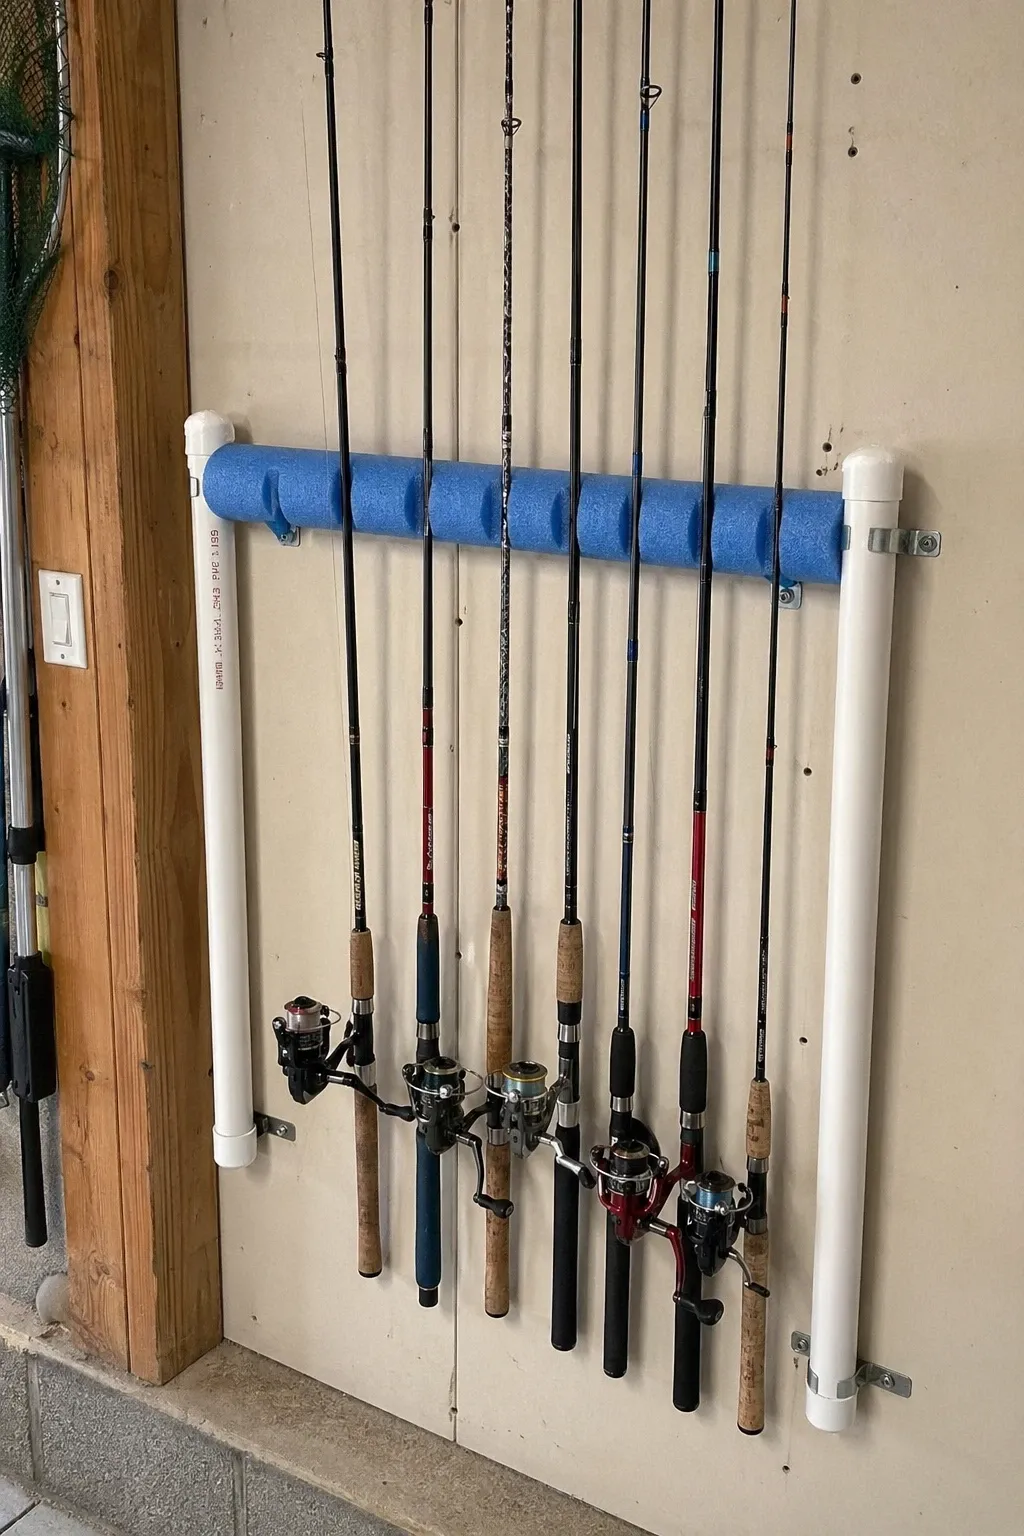
PVC pipes assembled into a ceiling-mounted rack create lightweight overhead storage for long items like lumber, PVC pipes, fishing rods, and trim pieces. The rack hangs from the ceiling joists on chains or threaded rods and the PVC cradles hold items flat and liftd. The materials cost next to nothing and the entire build takes a couple of hours. This uses dead ceiling space that most garages waste entirely.
Designer Tip: Space the support cradles no more than 4 feet apart so long items do not sag between supports. Wider spacing causes bowing, especially with heavier materials like lumber and long pipe.
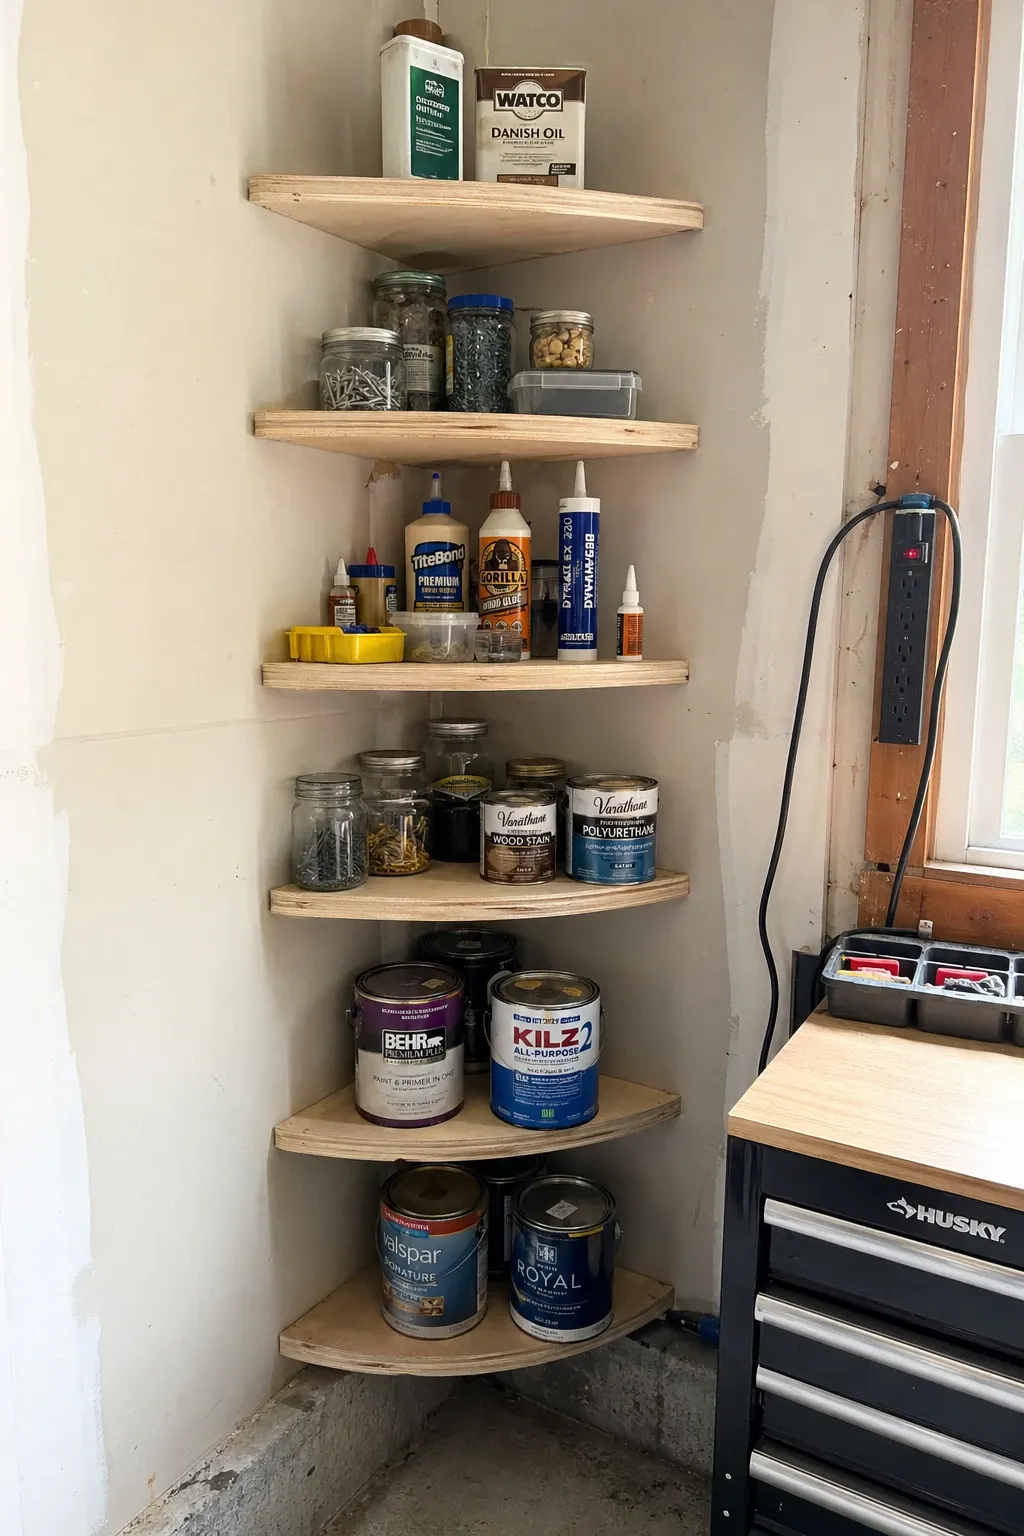
A corner shelving unit fits into the garage corners that are usually just collecting dust and cobwebs. Corner units use the dead space where two walls meet and turn it into functional storage. You can buy inexpensive wire corner shelves or build triangular wooden shelves yourself. The corner location keeps the shelves out of the main traffic flow of the garage.
Designer Tip: Place heavier items on the bottom shelves and lighter items up top. Corner shelves have less depth than standard shelves, so weight distribution matters more. A top-heavy corner unit is less stable than a standard shelf.
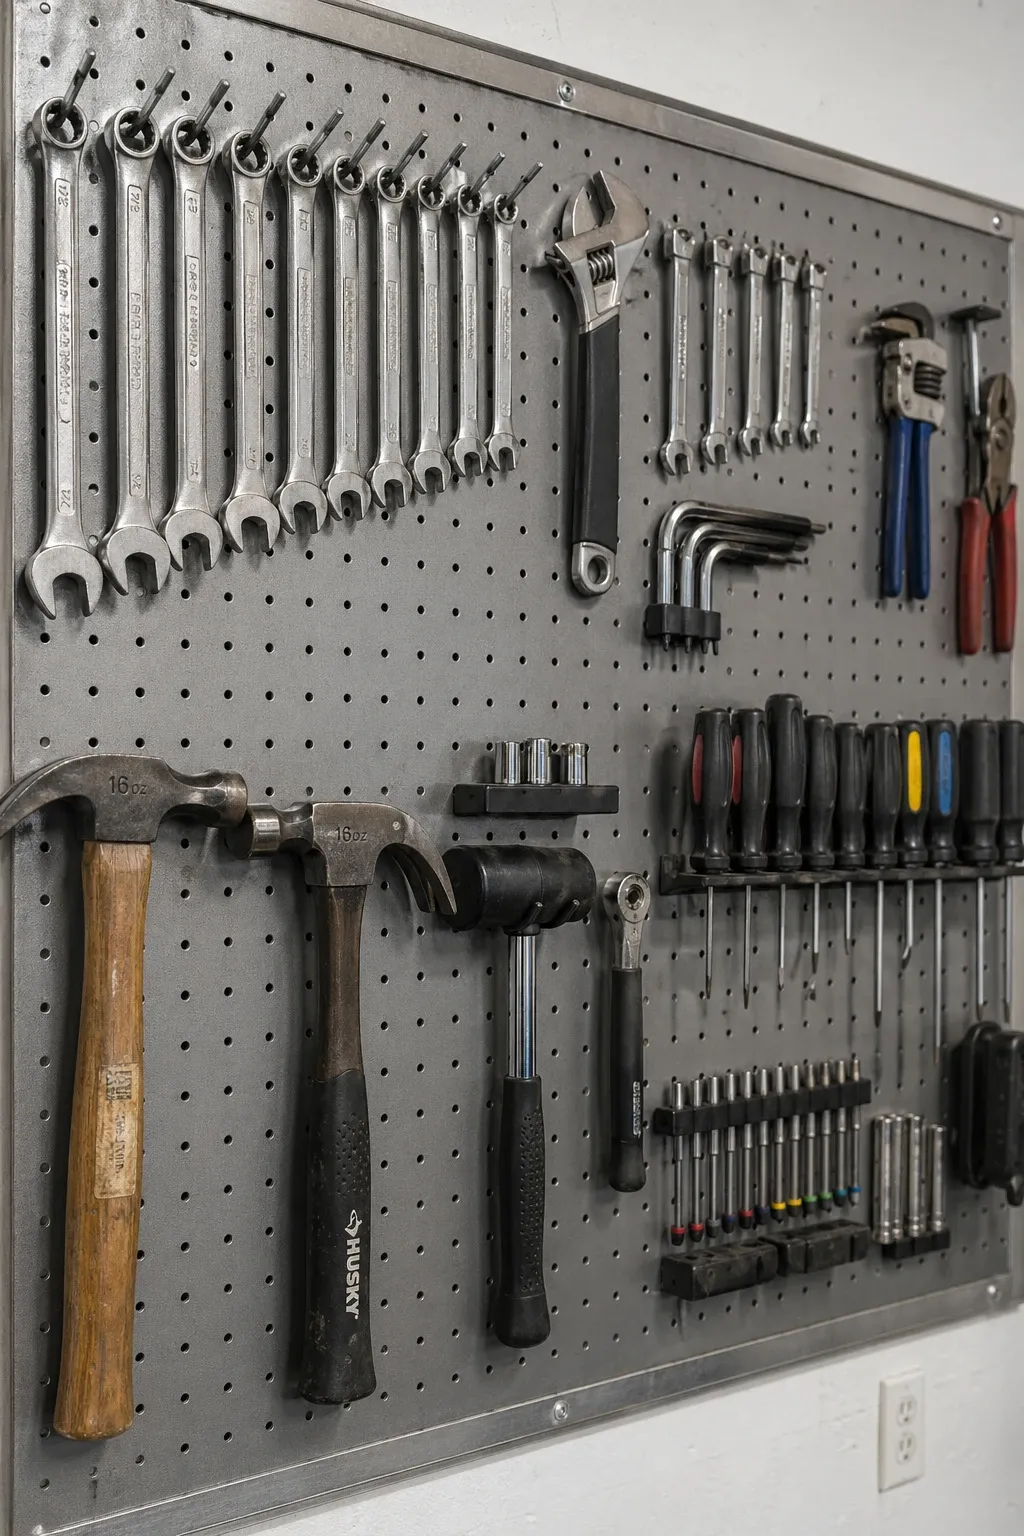
A large pegboard mounted on the wall above a workbench keeps every tool visible and accessible. Hooks, baskets, and shelf attachments slide into the peg holes and you customize the layout to match your tool collection. No more digging through a toolbox or opening five drawers to find a wrench. Everything hangs right in front of you. Pegboard is one of the cheapest per-square-foot wall storage options available.
Designer Tip: Trace the outline of each tool on the pegboard with a marker. The outlines show where every tool goes, which makes putting things back in the right spot easy. It also shows you instantly when a tool is missing.
A board with spring clamps, PVC pipe sections, or notches cut into it holds rakes, shovels, brooms, and other long-handled tools on the wall. This gets them off the floor where they lean against the wall and fall over like dominoes every time you bump one. Mount the board at about shoulder height and the tools hang vertically, taking up just a few inches of wall per tool. Materials cost under five dollars.
Designer Tip: Space the clips or notches wide enough that tool handles do not touch each other. Crowded tools are hard to pull out individually and the handles scratch and bang against each other.
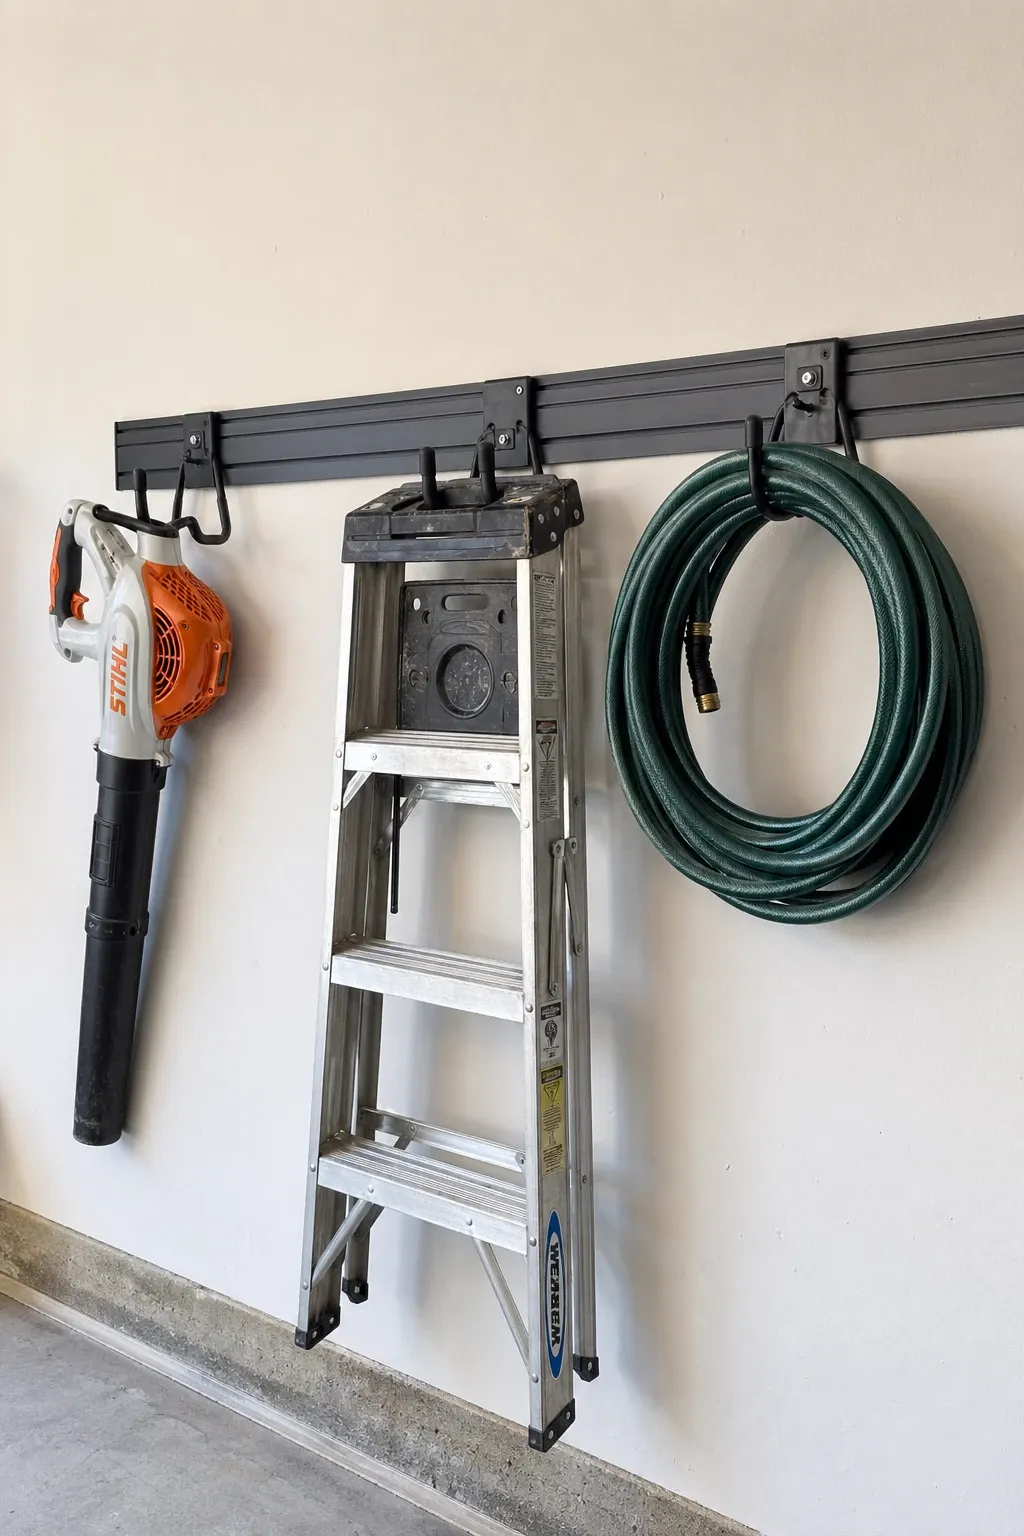
A horizontal rail screwed into the wall studs accepts hooks, baskets, shelves, and bins that slide along the rail. You can rearrange the accessories without moving the rail, which makes it flexible as your storage needs change. Rail systems hold heavier items than pegboard because they mount directly into studs. One rail across a wall section turns dead wall space into a customizable storage zone.
Designer Tip: Install the rail level and into at least two studs. A rail that is not level makes all the accessories tilt, and a rail mounted only in drywall will pull out under load. A level, stud-mounted rail supports serious weight.
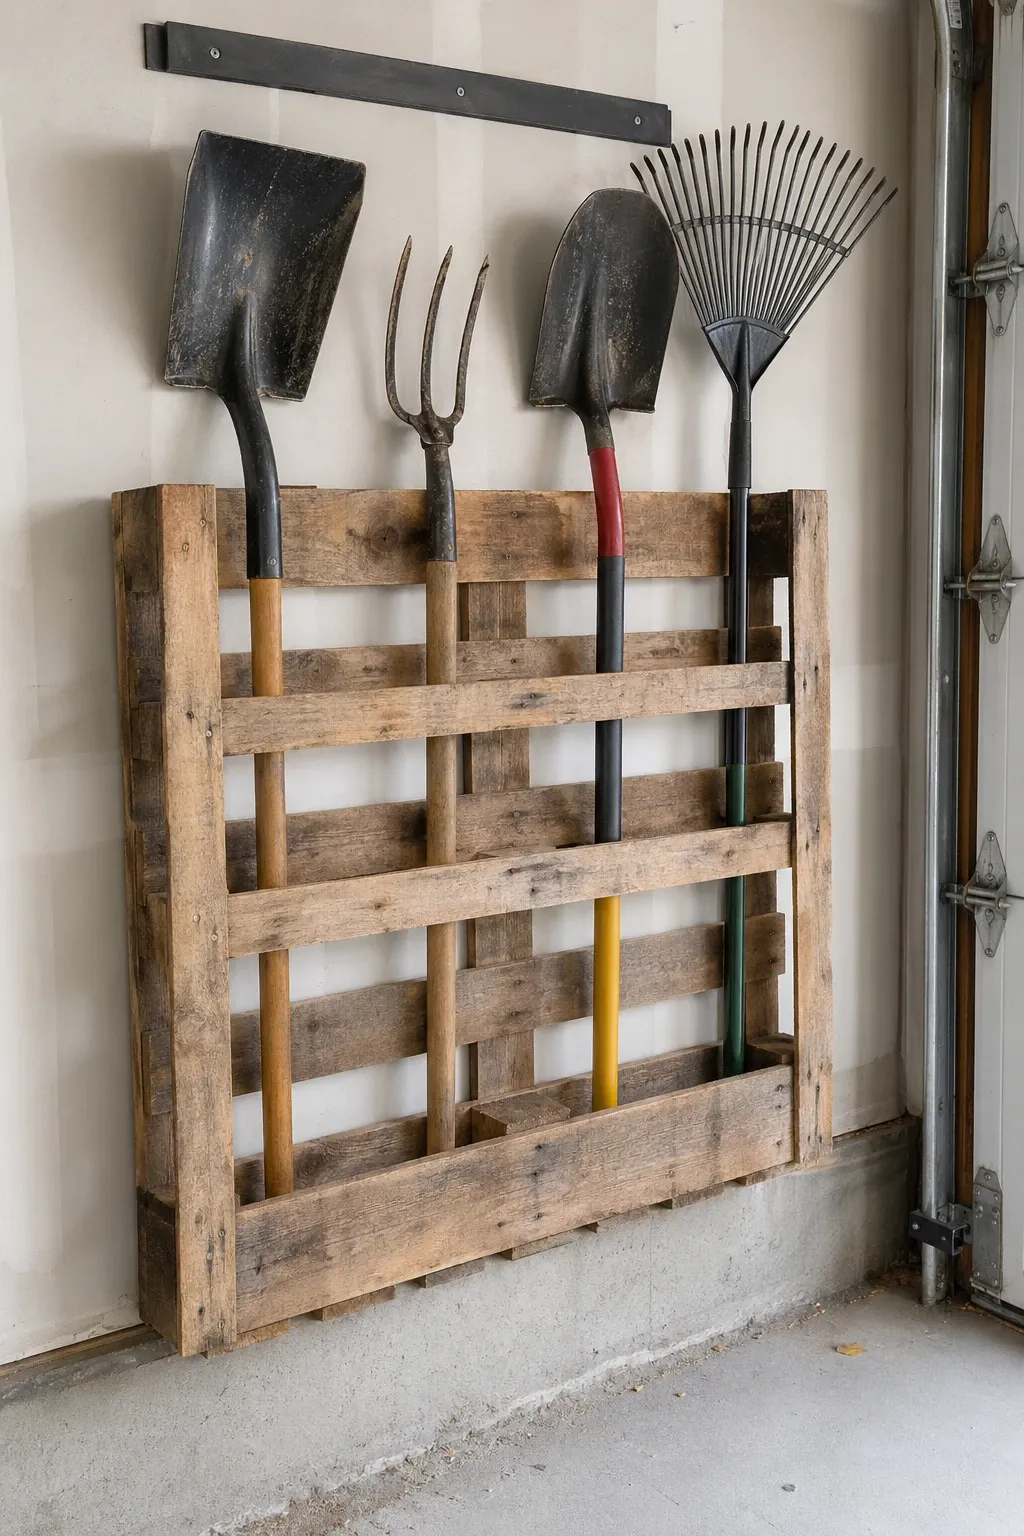
A wooden pallet stood upright and screwed to the wall creates a storage rack with built-in slots between the slats. Hang tools, slide in spray cans, or add hooks to the face for additional hanging storage. Pallets are free from many businesses and the vertical mounting turns one into a rugged, garage-appropriate storage wall. The raw wood look fits a garage perfectly.
Designer Tip: Use heat-treated pallets marked with HT. Pallets treated with chemicals (marked MB) can off-gas in an enclosed garage. Heat-treated pallets are safe for indoor use and are the standard for DIY projects.
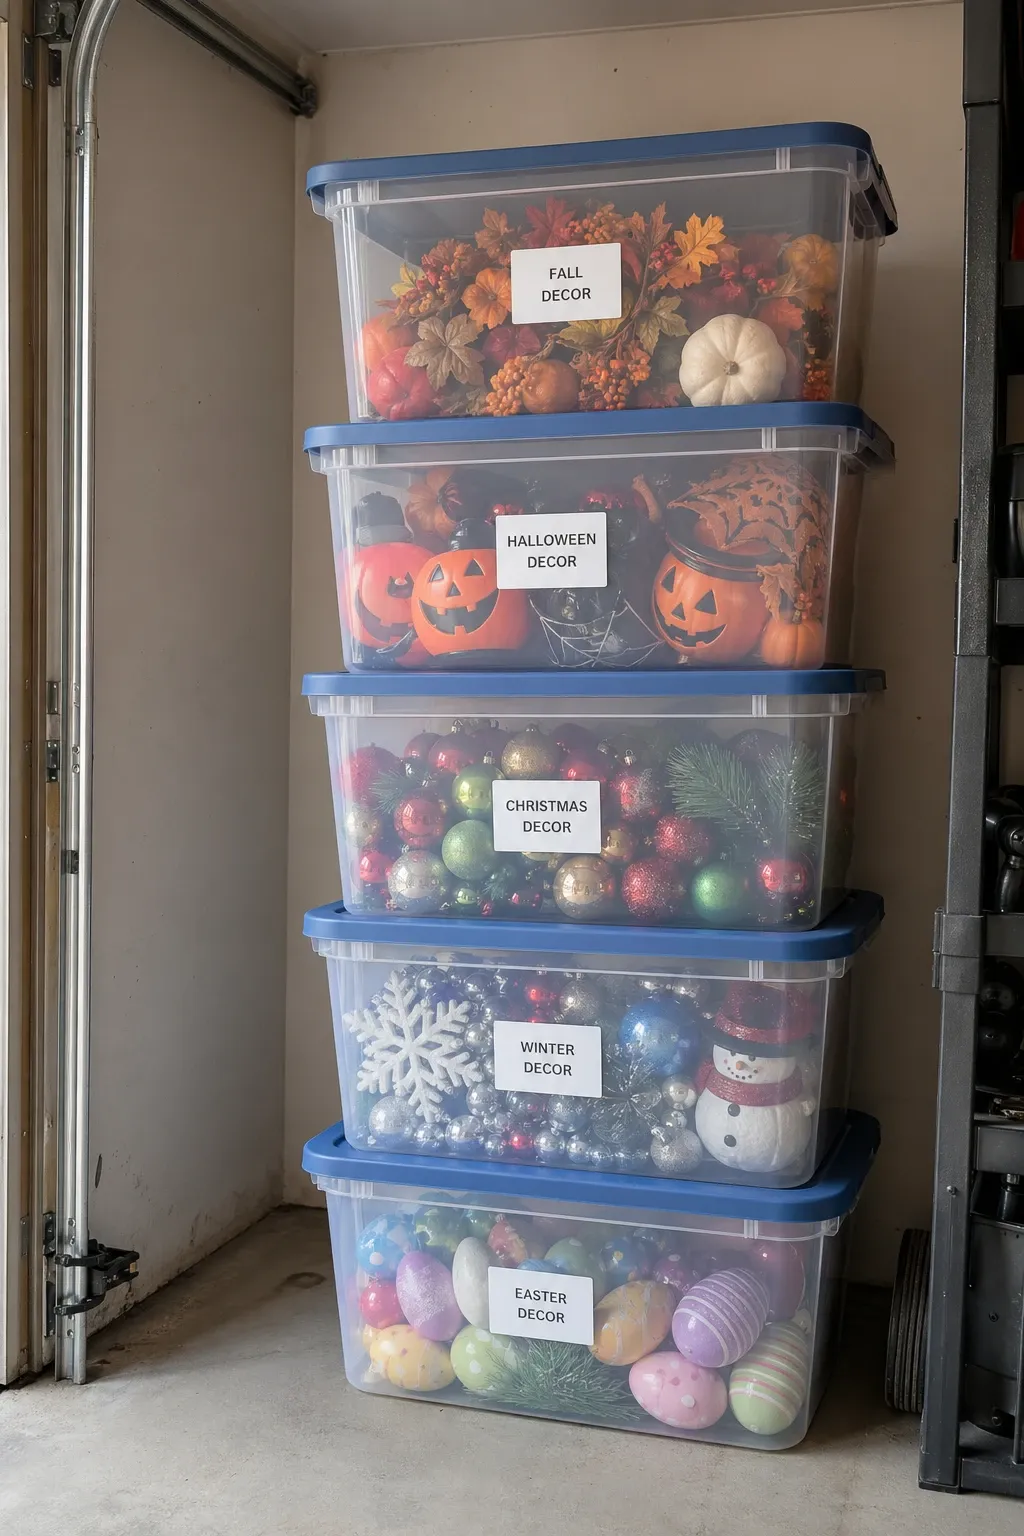
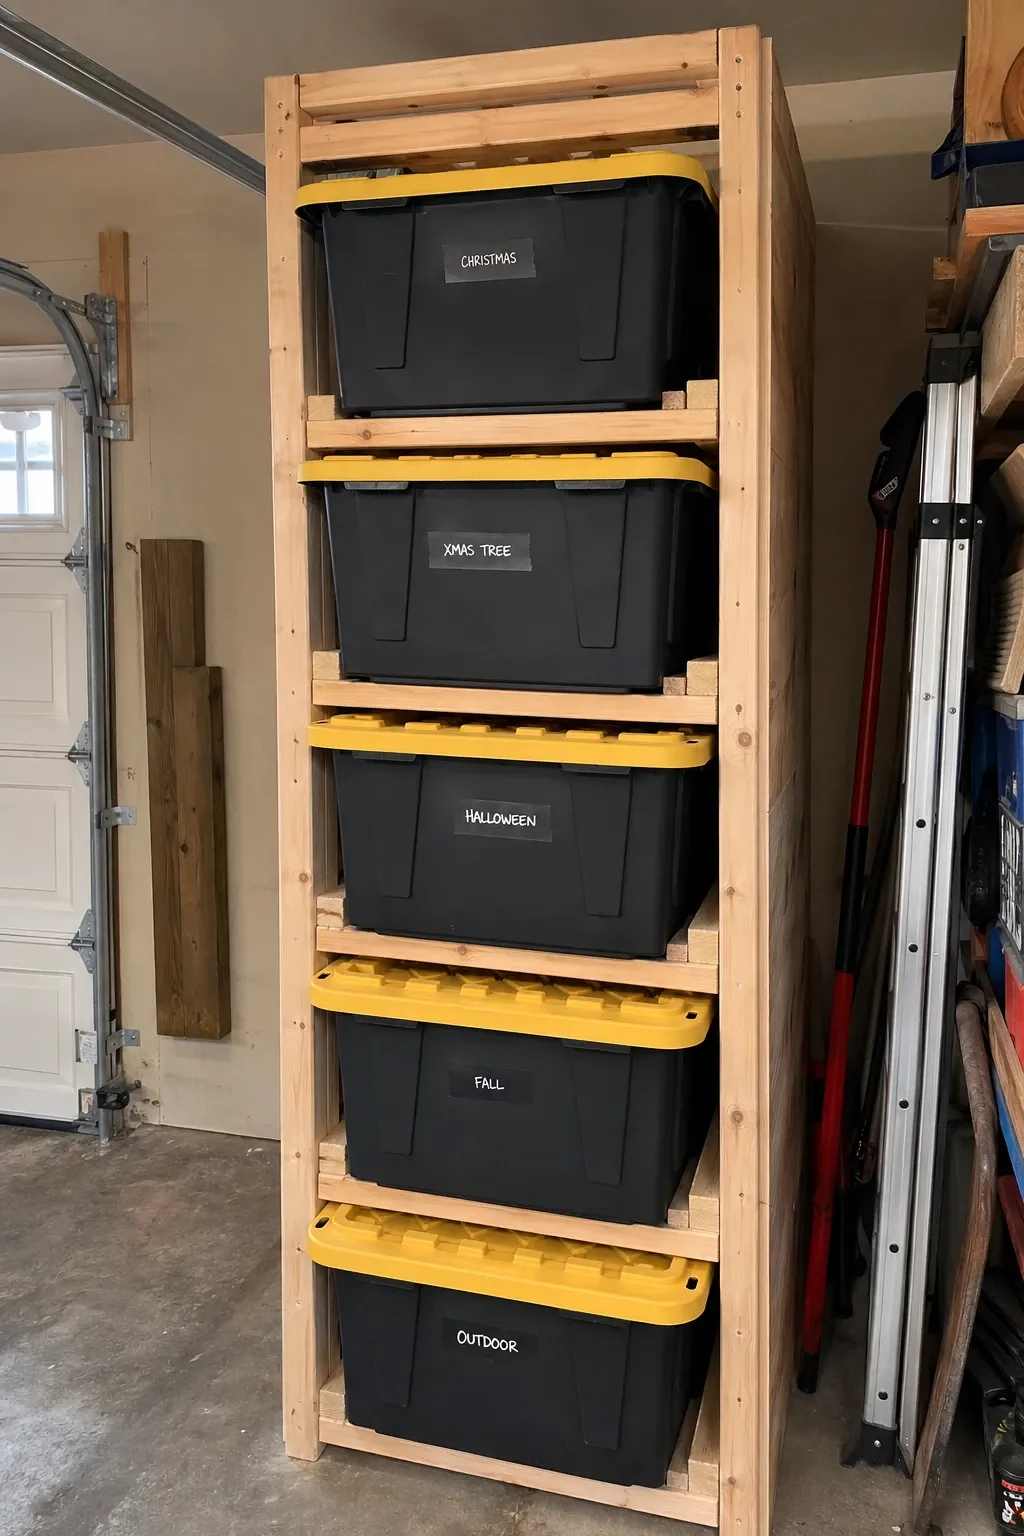
Large plastic bins with snap-on lids stack in columns against the wall or on shelving. Label each bin and you have an organized system for seasonal decorations, sports gear, camping equipment, and anything else that needs a home. The lids keep dust, bugs, and moisture out, which matters in a garage. Buy bins on sale at any big box store for a few dollars each.
Designer Tip: Use clear bins or bins in a single color for a uniform look. A wall of mismatched bins in random colors looks like a recycling center. Clear bins let you see contents at a glance, and single-color bins create a clean visual.
A tower of small tilting bins holds screws, nails, bolts, washers, and other small hardware. Each bin tilts forward so you can see and grab what is inside. Mount the tower on the wall above or beside the workbench. This replaces the coffee cans and random jars that most people use for small parts and actually lets you find what you need without dumping out three containers.
Designer Tip: Label every bin even if you think you will remember what is in each one. After a month you will not remember which bin has drywall screws versus wood screws. Labels save searching time on every project.
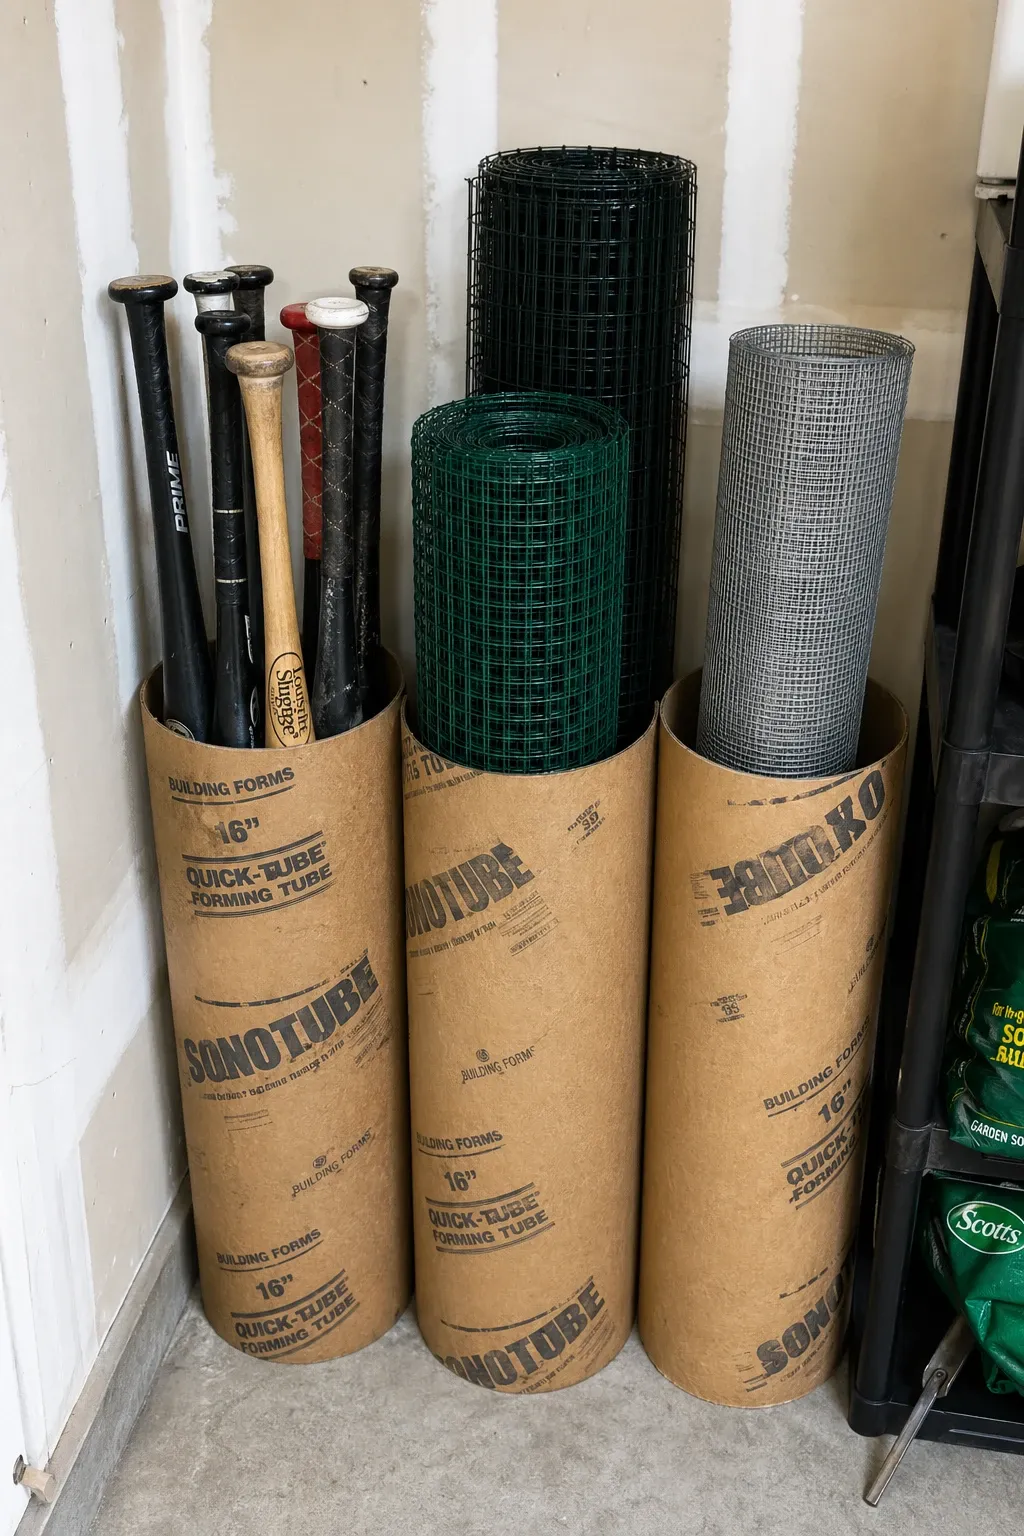
Cardboard tubes from paper towel rolls or mailing tubes hold extension cords, ropes, and cables in individual coils that do not tangle. Label each tube and stand them upright in a bin or box. When you need a specific cord, pull the right tube. This eliminates the tangled cord mess that lives in every garage drawer. It costs nothing if you save tubes from household rolls.
Designer Tip: Use wider tubes for thick extension cords and narrower tubes for lighter cables. If the tube is too narrow for the cord, it will not coil neatly inside. Match the tube diameter to the cord thickness for clean storage.
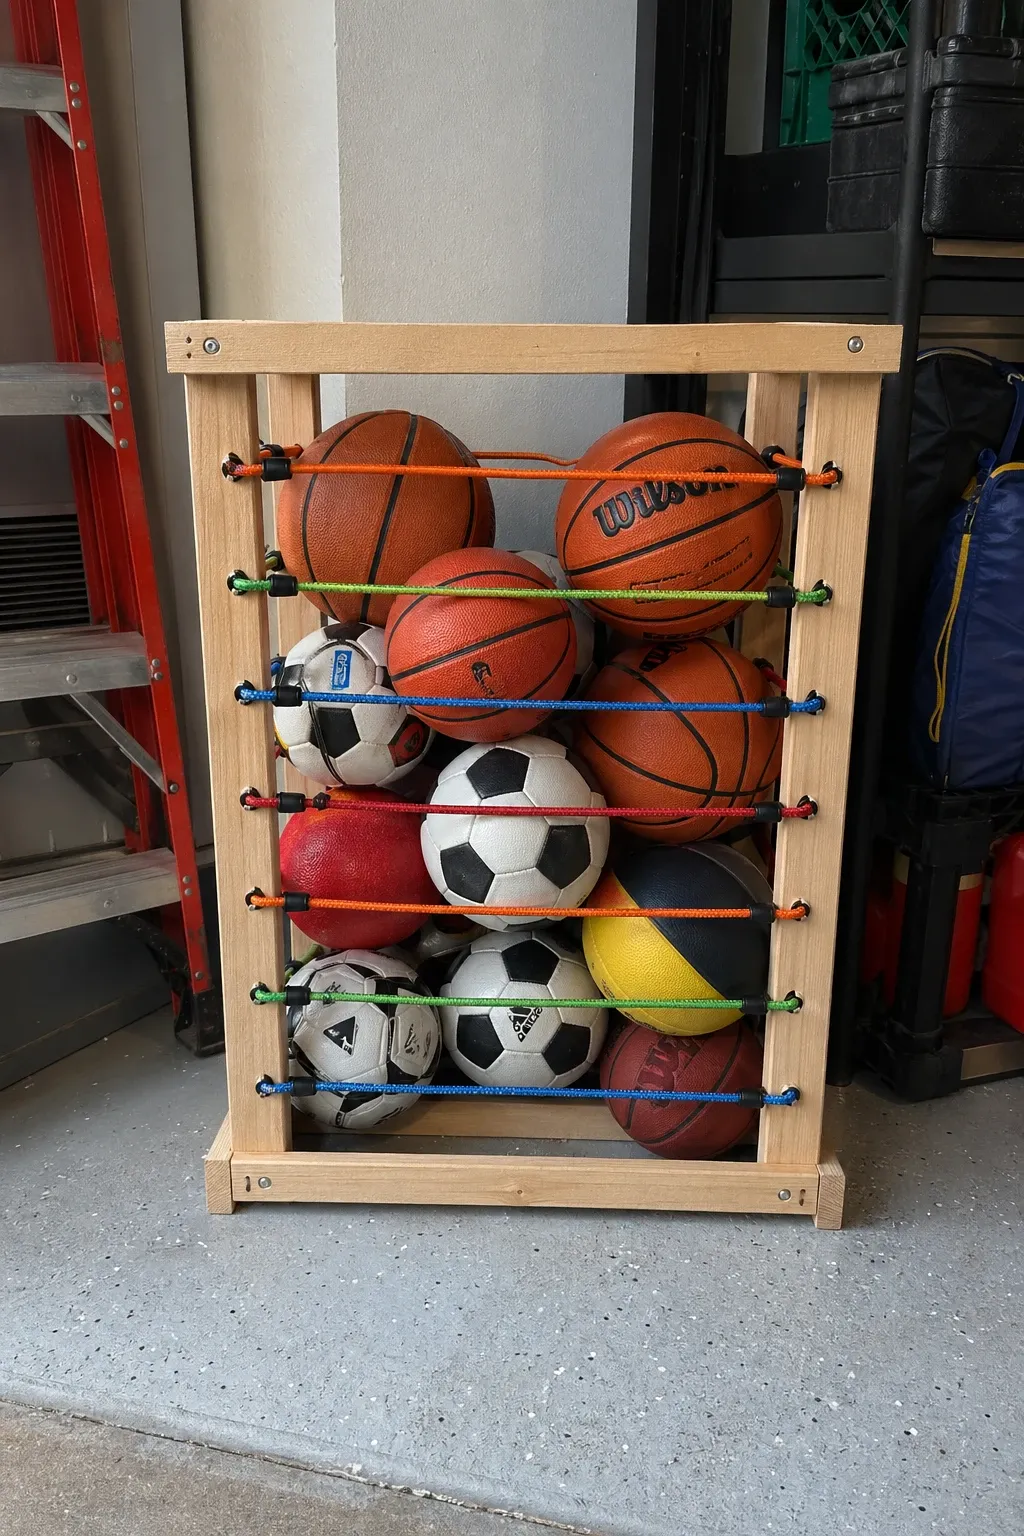
A simple corral made from two vertical boards with bungee cords stretched horizontally between them holds sports balls in a visible, accessible stack. Toss a basketball in the top and pull one out from the bottom by stretching the bungee cord. The elastic cords flex to let balls in and out while keeping them contained. This takes 30 minutes to build and uses about five dollars worth of materials.
Designer Tip: Mount the corral at a height where kids can reach the balls themselves. If they need an adult to get the basketball every time, the corral will not get used. Kid-accessible height encourages independent use and cleanup.
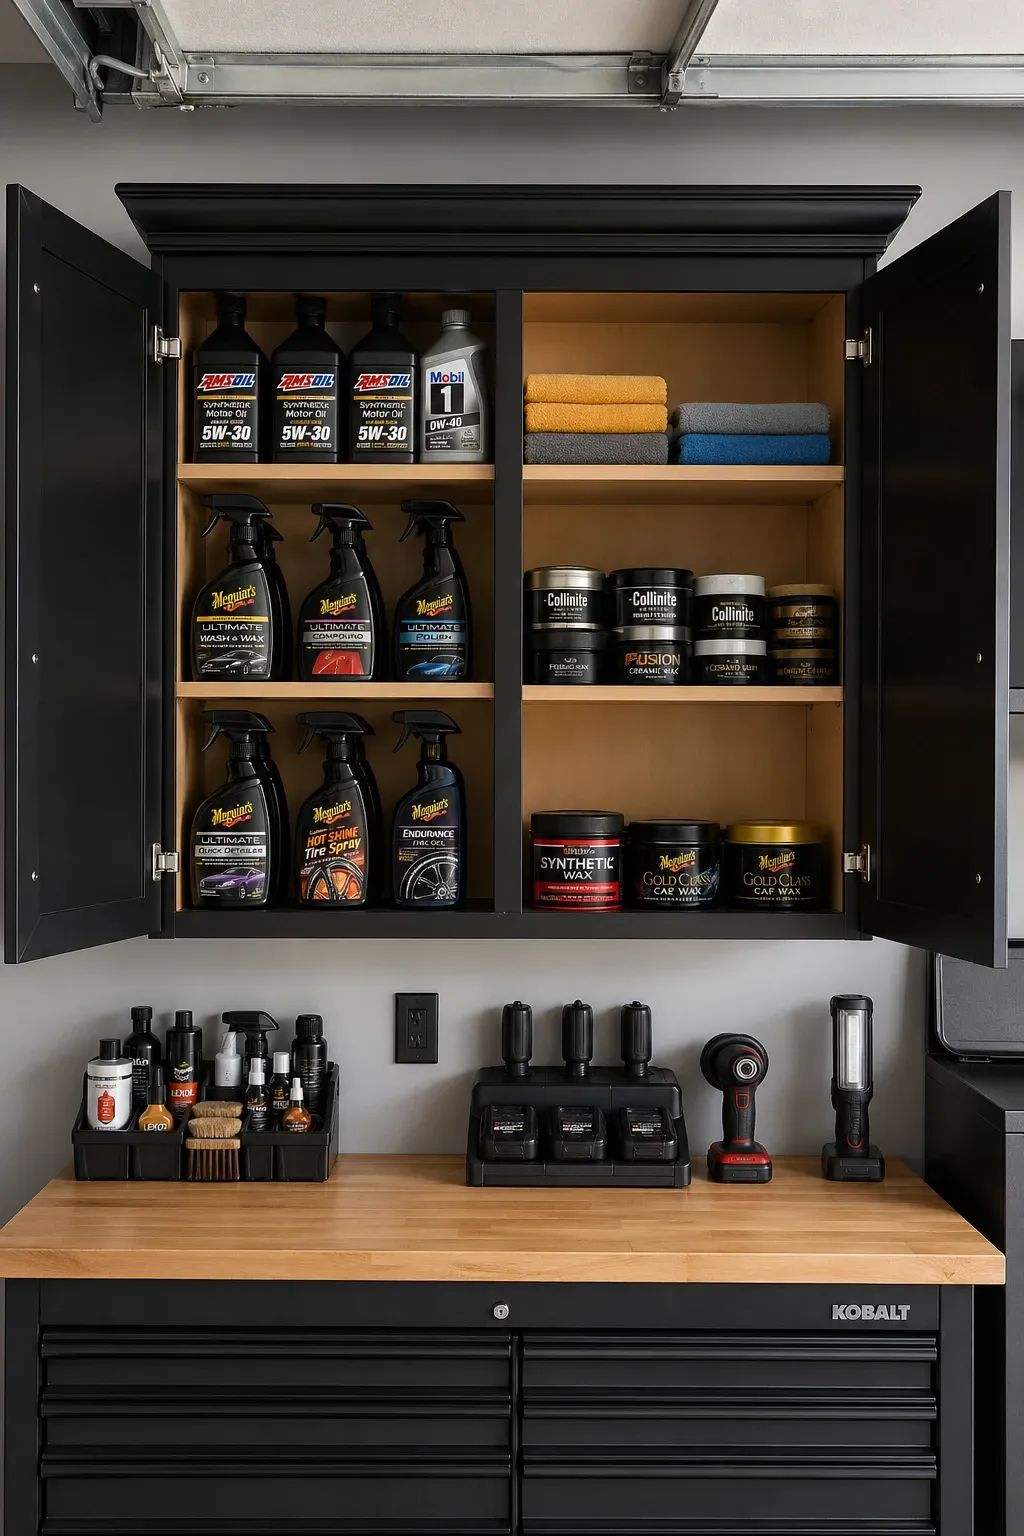
An old kitchen cabinet, bathroom vanity, or thrift store cabinet mounted on the garage wall gives you enclosed storage for car care products, chemicals, and messy items. The doors hide the clutter and the shelves keep bottles organized. Used cabinets cost almost nothing from salvage stores, habitat restores, or neighborhood giveaways. A quick coat of paint makes them look fresh.
Designer Tip: Mount the cabinet at a height where the top shelf is easy to reach. Wall-mounted cabinets in the garage tend to go too high because people mount them above head height. That puts the top shelf out of comfortable reach and those shelves never get used.
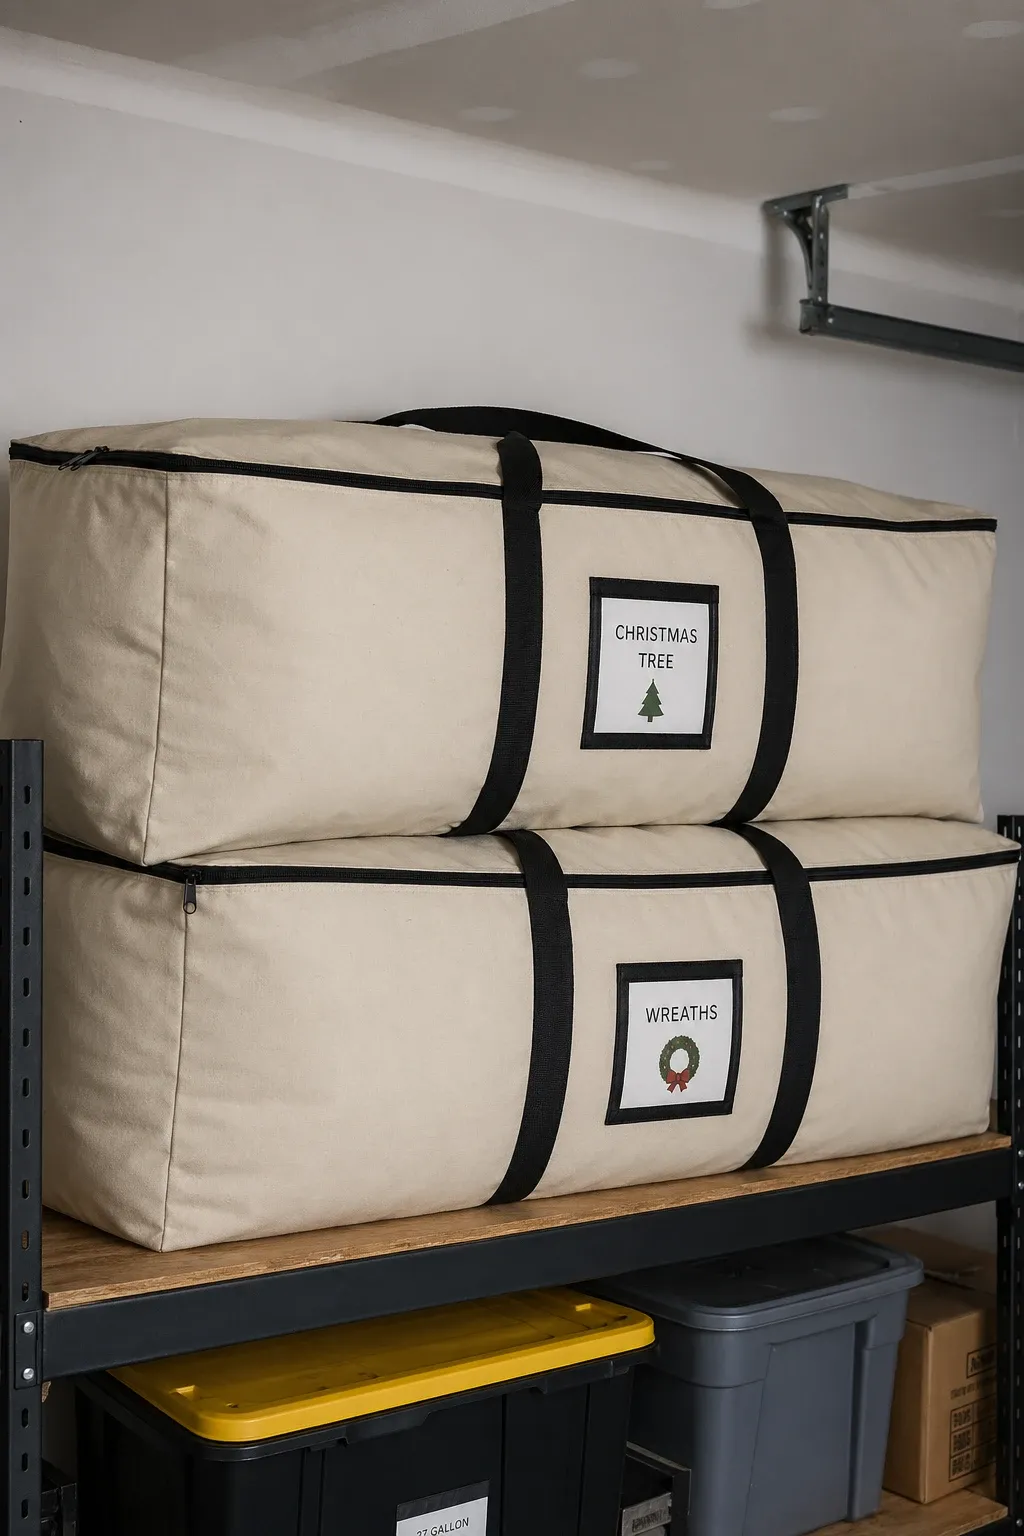
Large canvas bags with handles are a cheaper, lighter alternative to plastic bins for storing seasonal decorations, holiday lights, and soft items like outdoor cushion covers. Canvas bags squish to fit on shelves and in tight spots where rigid bins would not fit. They breathe, which prevents mold on fabric items. Hang them on wall hooks or stack them on shelves.
Designer Tip: Label every bag clearly. Canvas bags all look the same from the outside. Without labels, you end up opening three bags to find the Christmas lights. A luggage tag or a label card tied to the handle solves this.
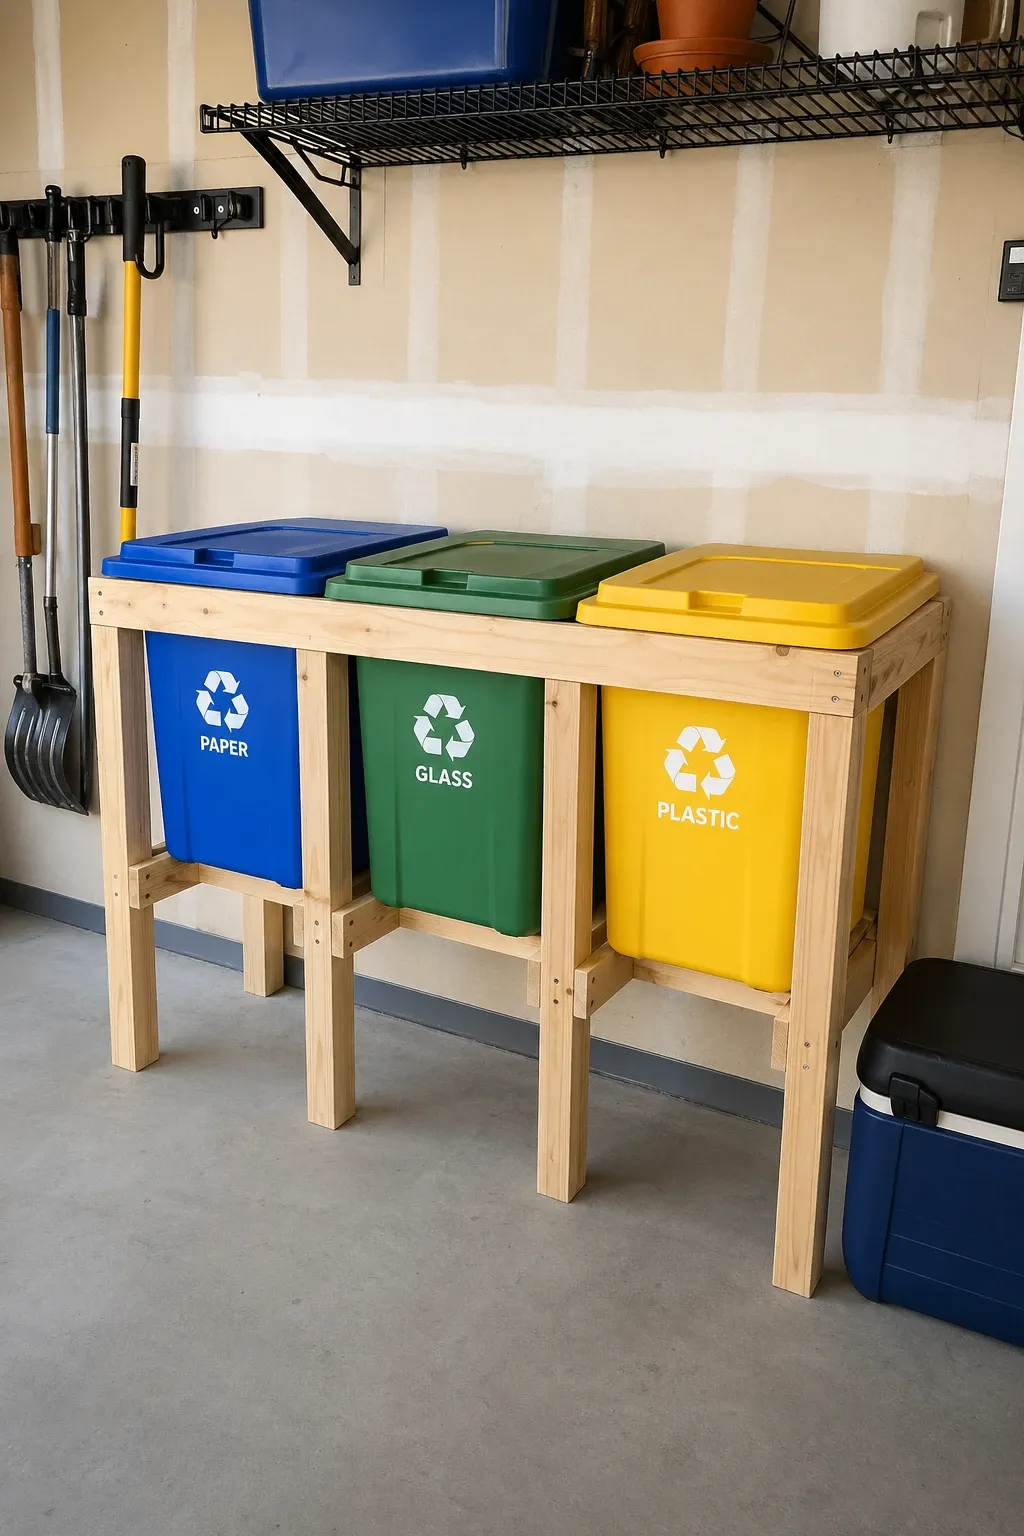
A simple frame that holds recycling bins stacked vertically or side by side keeps recycling organized and off the garage floor. Without a rack, recycling bins tend to wander around the garage and block the car or walking path. A dedicated rack gives each bin a fixed position and makes sorting recycling easy. Build one from scrap wood or buy a basic metal frame.
Designer Tip: Put the rack near the door that leads to the kitchen so taking recycling to the garage is convenient. If the recycling rack is at the far end of the garage, the kitchen counter becomes the default recycling station.
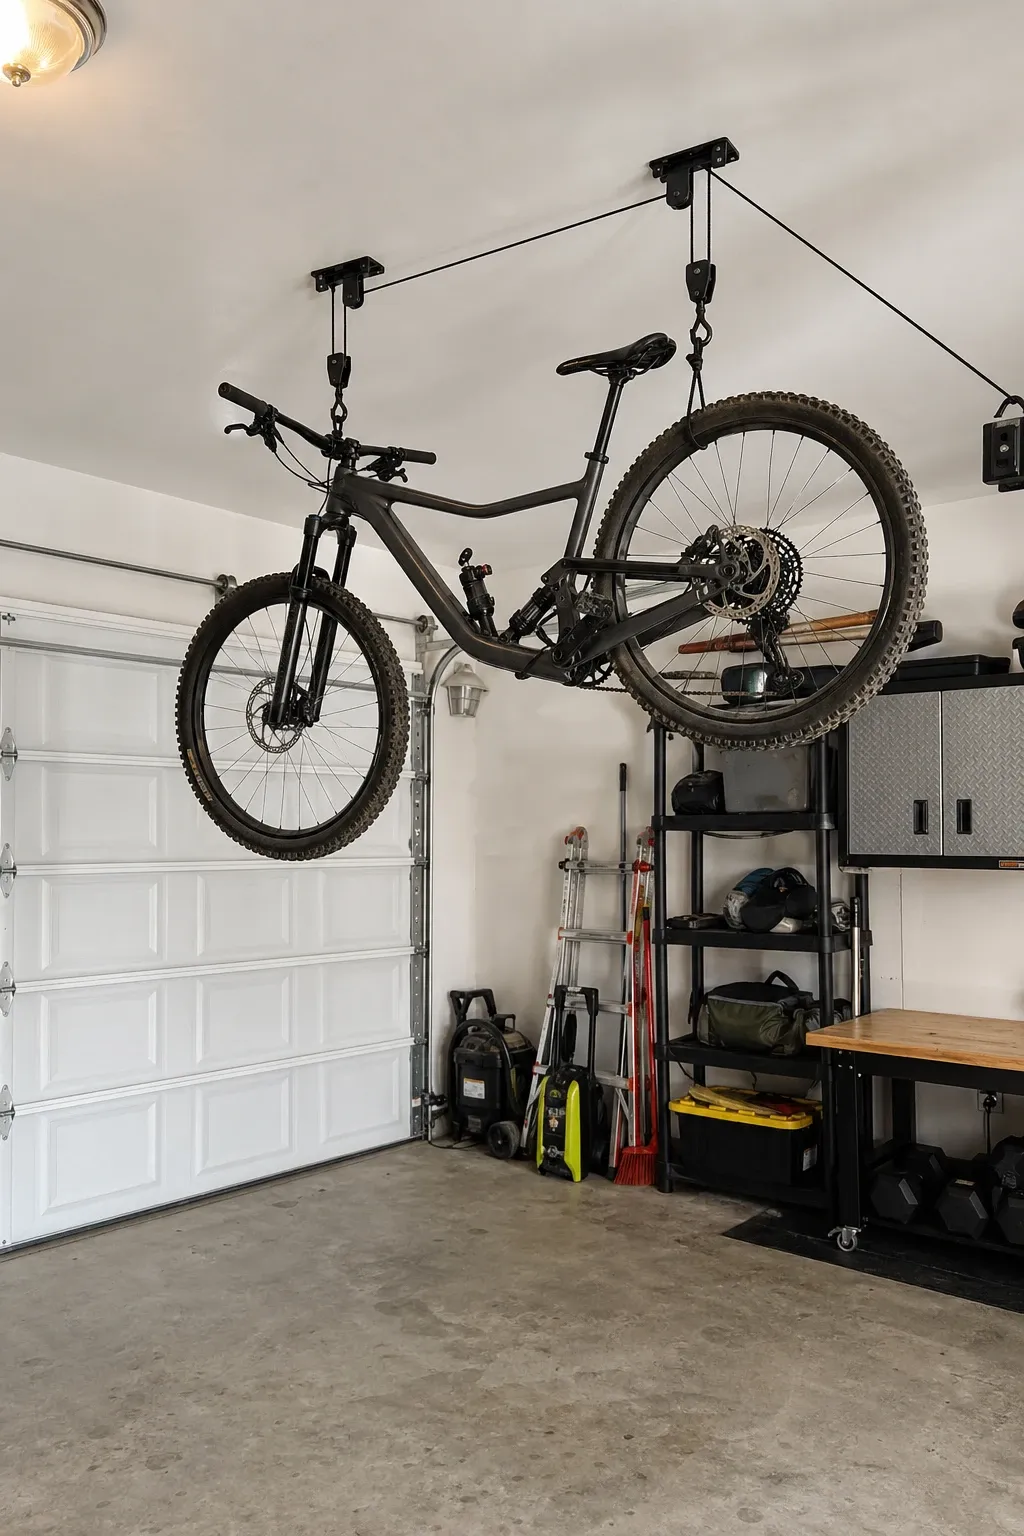
A pulley-based bike hoist lifts a bike to the garage ceiling on a rope and locks it there. The bike hangs overhead and the floor space it was occupying is freed up completely. Pull the rope to lower it when you want to ride. Bike hoists cost around fifteen to twenty dollars and install in under an hour. For a small garage where bikes take up prime floor space, this is one of the highest-impact changes you can make.
Designer Tip: Position the hoist so the bike hangs above the car hood or in a spot where it does not interfere with opening car doors. A bike hanging over the walkway at head height is an annoyance. Over the car hood is dead space you were not using anyway.
A weekend and a modest budget can turn a chaotic garage into an organized space. The trick is getting things off the floor and onto walls, ceilings, and into containers. Most of these ideas cost under twenty dollars each and use basic tools. Start with the highest-impact project for your garage, whether that is getting bikes off the floor, tools on the wall, or bins on shelves, and build from there.
Frequently Asked Questions
What is the cheapest way to organize a garage?
Repurposed items are the cheapest route. Old pallets, saved cardboard tubes, free cabinets from salvage stores, and basic hooks and screws from the hardware store can organize an entire garage for under fifty dollars. Pegboard and plywood shelving are the next step up and still very affordable.
How do I organize a garage with too much stuff?
Start by sorting everything into keep, donate, and trash piles. Most people have garage items they have not touched in years. Once you have reduced the volume, group the remaining items by category (tools, sports, seasonal, auto) and assign each category a zone in the garage. Then add storage solutions to those zones.
Should I use open or closed storage in the garage?
Use open storage for items you grab frequently, like tools and sports gear. Use closed storage like bins with lids and cabinets for items you access less often, like seasonal decorations and chemicals. A mix of both gives you fast access to daily items and protection for stored items.
How do I keep a garage organized long term?
The key is giving every item a specific home and putting it back after each use. Labels on bins, outlines on pegboard, and designated zones for each category help everyone in the household maintain the system. Do a quick audit every few months to catch items that have drifted from their assigned spots and things that should be donated or trashed.