Bikes in the garage take up a ridiculous amount of floor space. One bike leaning against the wall is manageable. Two or three bikes sprawled across the floor and you can barely walk to the car. The solution is getting bikes off the ground and onto walls, ceilings, or into compact systems that reclaim the space they are hogging. Here are 15 garage bike storage ideas that actually free up real space.
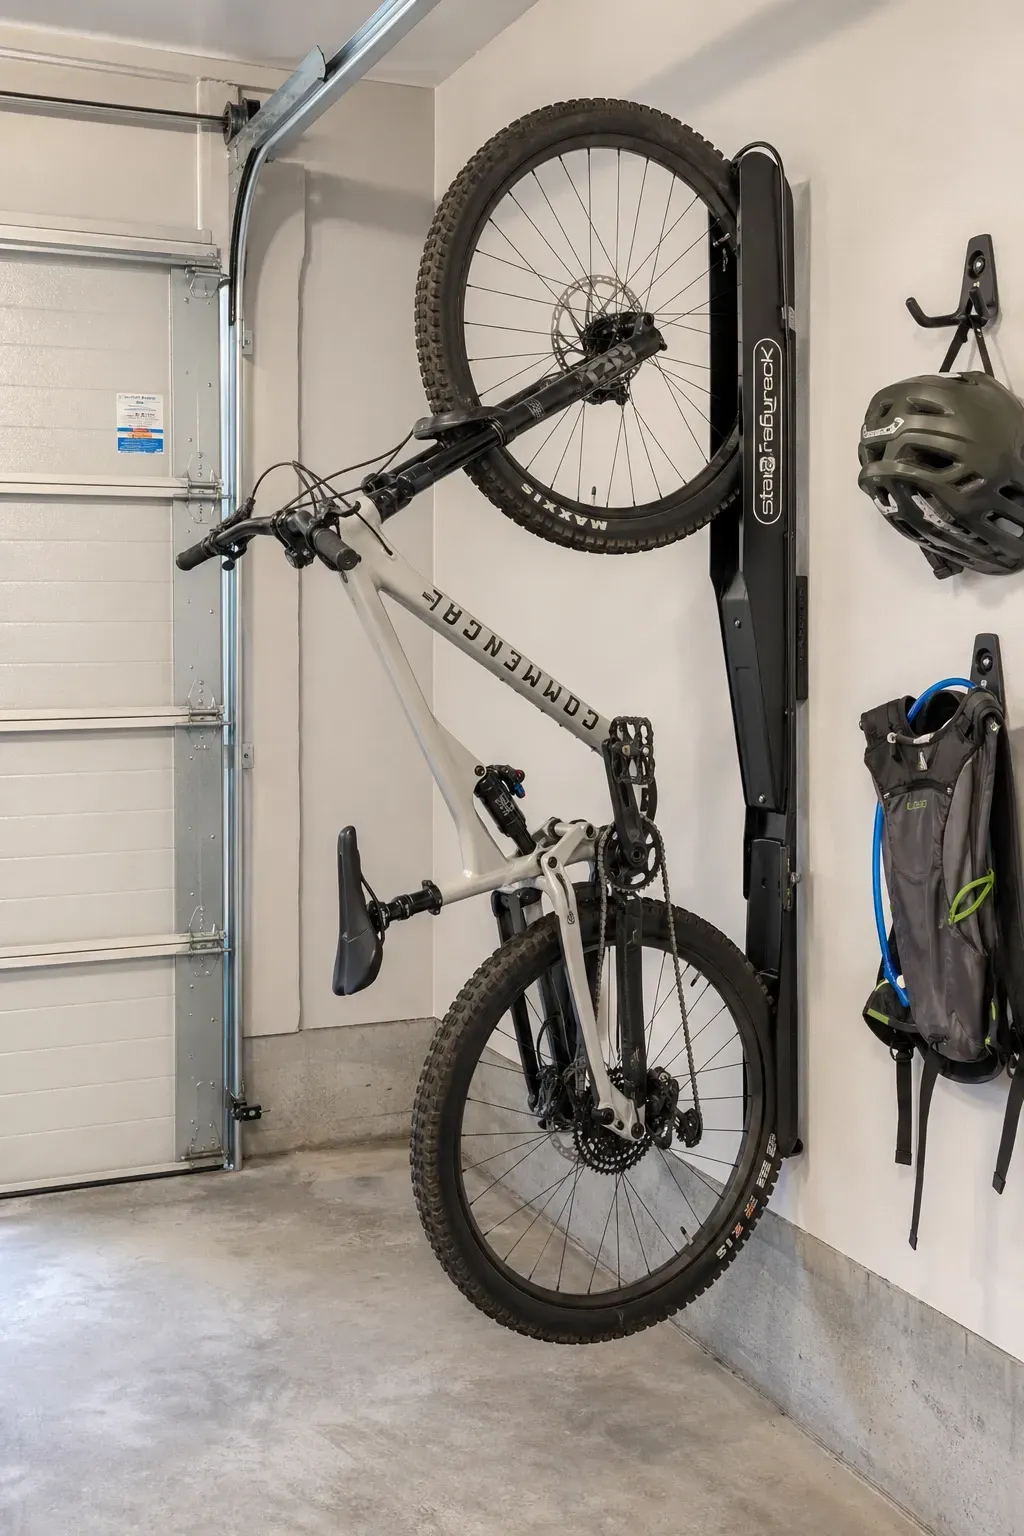
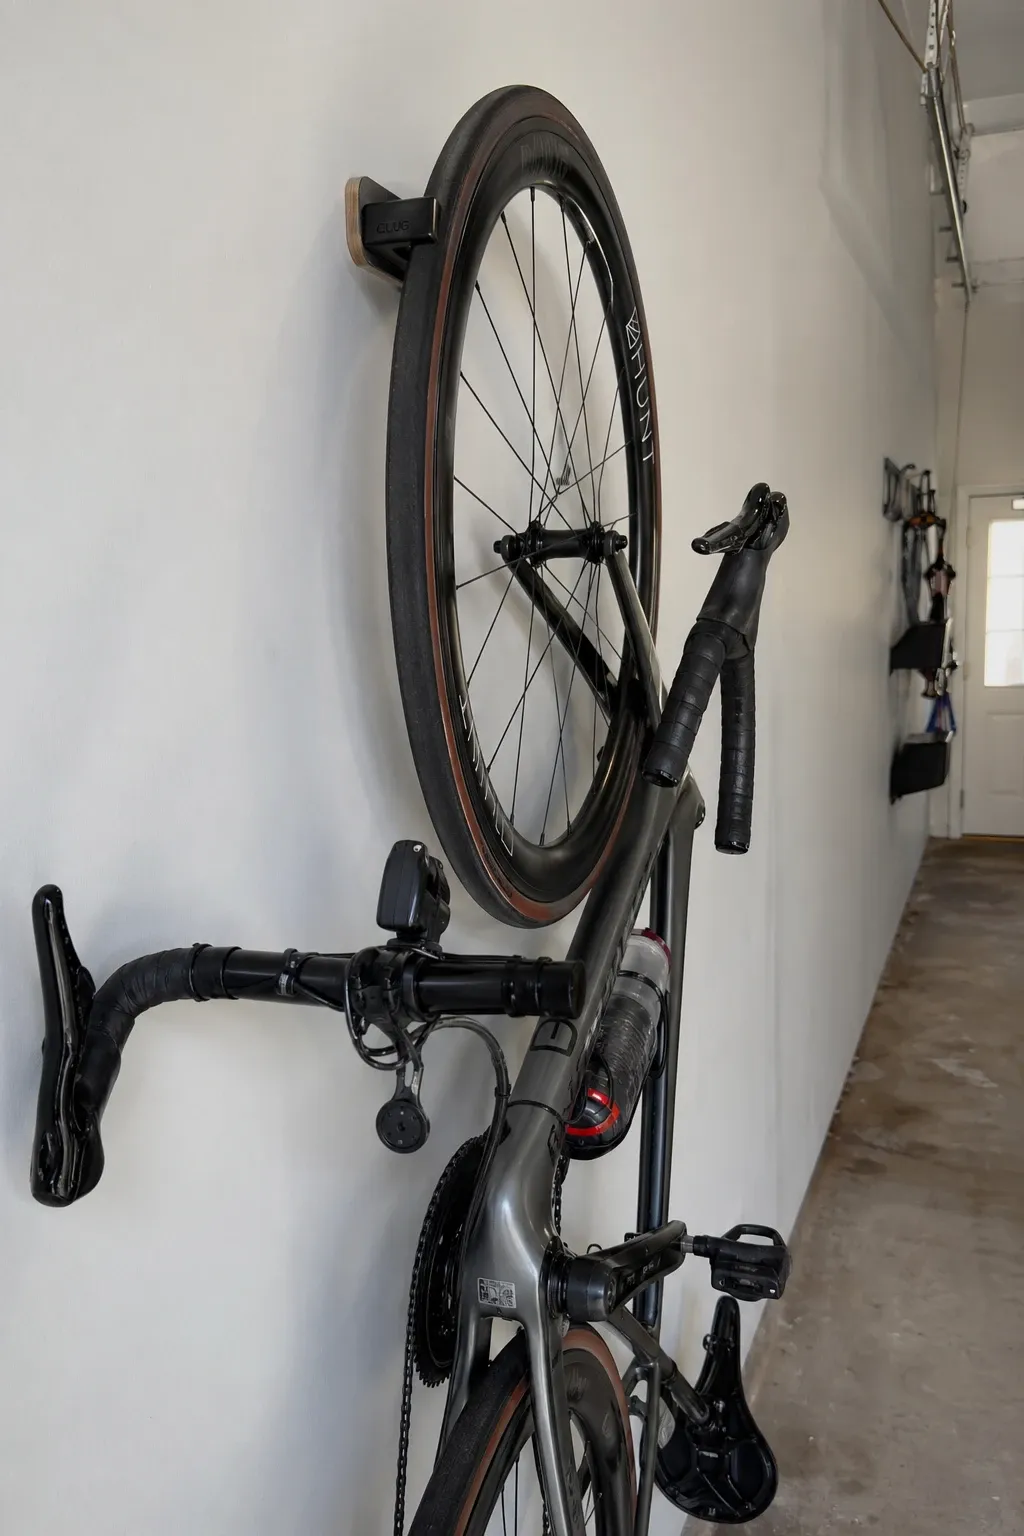
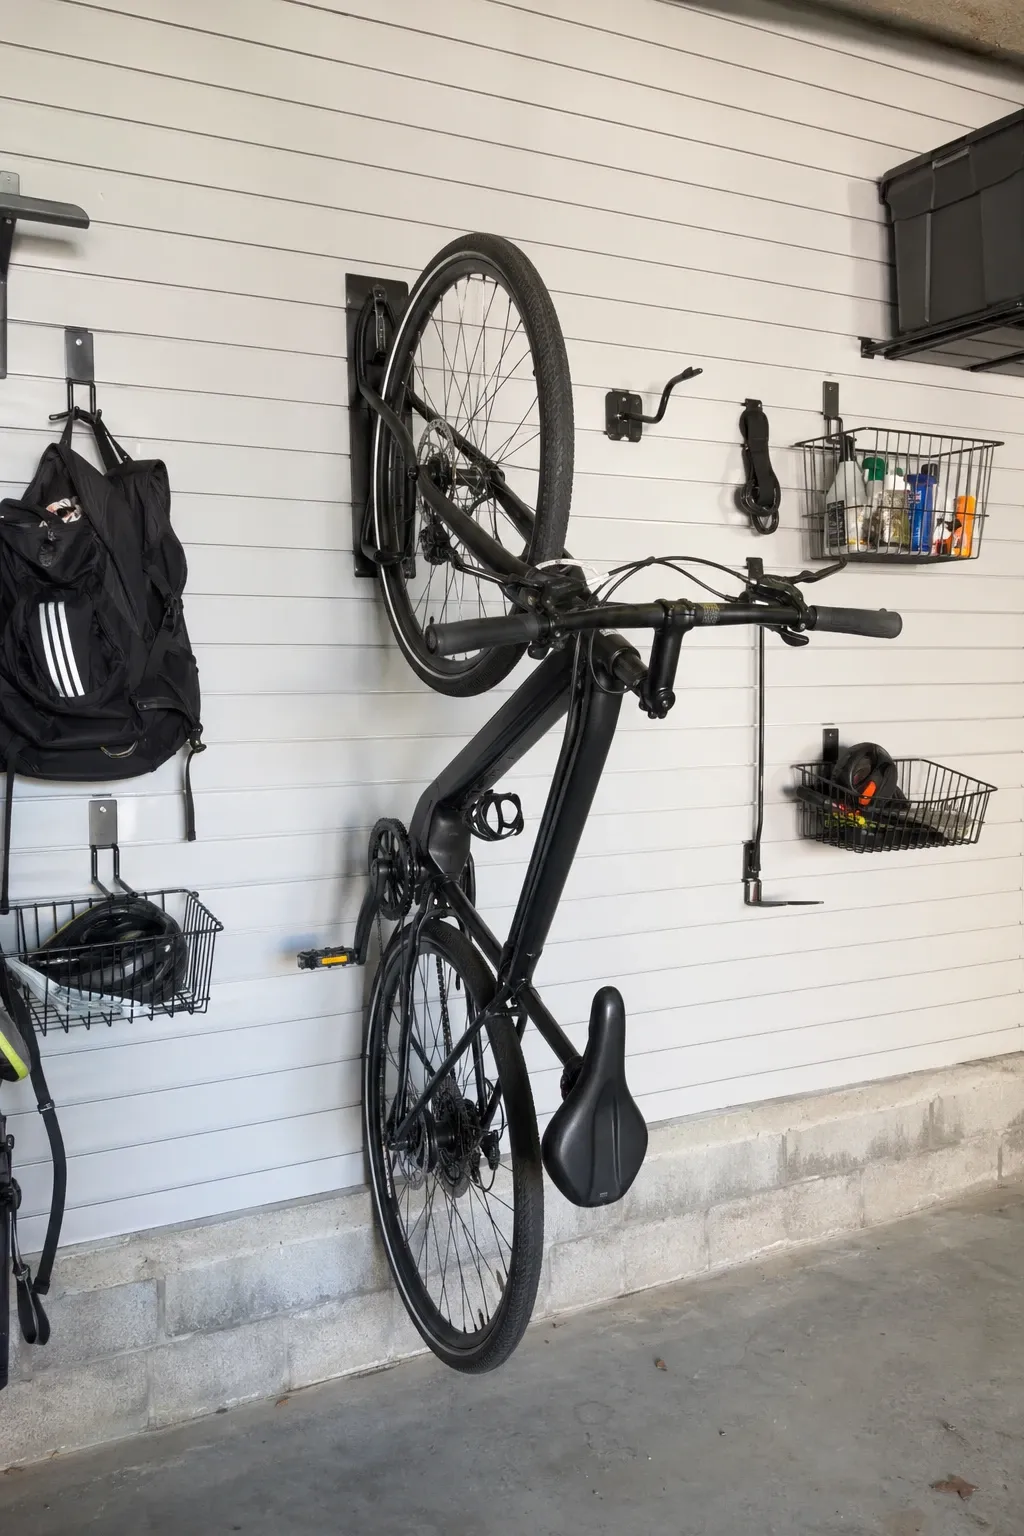
Vertical wall racks hold the bike upright with the front wheel against the wall. The bike sits perpendicular to the wall and takes up about 2 feet of wall space and barely any floor space. Swing-arm models let you pivot the bike flat against the wall when not in use. This is one of the best options for garages with limited floor space but open wall area.
Designer Tip: Mount the rack at a height where you can comfortably lift the front wheel into the cradle. Too high and loading the bike becomes a struggle. Waist height for the mounting point is comfortable for most adults.
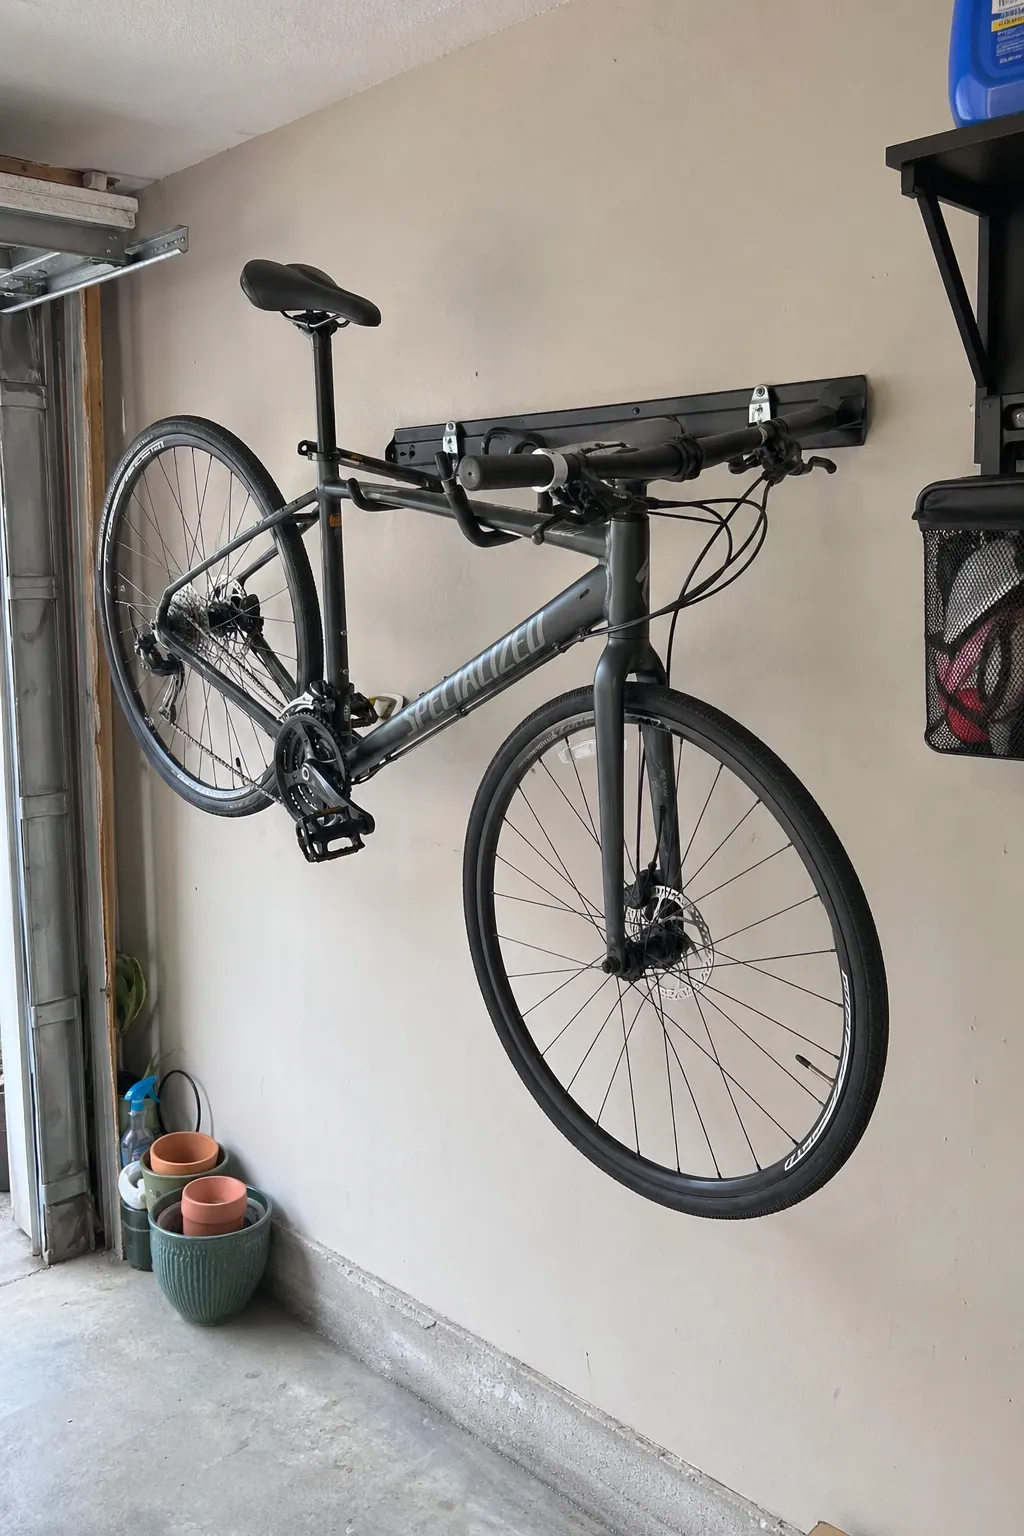
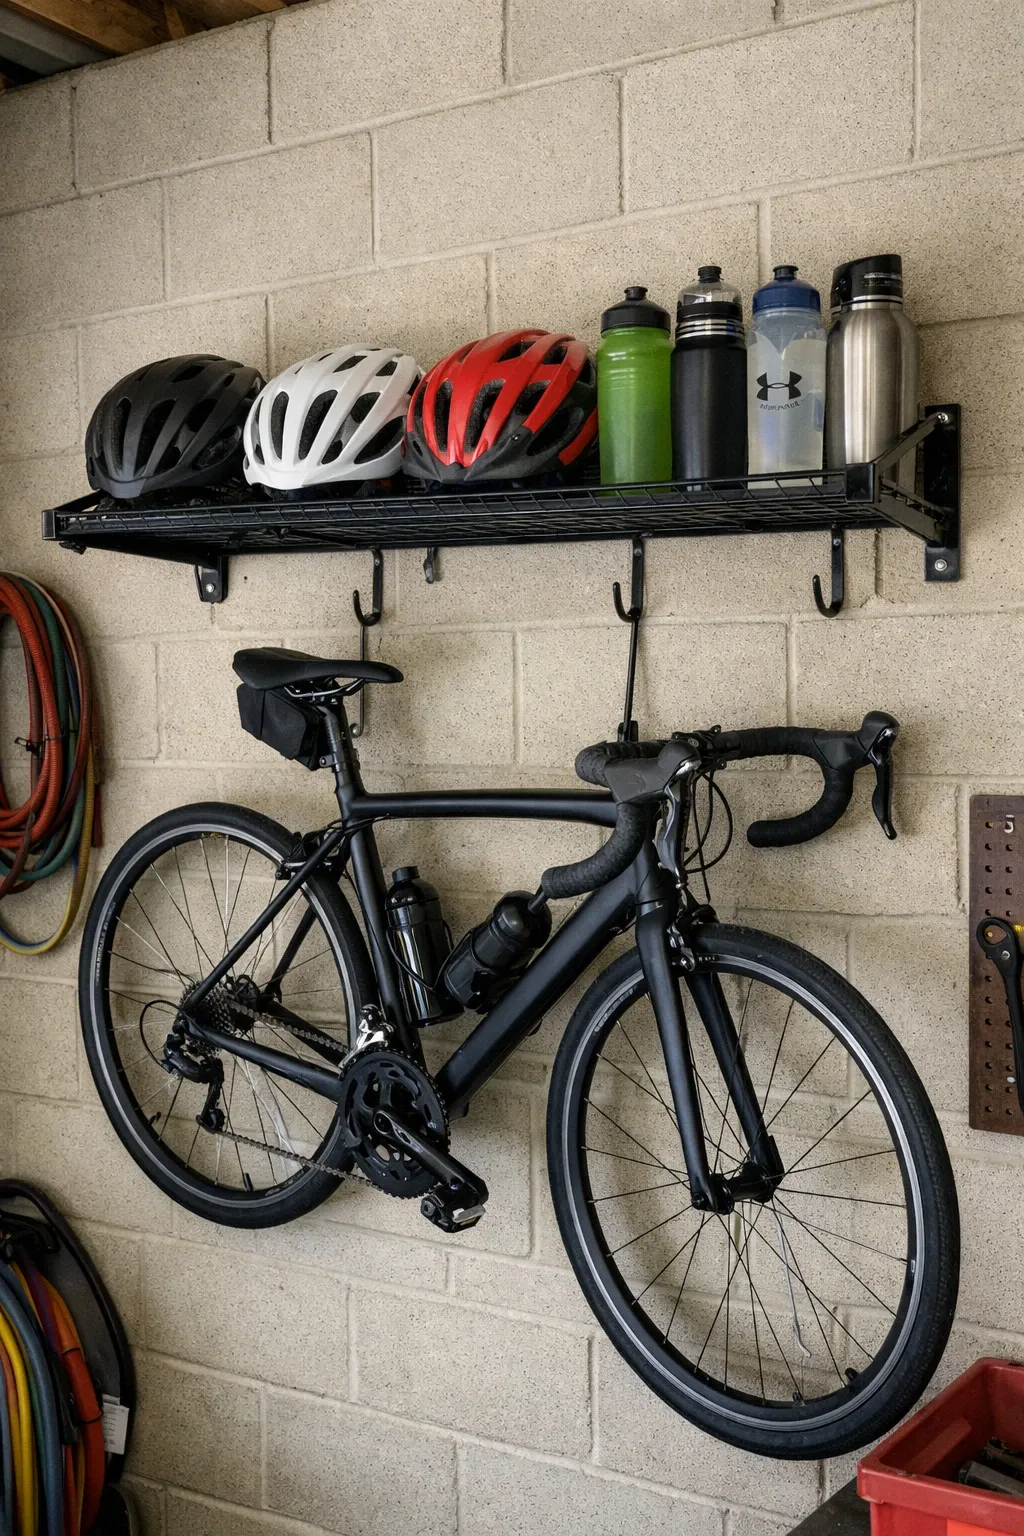
A simple J-hook or padded hook screwed into a wall stud holds the bike by its front wheel, hanging it horizontally off the floor. This is the cheapest bike storage option. A hook costs a few dollars and installs in five minutes. The bike hangs flat against the wall with the frame parallel to the floor. Stack bikes at different heights on the same wall to fit multiple bikes in a small area.
Designer Tip: Use rubber-coated hooks to protect the wheel rim from scratches. Bare metal hooks dig into the rim over time and can damage the tire bead. A padded or coated hook costs barely more and prevents damage.
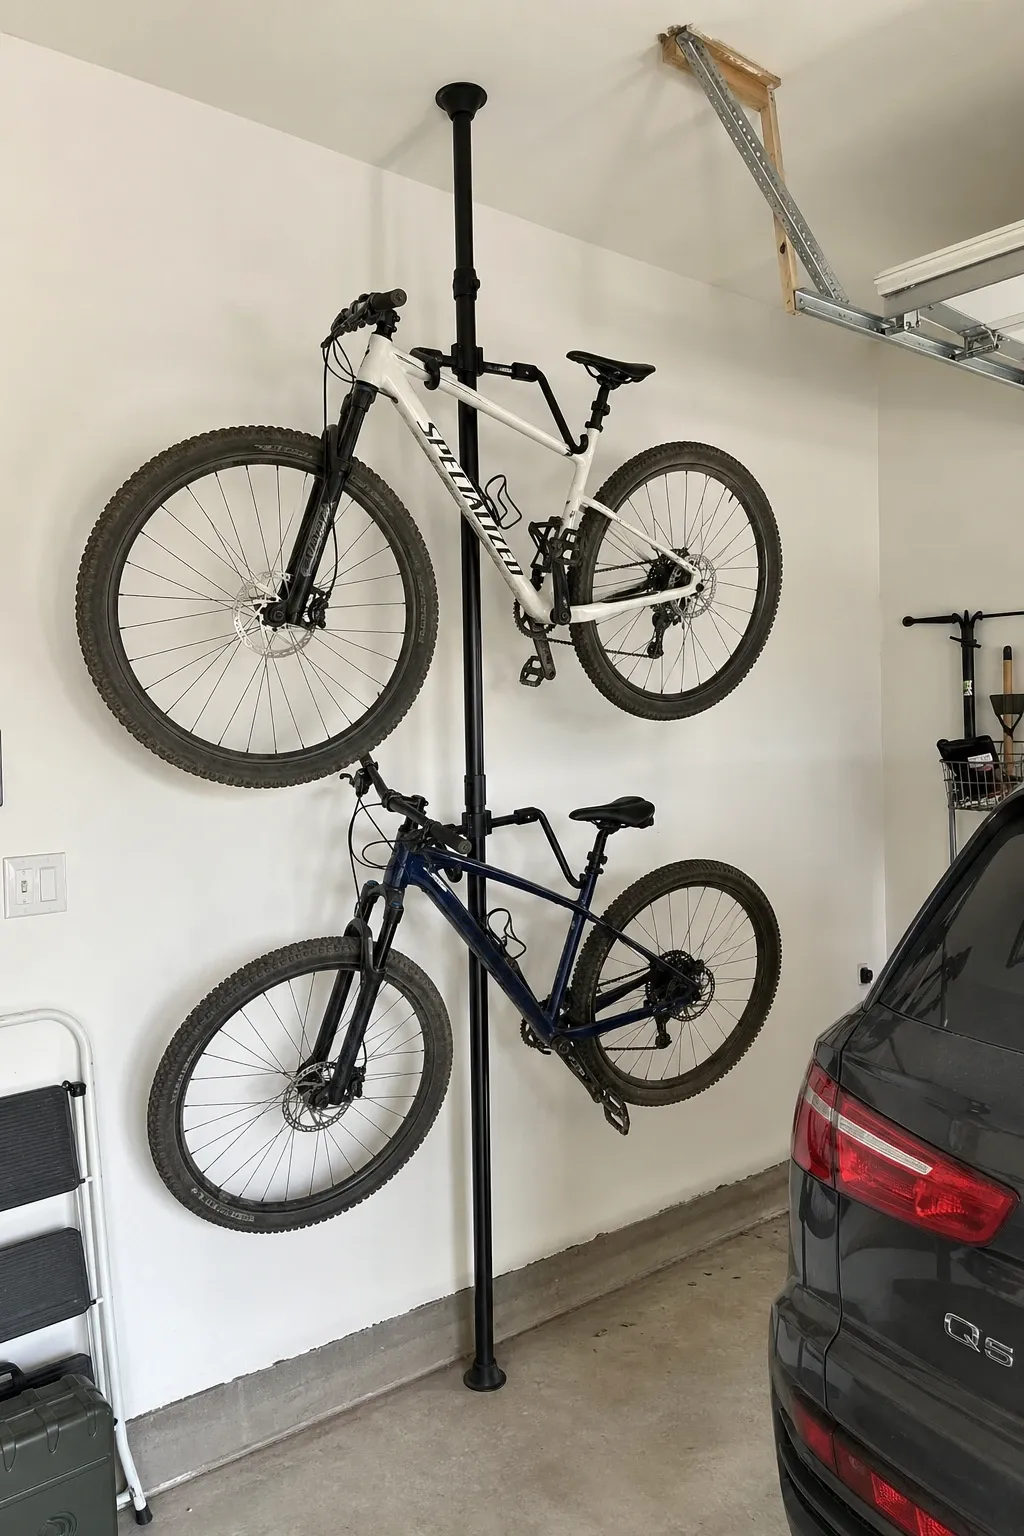
A tension pole that presses between the floor and ceiling holds one or two bikes on adjustable arms. No drilling, no wall damage, and the pole can go anywhere in the garage. The bike hangs from adjustable hooks on the pole and the whole unit takes up about one square foot of floor space. Tension poles are popular in apartments too, but in a garage you have the ceiling height to stack two bikes vertically.
Designer Tip: Make sure the ceiling is solid enough to handle the pressure. Tension poles push hard against the ceiling and if it is just drywall without a joist behind it, the pole can punch through. Position the top pad directly under a ceiling joist for secure tension.
A small clip mount screwed to the wall grabs the bike tire and holds the bike upright against the wall. The mount itself is tiny, about the size of a fist. The bike rests with the rear tire on the floor and the front tire clipped into the wall mount. This is the most minimal-looking option. When the bike is not on the mount, the clip is almost invisible. Great for people who want function without a big piece of hardware on the wall.
Designer Tip: Match the clip size to your tire width. Clip mounts come in sizes for road bikes, mountain bikes, and fat-tire bikes. The wrong size clip will not grip the tire securely and the bike will fall off the wall.
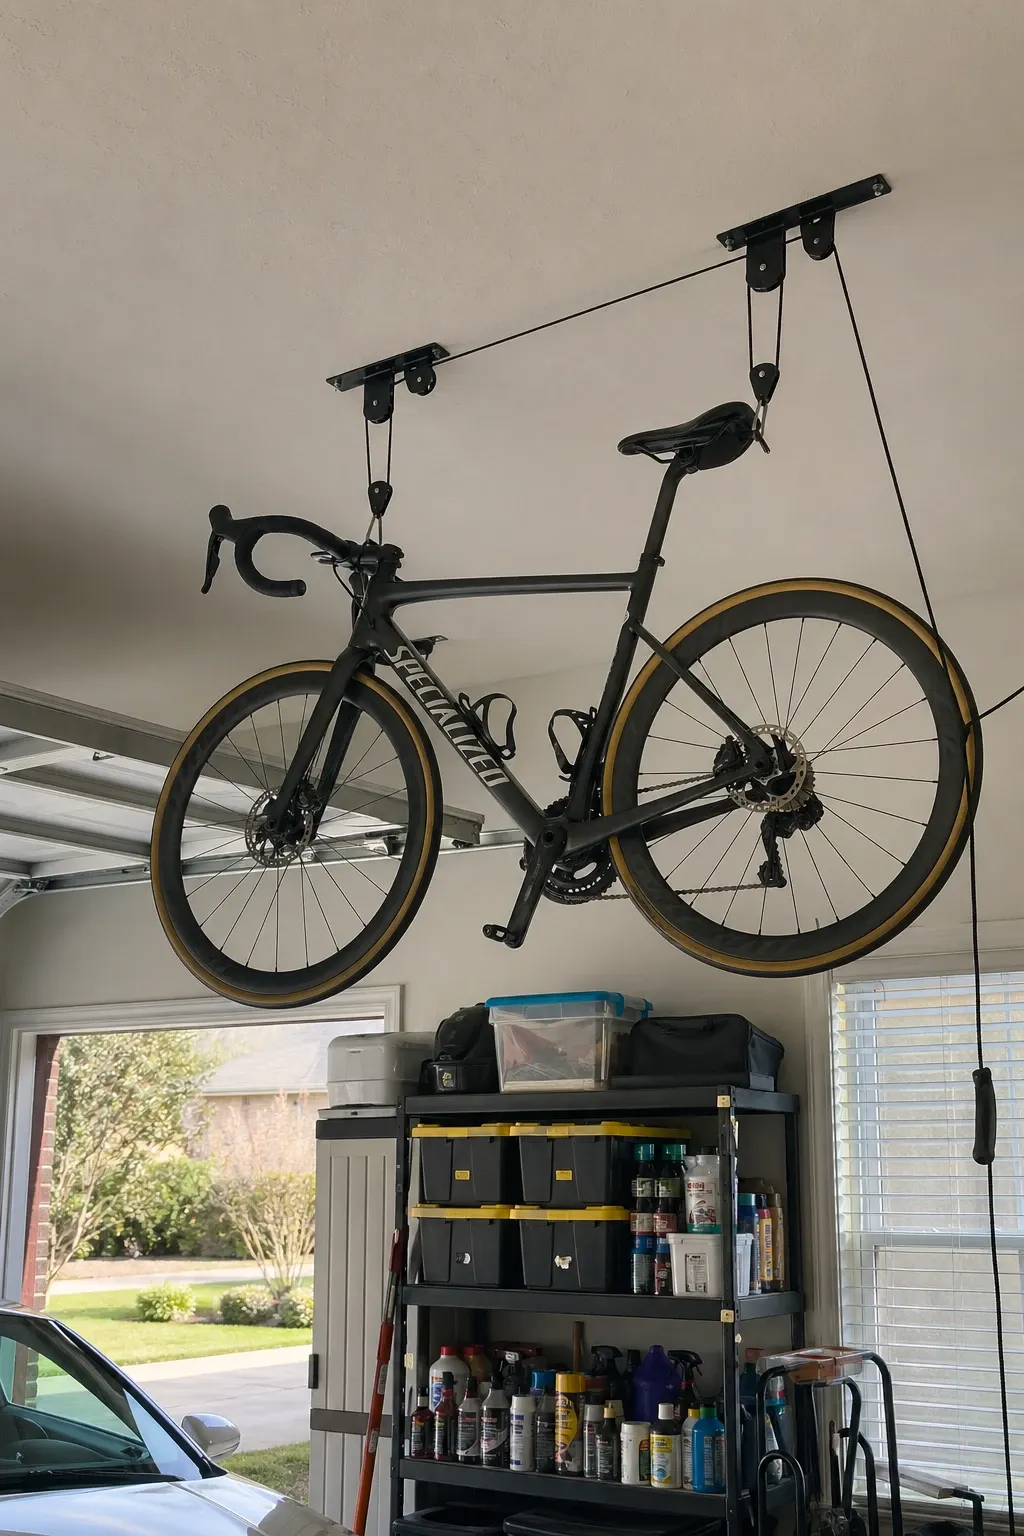
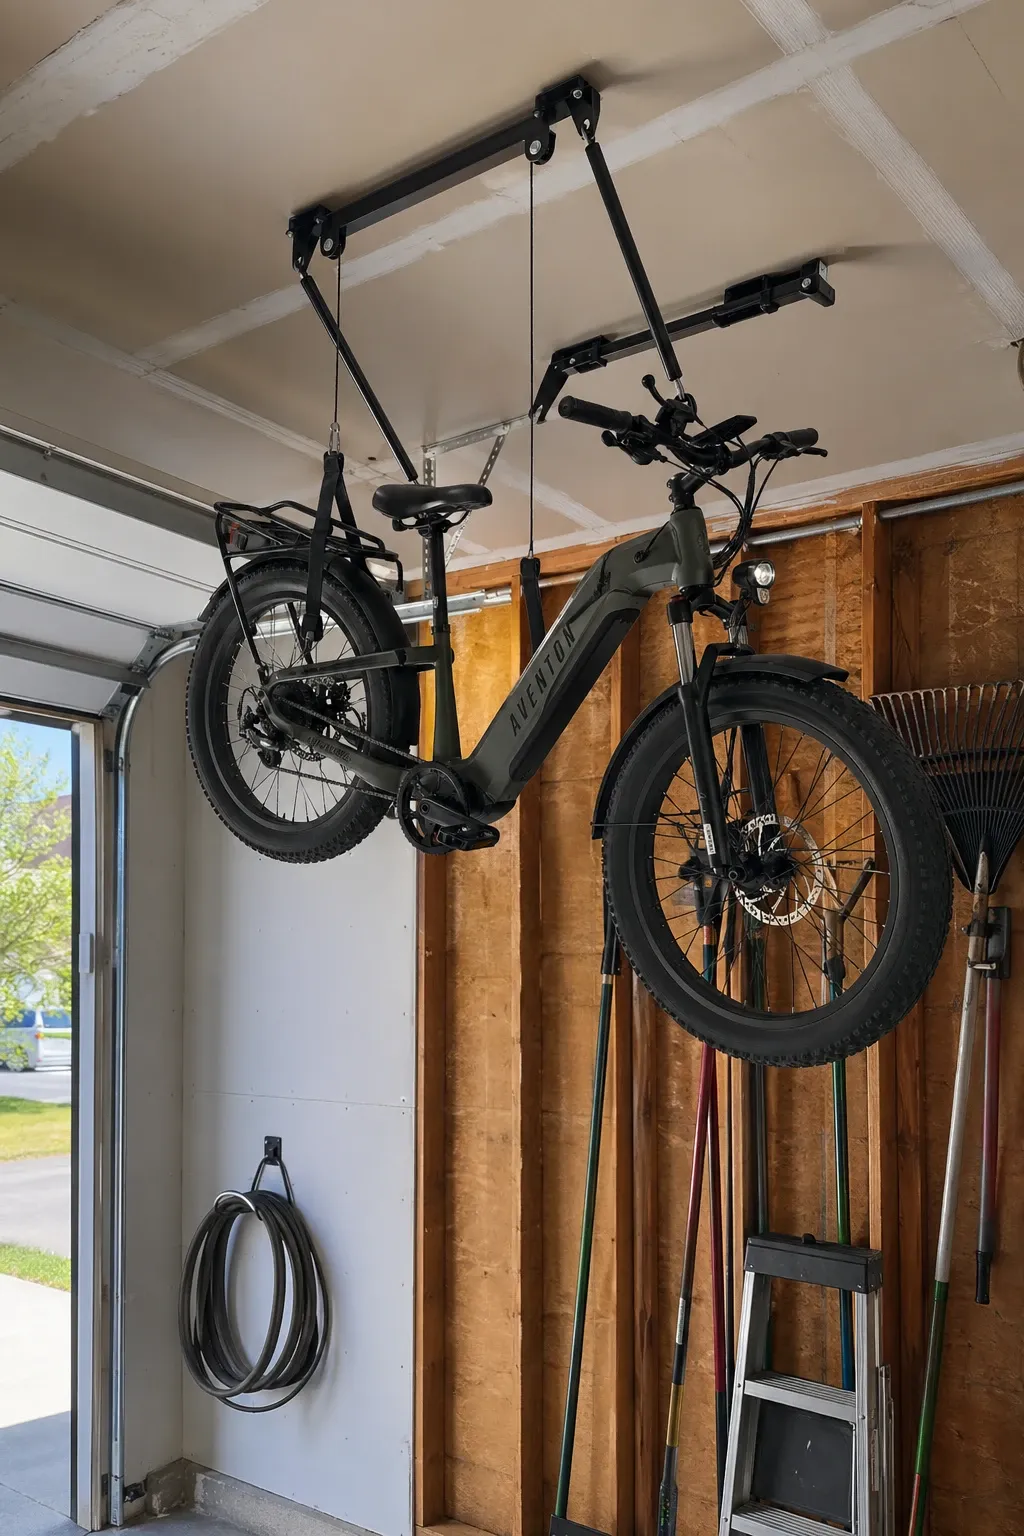
A pulley system hoists the bike up to the ceiling on a rope and locks it there. Pull the rope to raise the bike, cleat it off to lock the height, and the bike hangs overhead completely out of the way. Release the rope and the bike lowers smoothly back to you. This is the gold standard for garages where every wall and floor surface is already in use. The bike lives on the ceiling and floor space stays clear.
Designer Tip: Mount the pulley hooks into ceiling joists, not just drywall. A bike weighs 20 to 30 pounds and the lifting force adds load. Lag bolts into joists give you a solid, safe mount. Mark the joist locations before you drill.
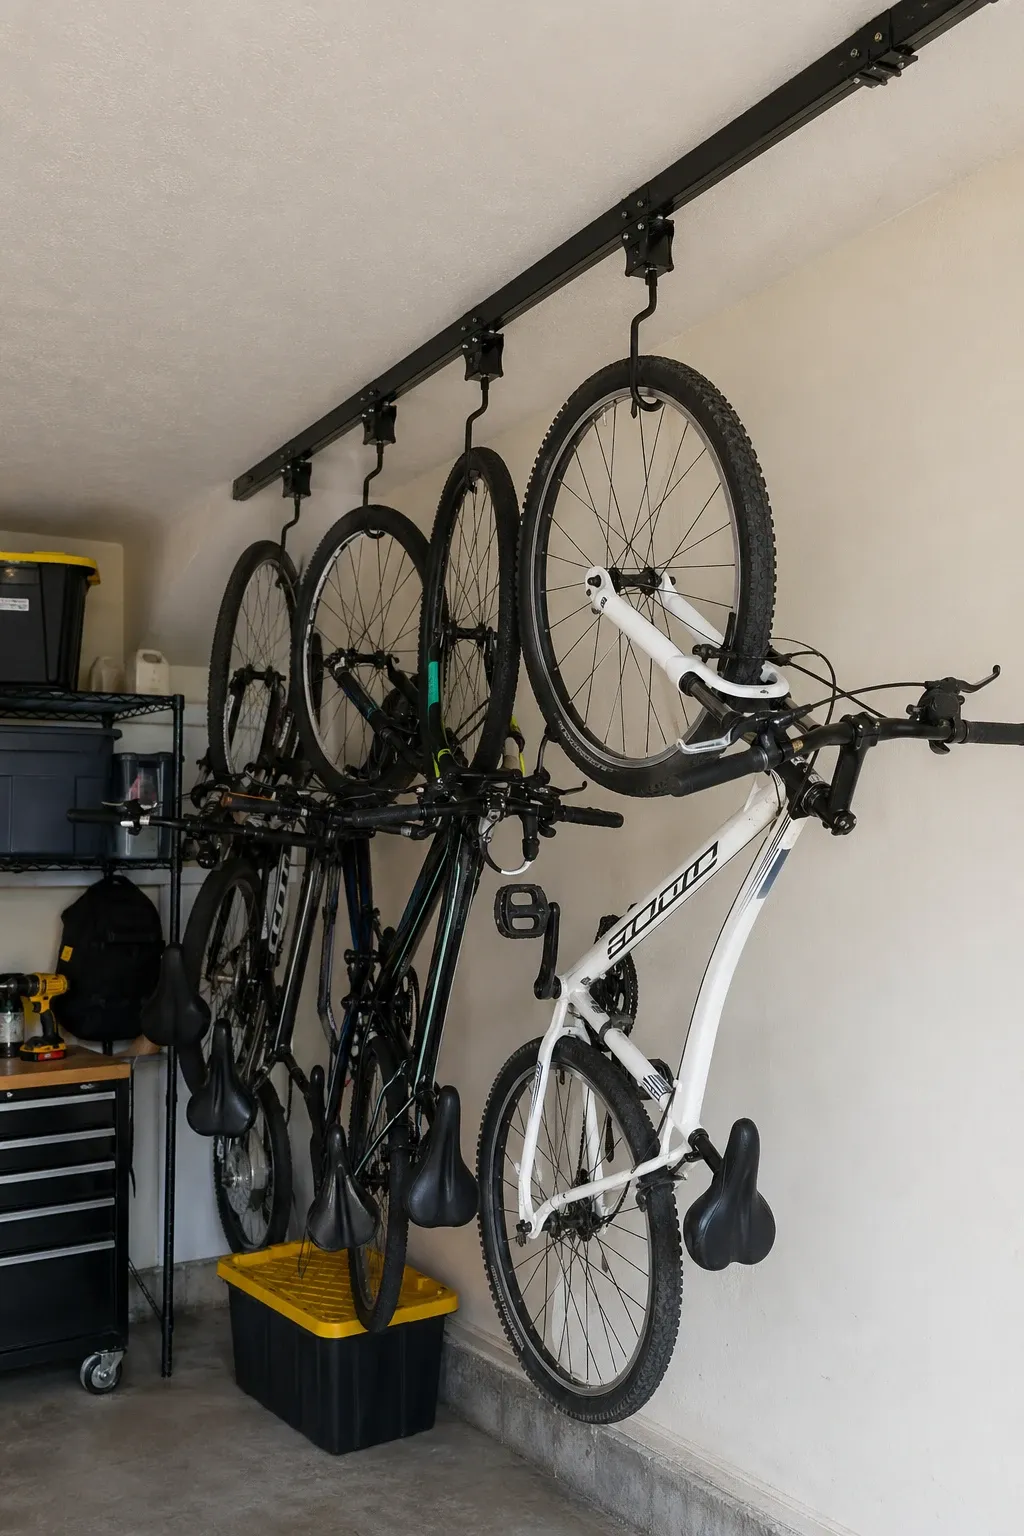
A track mounted on the ceiling with sliding hooks lets you hang multiple bikes in a row and slide them forward or back along the track. This is efficient for families with several bikes because each bike has its own hook on the track and you can adjust spacing as needed. Slide one bike forward to access the one behind it. The track system uses only ceiling space and handles four or more bikes easily.
Designer Tip: Position the track so bikes hang above the hood of the parked car. This uses the dead airspace above the car that is otherwise completely wasted. Just make sure the bikes hang high enough to clear the car roof when you drive in.
A gas-strut or hydraulic lift rack raises and lowers the bike with minimal effort. You hook the bike on at ground level and the lift raises it to the ceiling with the push of a lever. No rope pulling required. The hydraulic assist does the heavy lifting so even heavy e-bikes go up easily. This is the premium option for people who want ceiling storage without the physical effort of a manual pulley.
Designer Tip: Check the weight capacity before buying. Standard hydraulic lifts handle regular bikes around 25 to 35 pounds. E-bikes can weigh 50 to 70 pounds and need a heavy-duty lift rated for that weight. An under-rated lift is a safety hazard.
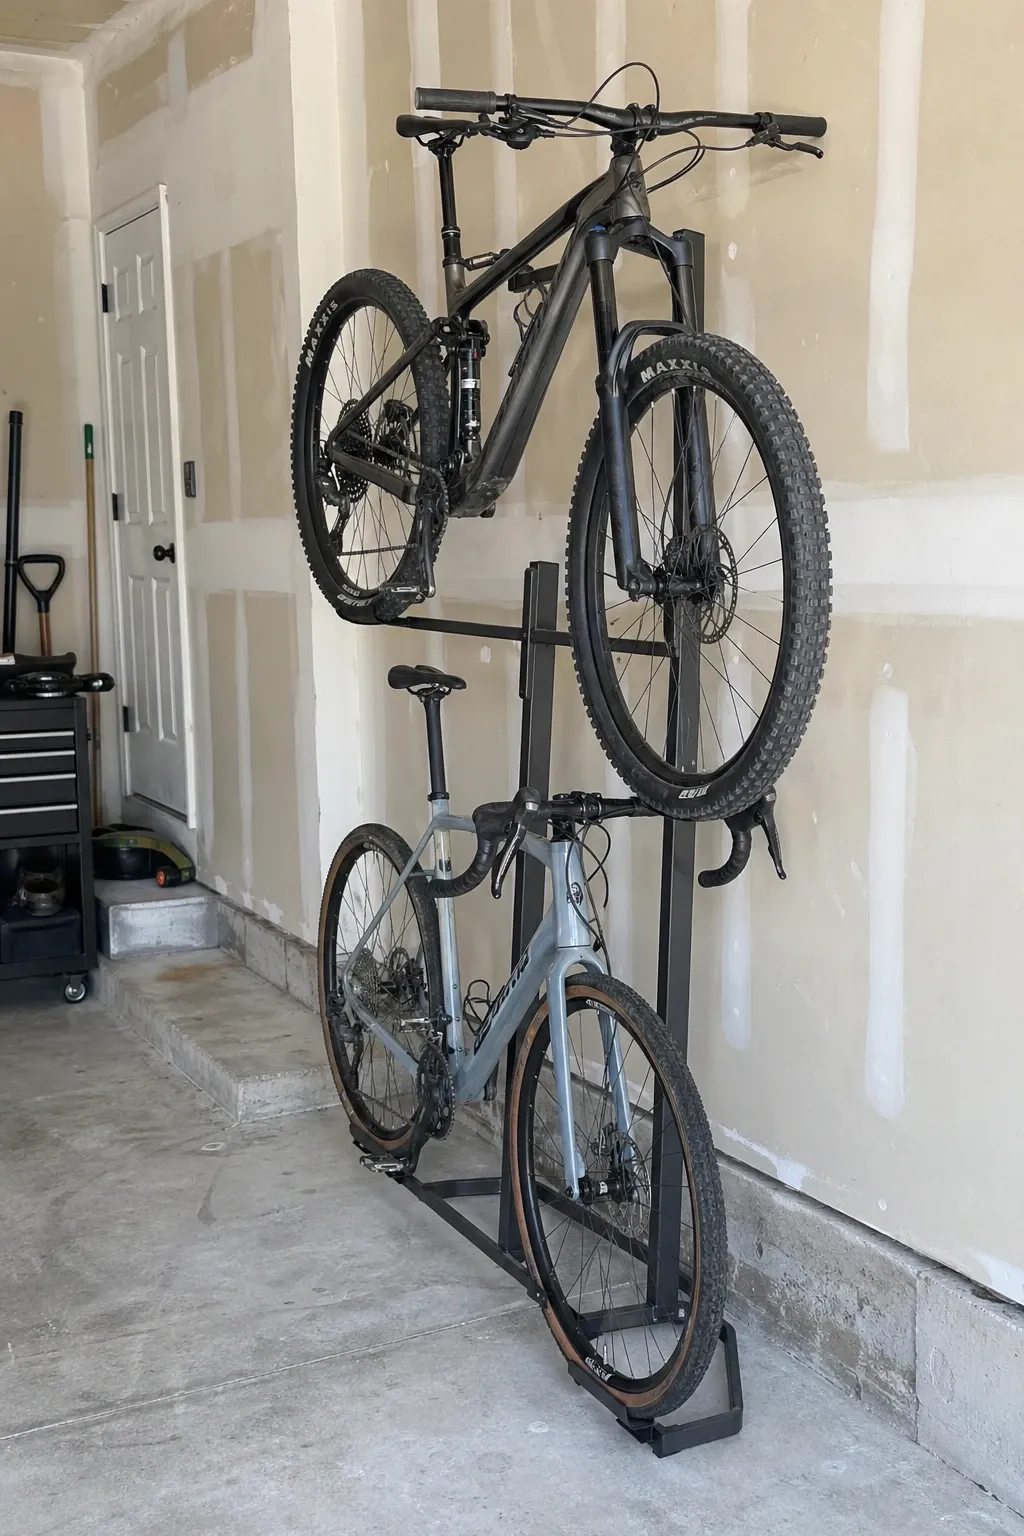
A freestanding rack that leans against the wall holds two bikes by their top tubes, one above the other. No drilling, no mounting. Just lean the rack against the wall and hang the bikes. The weight of the bikes keeps the rack stable against the wall. This is the easiest multi-bike solution to set up and move. If you rearrange the garage, pick up the rack and lean it against a different wall.
Designer Tip: Place the rack on a flat, level section of floor. Uneven garage floors make the rack wobble and the bikes can swing or fall. A small rubber mat under the feet levels the rack and prevents it from sliding on smooth concrete.
Slatwall panels mounted on the garage wall accept specialized hooks that slide into the horizontal grooves. Hang a bike hook anywhere on the panel and rearrange it any time. The same slatwall holds hooks for helmets, shelves for gear, and baskets for accessories. This makes it a complete bike and gear storage system on one wall. Slatwall is the most versatile option because every square foot of panel is usable.
Designer Tip: Install slatwall in a section large enough for future expansion. If you start with a small panel you will run out of space quickly. A 4-by-8 foot section handles two bikes plus all the associated gear with room to grow.
A wall rack that combines a bike hook with a shelf above it stores the bike and the gear together. Hang the bike below and stash the helmet, pump, lock, and gloves on the shelf. Having everything in one spot means you grab it all at once instead of collecting items from different parts of the garage. This cuts down the time between deciding to ride and actually leaving.
Designer Tip: Choose a shelf deep enough for a helmet but not so deep that it sticks way out from the wall. A shelf that is 10 to 12 inches deep holds most gear without protruding into the garage walkway.
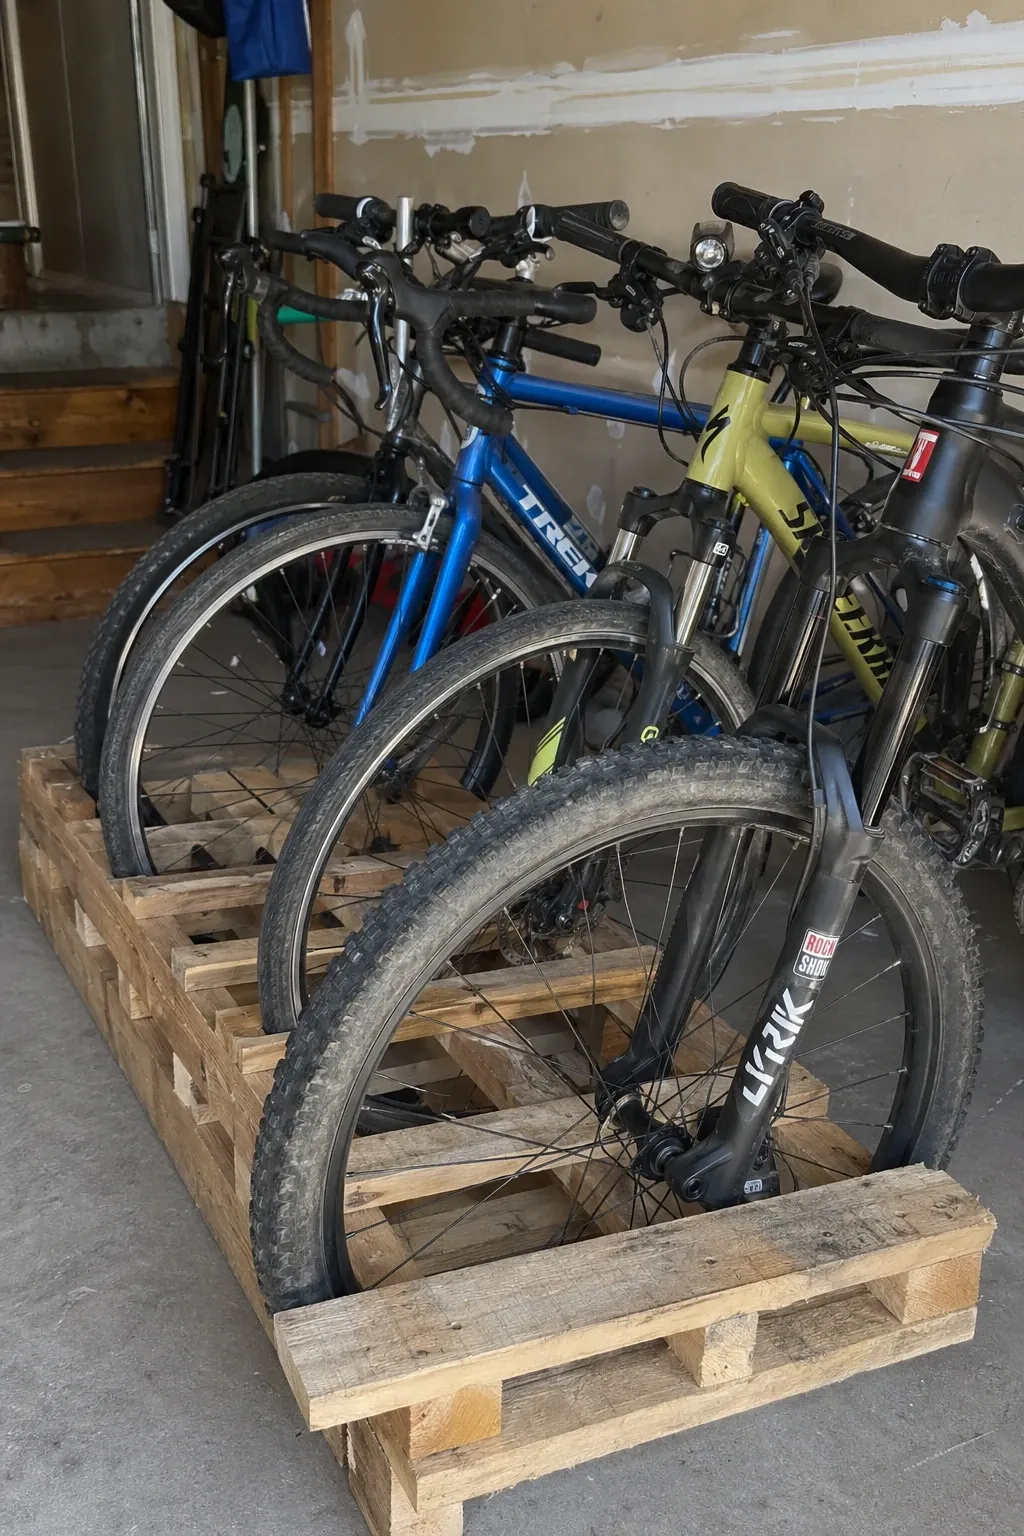
A wooden pallet laid on the floor with gaps between the slats holds bike tires upright in the slots. Roll the front tire into a gap and the bike stands on its own without leaning. Multiple bikes fit side by side on one pallet. This is the simplest and cheapest bike storage you can build. Find a free pallet, set it on the garage floor, and you have a bike stand in zero minutes with zero cost.
Designer Tip: Choose a pallet with slat spacing that matches your tire width. Narrow road bike tires need narrow gaps and wide mountain bike tires need wider gaps. If the gaps are too wide, the tire falls through and the bike tips over.
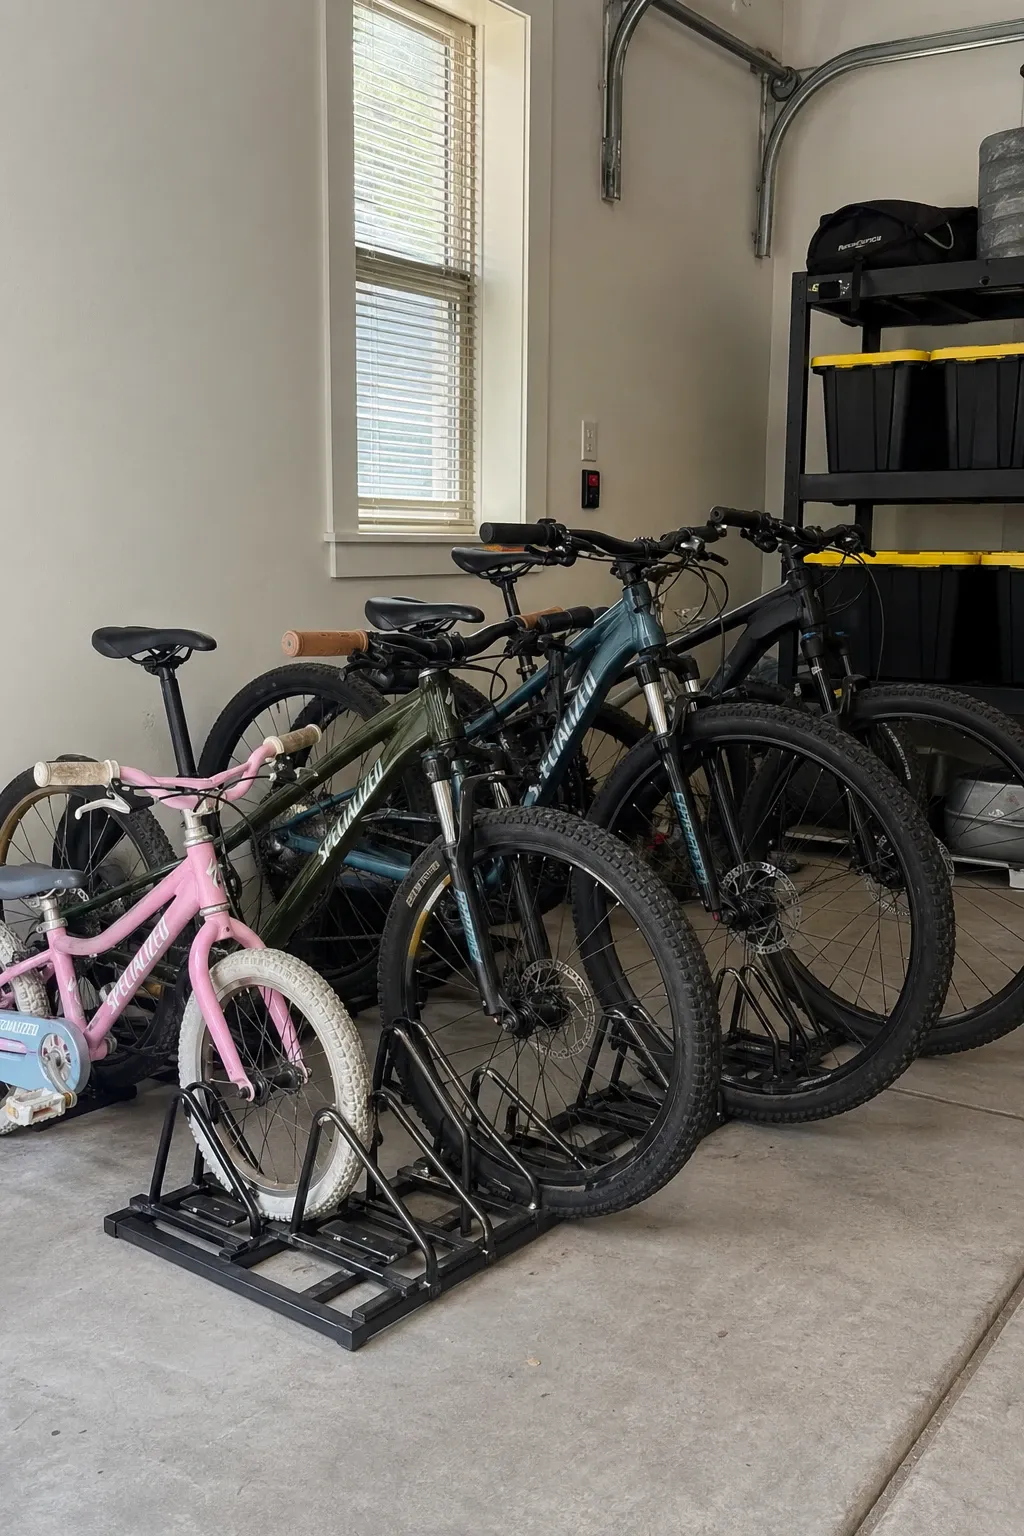
A floor rack with slots for multiple bikes lines them up in a compact row. Each bike slides into its own slot and stands upright without support. These racks hold three to five bikes in the space that two leaning bikes would normally take. The bikes are organized, stable, and easy to pull out individually. Floor racks work best along a wall or in a garage corner where they do not block the car path.
Designer Tip: Put the rack against the wall so bikes lean slightly toward the wall rather than into the room. A freestanding rack in the middle of the garage becomes an obstacle that bikes and people bump into.
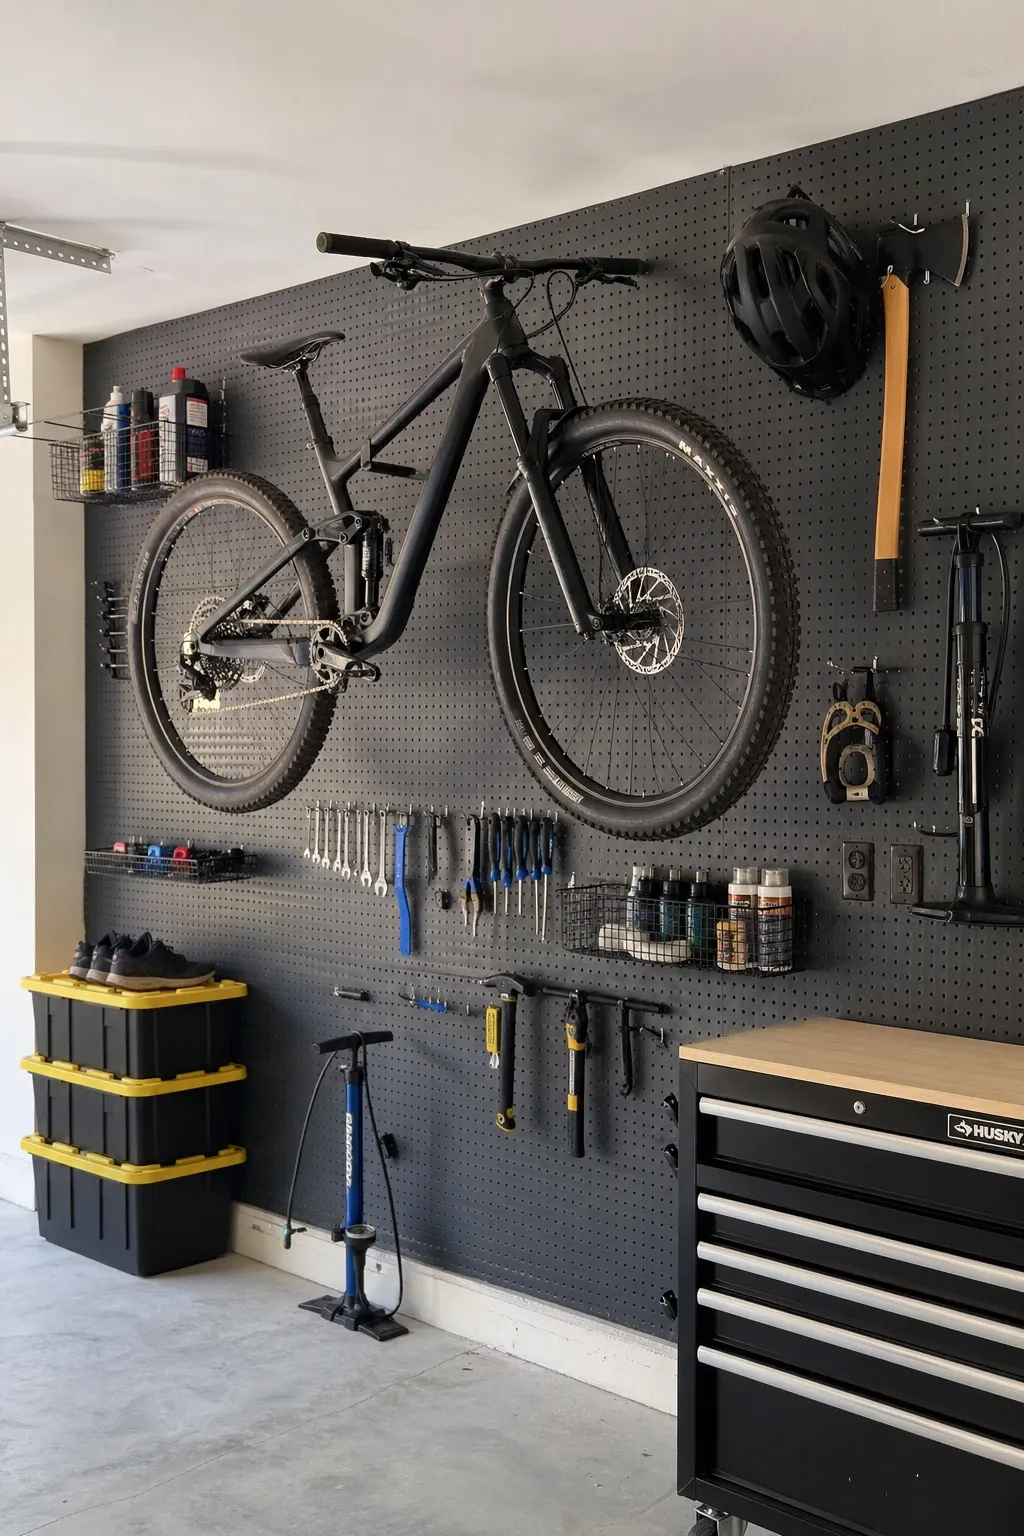
A large pegboard panel on the garage wall holds bike hooks plus hooks and shelves for all your cycling gear. Helmets, gloves, pumps, tools, and spare tubes all hang on the same pegboard. The peg system lets you move things around and adjust the layout anytime. This creates a dedicated cycling station in the garage where everything is visible and within reach.
Designer Tip: Use heavy-duty pegboard, not the thin hardware store variety. Standard pegboard flexes under the weight of a bike. Thick pegboard or metal pegboard panels handle the load without bowing.
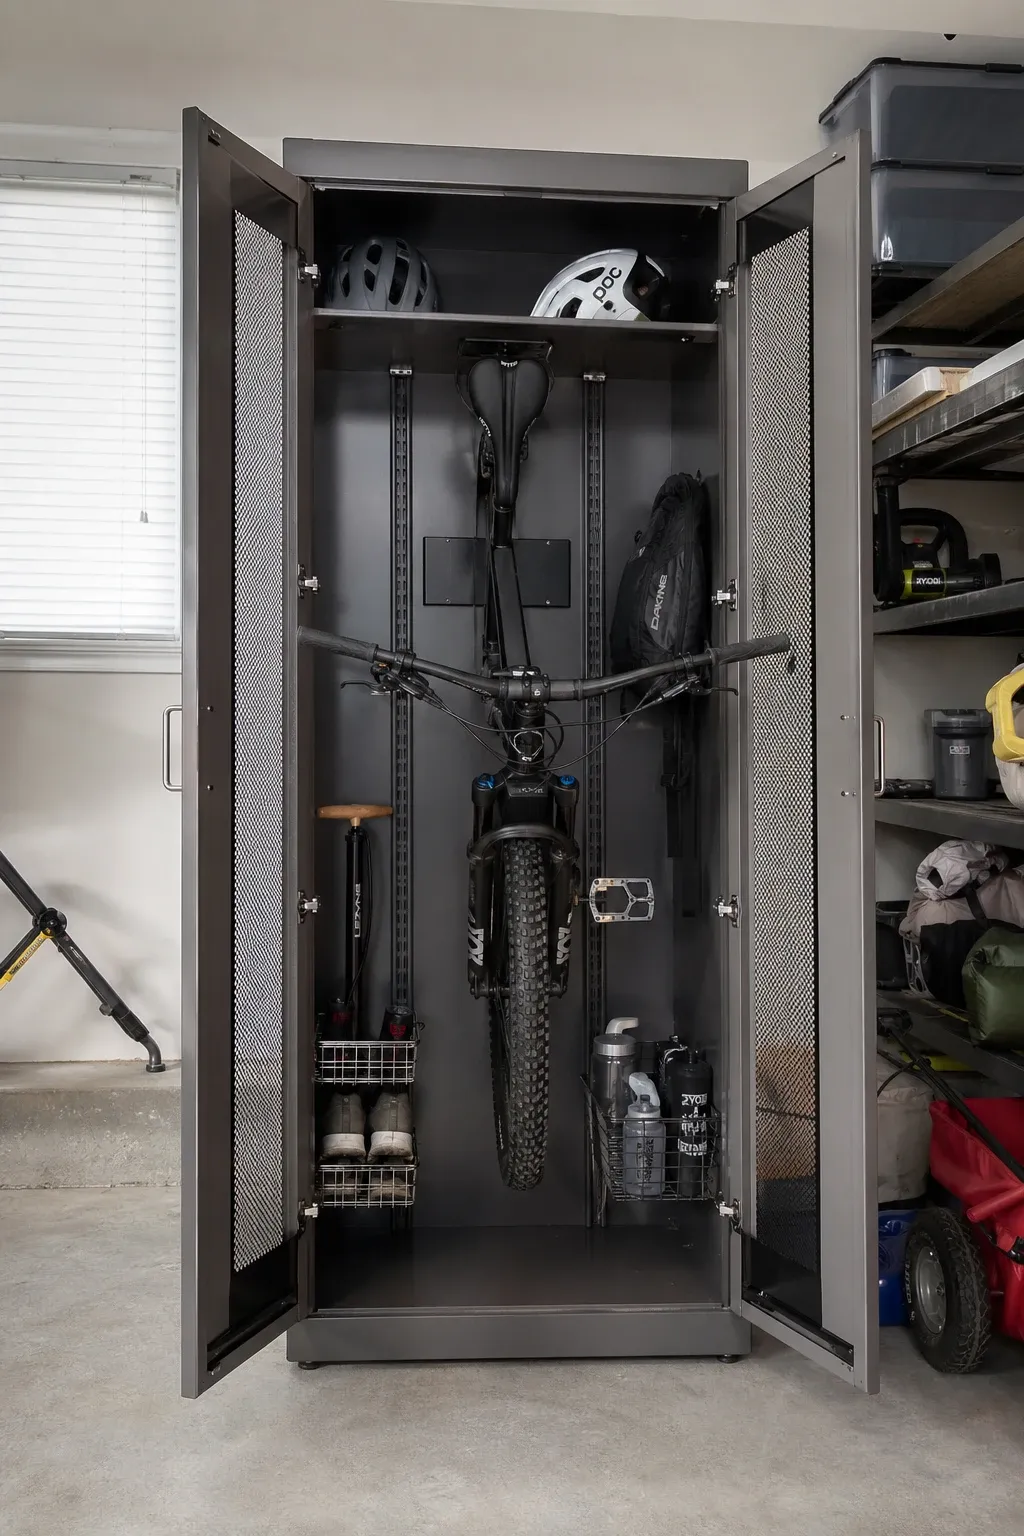
A tall, narrow cabinet designed for vertical bike storage holds the bike inside with the door closed. When the cabinet is shut, the bike is completely hidden and protected from dust, moisture, and garage grime. This is the neatest looking option for people who want a clean garage appearance. Cabinets also protect expensive bikes from UV exposure and temperature swings that can degrade components over time.
Designer Tip: Get a cabinet with ventilation holes or a vented door. A completely sealed cabinet traps moisture inside, especially if you put a sweaty, wet bike away after a ride. Ventilation prevents mold and musty smells.
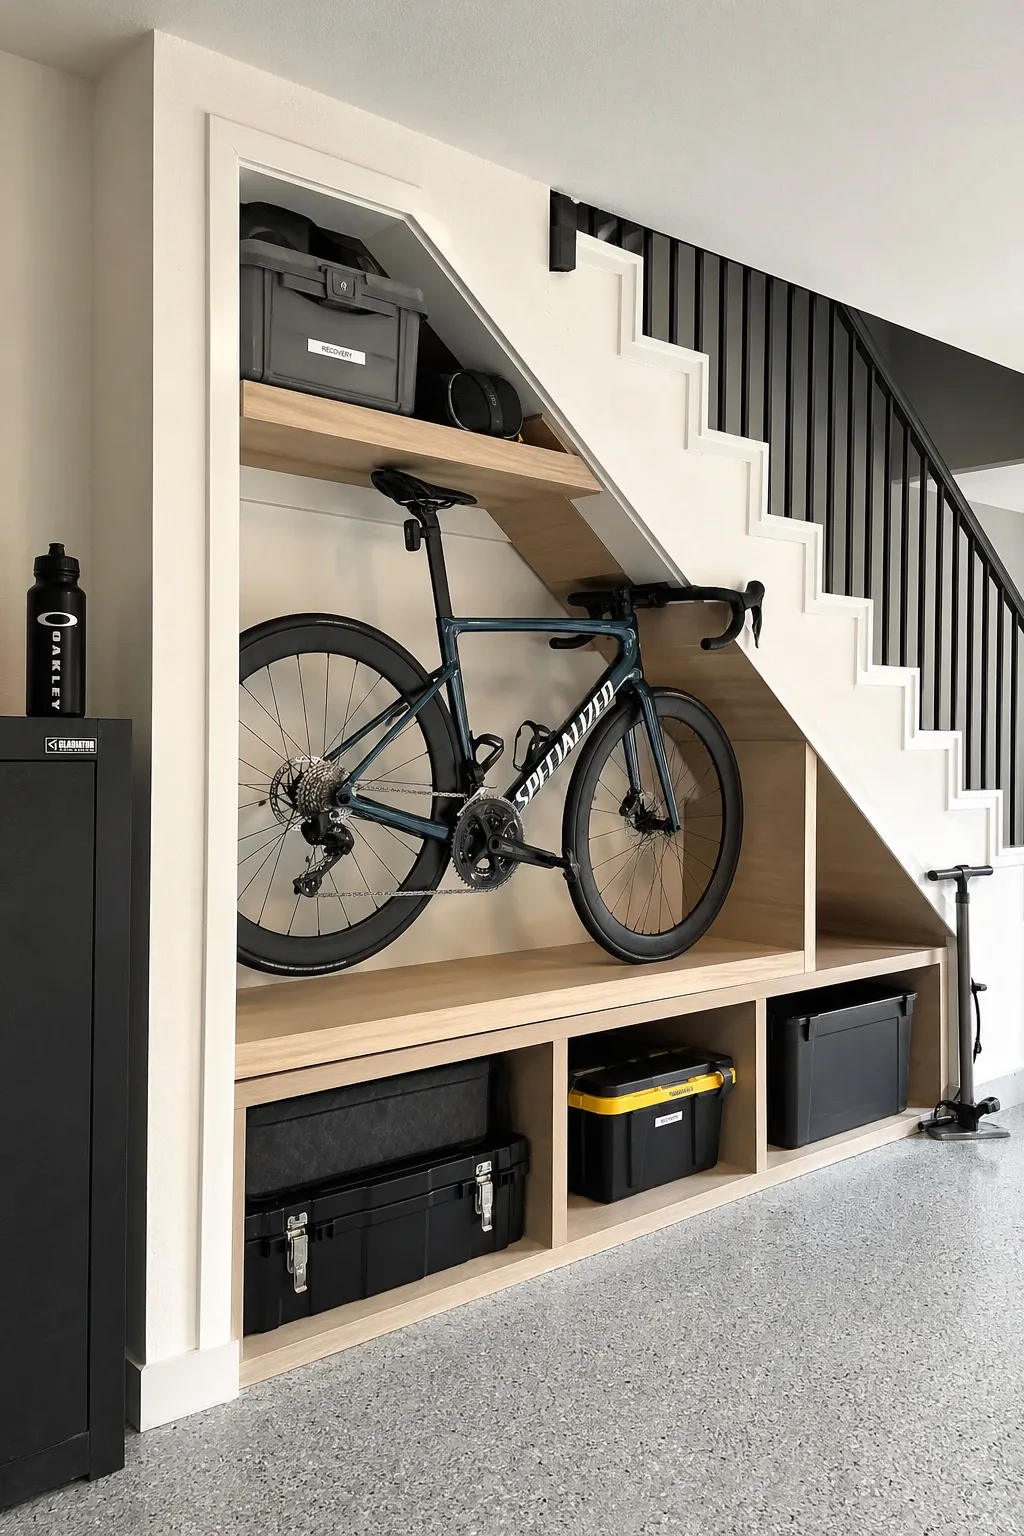
If your garage has an odd niche, alcove, or space under internal stairs, custom shelving designed to fit that exact space can hold bikes in an area that would otherwise sit empty. A custom frame with hooks or rails built to the niche dimensions uses every inch of the irregular space. This is the best approach for garages with odd layouts where standard storage solutions do not quite fit.
Designer Tip: Measure the niche carefully and build the frame on-site. Off-the-shelf solutions rarely fit odd spaces well. A custom-built frame that follows the exact shape of the niche maximizes storage and looks like it belongs there.
Getting bikes off the garage floor is the single biggest space improvement you can make if you have multiple bikes. Walls and ceilings have plenty of room for bikes. The floor does not. Pick a method that matches the number of bikes you own, the weight of those bikes, and how often you ride. Daily riders need fast access solutions like wall hooks or freestanding racks. Seasonal riders can go with ceiling storage that keeps bikes out of the way for months at a time.
Frequently Asked Questions
Is it bad to hang a bike by its wheel?
No, hanging a bike by its wheel is safe for most bikes. The wheel and rim are designed to handle forces much greater than the weight of the bike. However, bikes with carbon fiber wheels should not be hung this way as the hook pressure can damage carbon rims. For carbon wheeled bikes, use a hook that grabs the frame instead.
How much wall space does one bike need?
A horizontally hung bike needs about 4 feet of wall length and 2 feet of depth from the wall. A vertically hung bike needs about 2 feet of wall width and 4 to 5 feet of wall height. Stacking bikes at different heights on the same wall section fits two bikes in the space of one.
Can I store an e-bike on a wall mount?
Yes, but check the weight rating of the mount first. E-bikes weigh 40 to 70 pounds, which is much heavier than a standard bike. Standard wall hooks rated for 30 pounds will fail. Use heavy-duty mounts rated for at least the weight of your specific e-bike, and make sure the wall anchor goes into a stud.
What is the best bike storage for a one-car garage?
Ceiling-mounted pulley systems or overhead tracks work best in one-car garages because they keep bikes above the car entirely. Wall hooks on the side walls are the next best option. Avoid floor racks in a one-car garage because they compete directly with the car for limited floor space.