Reusable bags are great for the environment and terrible for kitchen drawers. They multiply, they do not fold neatly, and they end up stuffed into a drawer or crammed under the sink in a shapeless pile. Then when you actually need one, you cannot find it or you grab three tangled together. The solution is giving them a proper storage spot that makes them easy to grab on the way out the door. Here are 15 ideas that work.
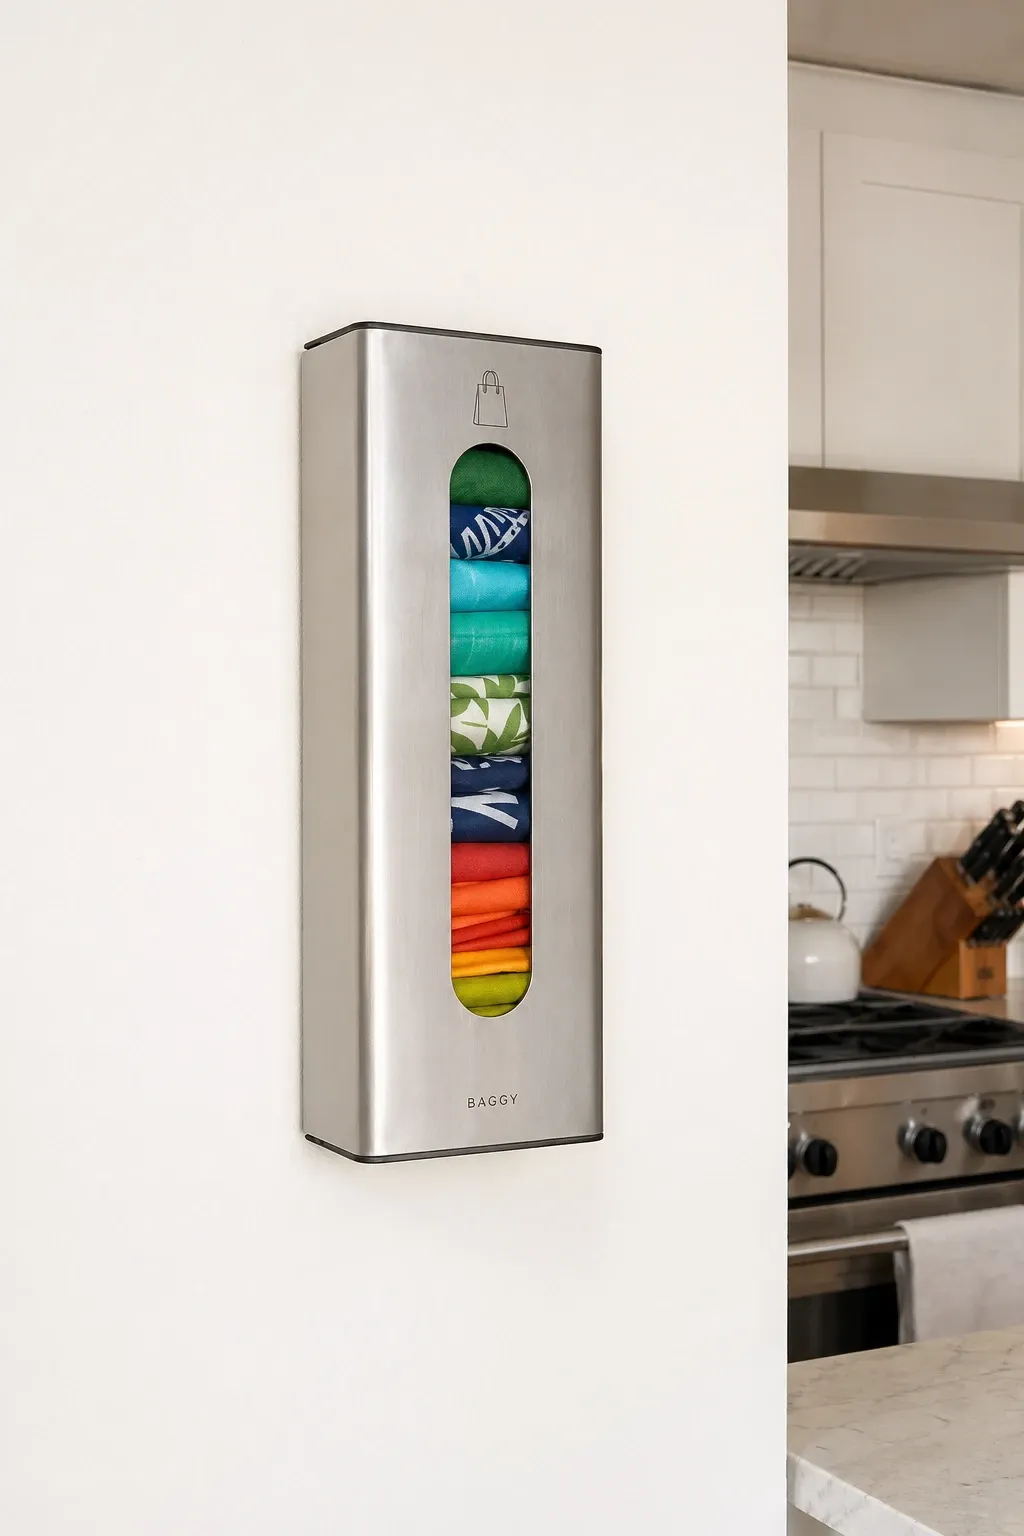
A wall-mounted dispenser holds folded or rolled bags in a tube or box that you pull from the bottom one at a time. Stuff bags in the top, pull one out the bottom. It works the same way as a grocery store plastic bag dispenser but for your reusable bags. Mount it near the door you use to leave for shopping and grabbing a bag becomes part of the routine. It takes up zero counter or drawer space and keeps bags visible so you remember to take them.
Designer Tip: Choose a dispenser in a material that matches your kitchen. A wooden dispenser fits farmhouse or natural styles. A sleek metal or acrylic one fits modern kitchens. The dispenser is always visible, so it should look like a deliberate part of the room rather than a utility afterthought.
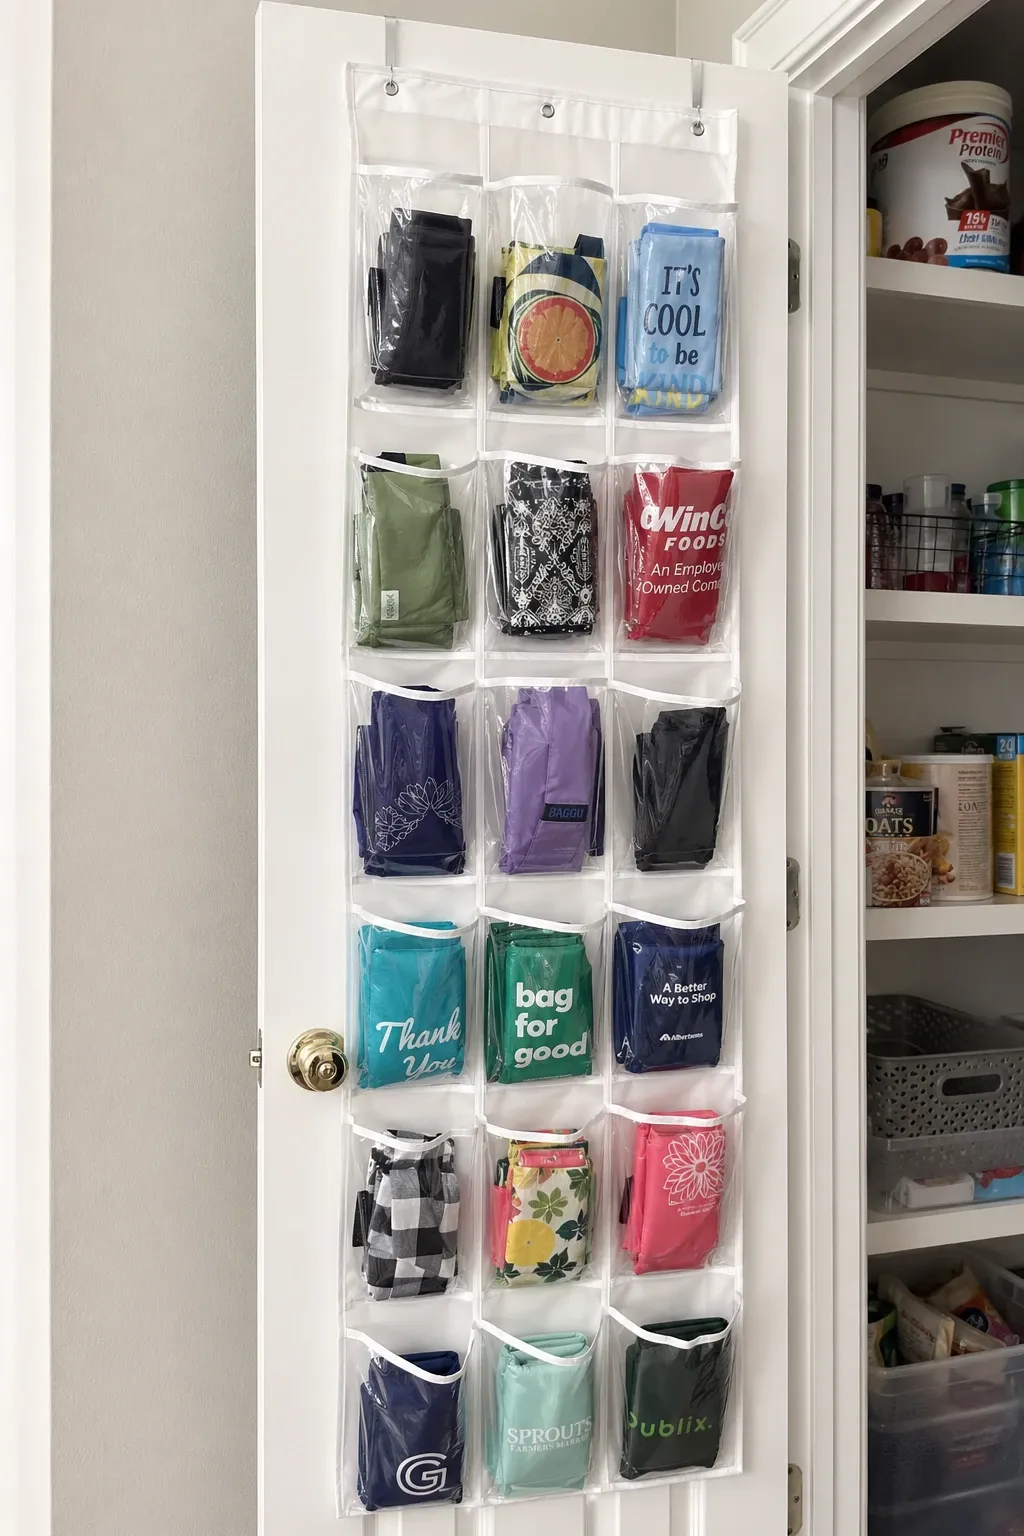
An over-the-door organizer with large pockets hung on the inside of a pantry or closet door holds bags in individual slots. Each pocket fits one or two folded bags, so you can see your entire collection and grab the right size for the trip. The door organizer uses completely wasted space and hides the bags behind a closed door. When the door is shut, nobody knows there are 15 bags organized on the other side.
Designer Tip: Use the top pockets for bags you use most frequently and the bottom pockets for specialty bags like insulated cooler bags or extra-large totes. Eye-level access for the daily bags makes the system faster to use.
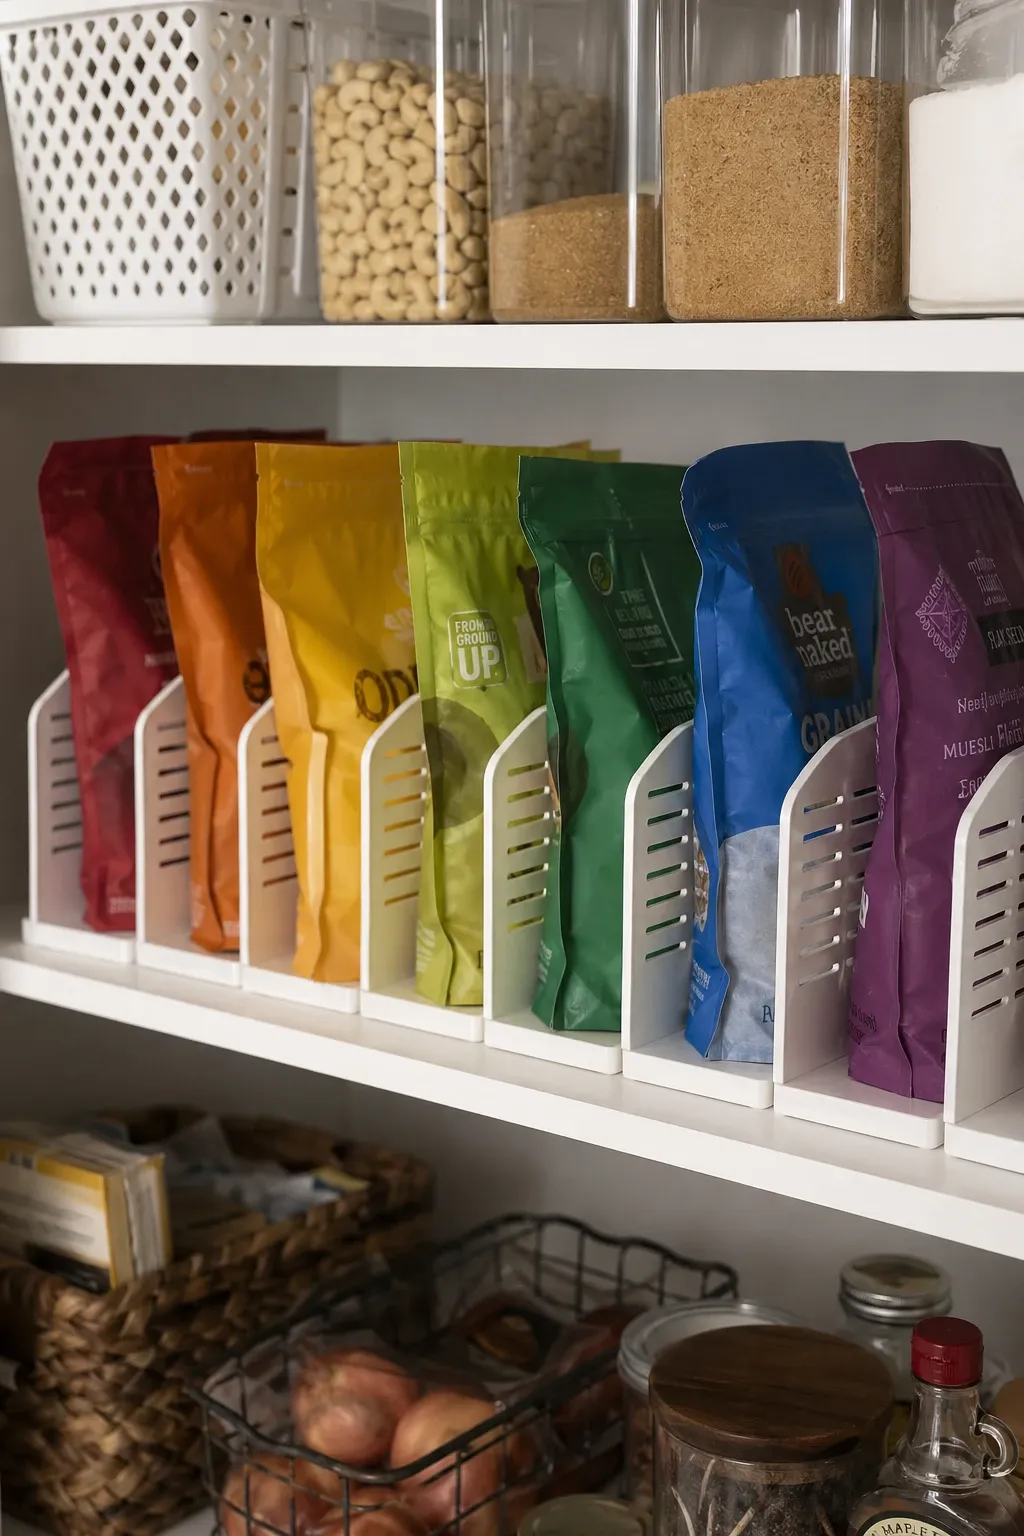
Clip-on shelf dividers create individual compartments on a pantry or closet shelf for different types of bags. One section for standard totes, one for insulated bags, one for produce bags. The dividers keep bags standing upright and separated so they do not topple into each other and become a mess. This works well if you have an existing shelf with space to dedicate to bag storage and want to keep them organized without buying a new piece of furniture.
Designer Tip: File bags vertically rather than stacking them flat. When bags are stacked, you always grab from the top and the ones on the bottom never get used. Standing them upright like files in a cabinet means every bag is equally accessible.
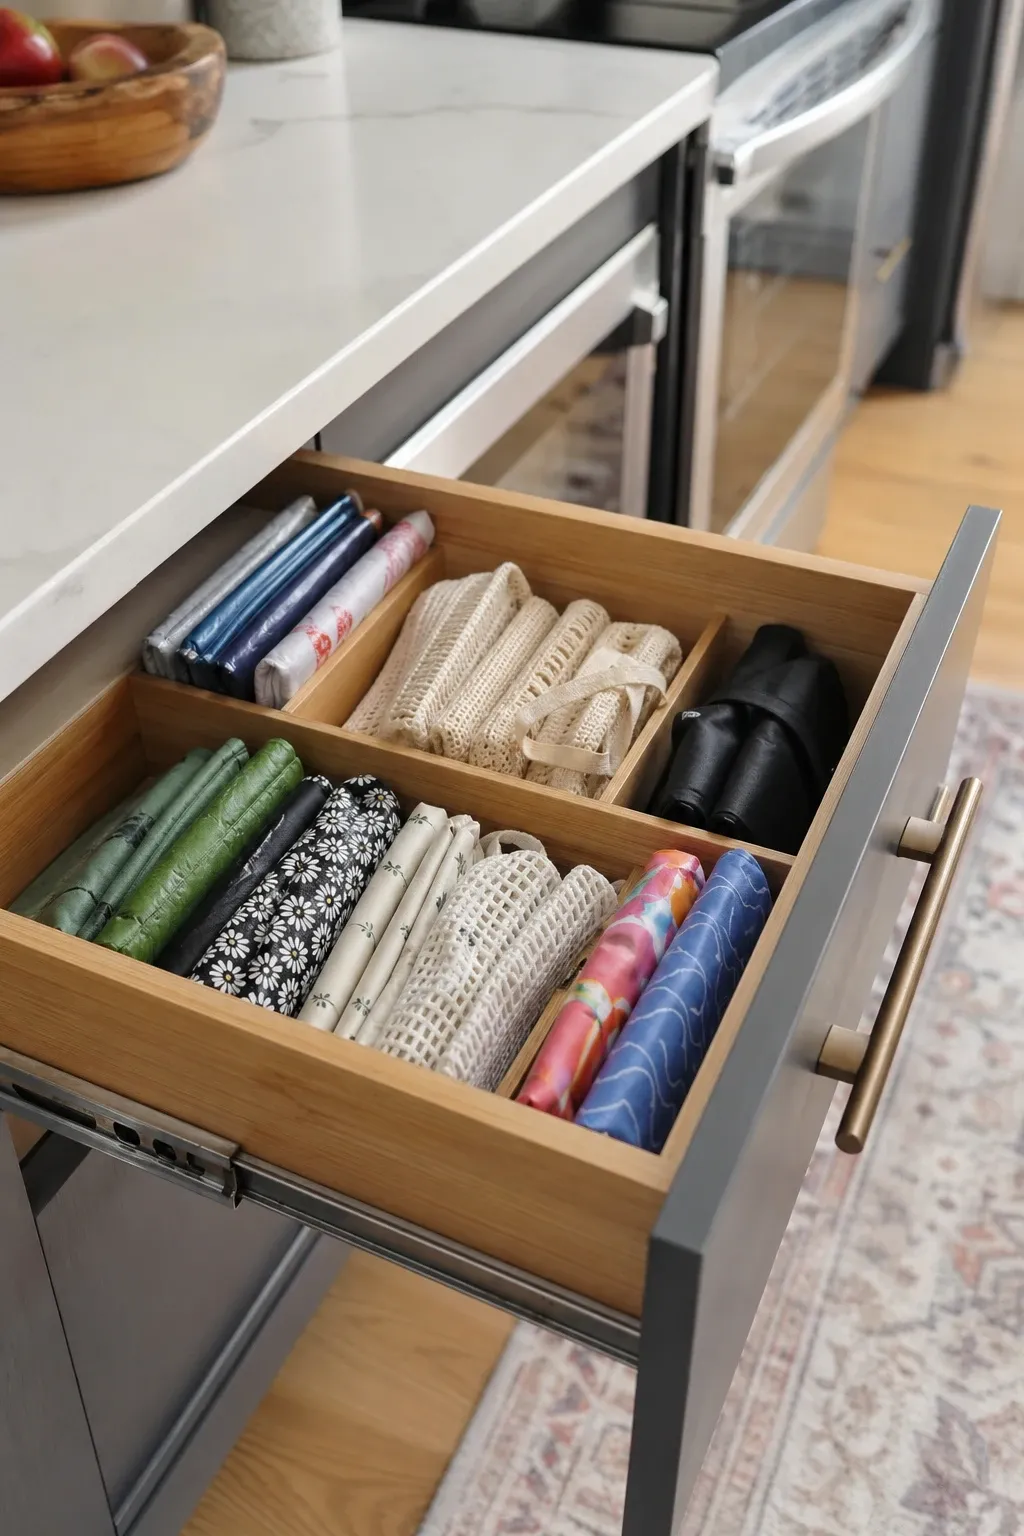
If you prefer keeping bags in a drawer, adding dividers turns the chaotic bag drawer into an organized system. Each section holds a different type of bag, folded or rolled to fit neatly. The dividers prevent the pile from becoming one tangled mass. Adjustable spring-loaded dividers work best because you can customize the section widths to match the sizes of your bags and readjust as your collection changes.
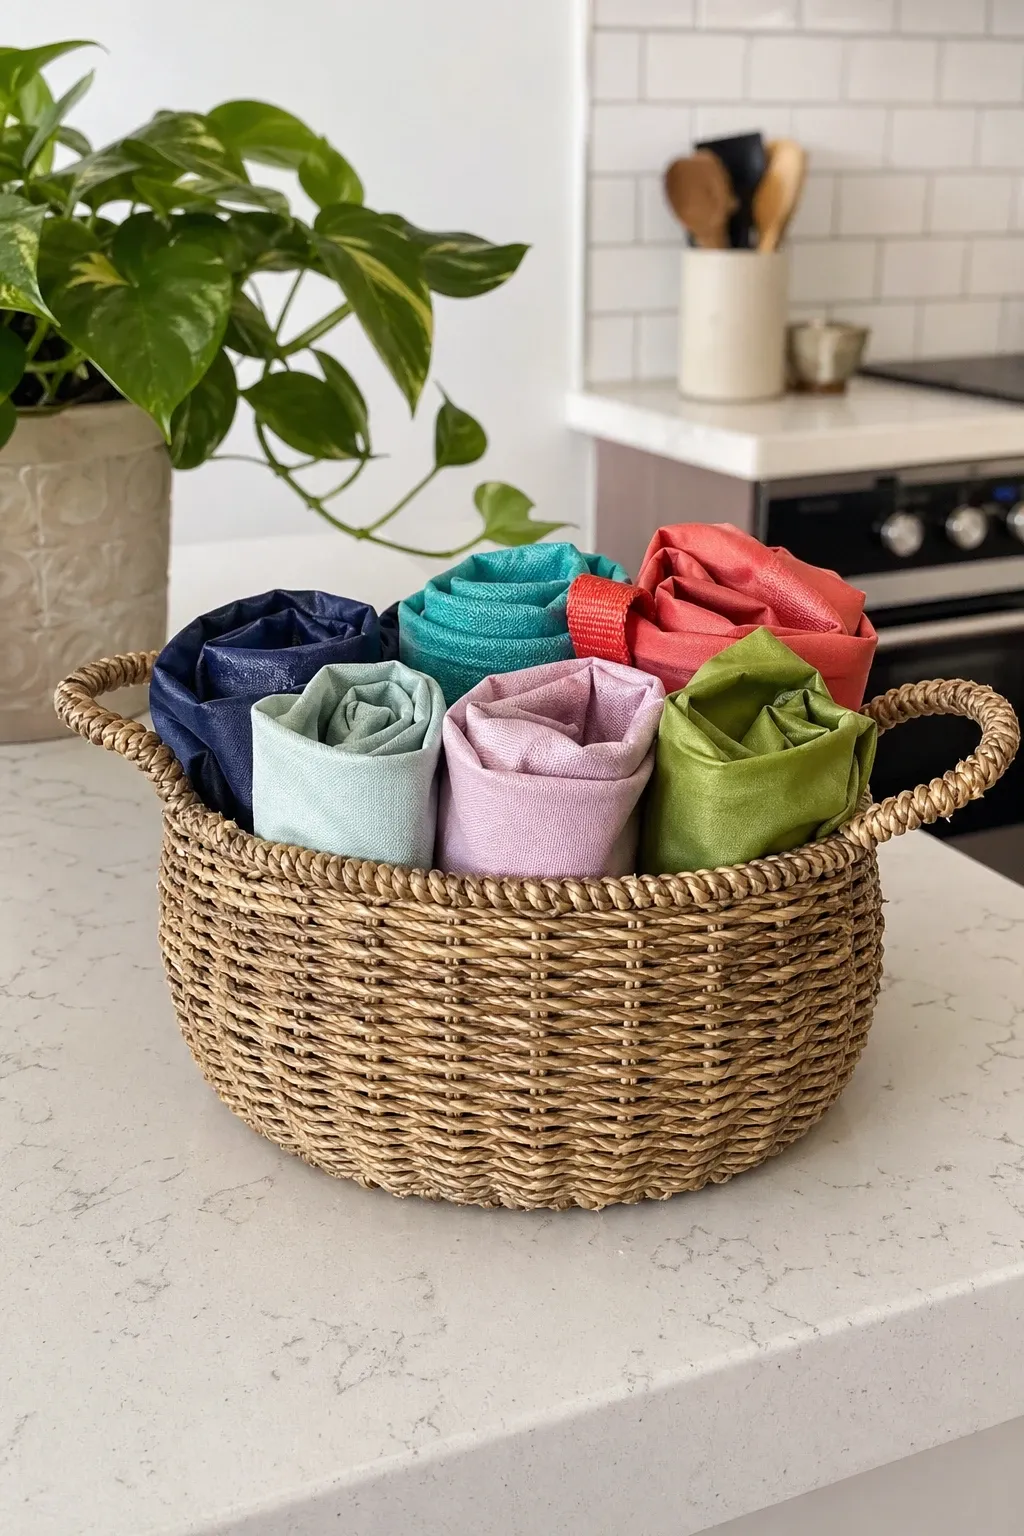
Designer Tip: Roll bags instead of folding them. Rolled bags take up less space, stand upright in drawer sections, and are easier to grab one at a time. A drawer full of rolled bags looks like a display case and functions better than a drawer full of rumpled folds.
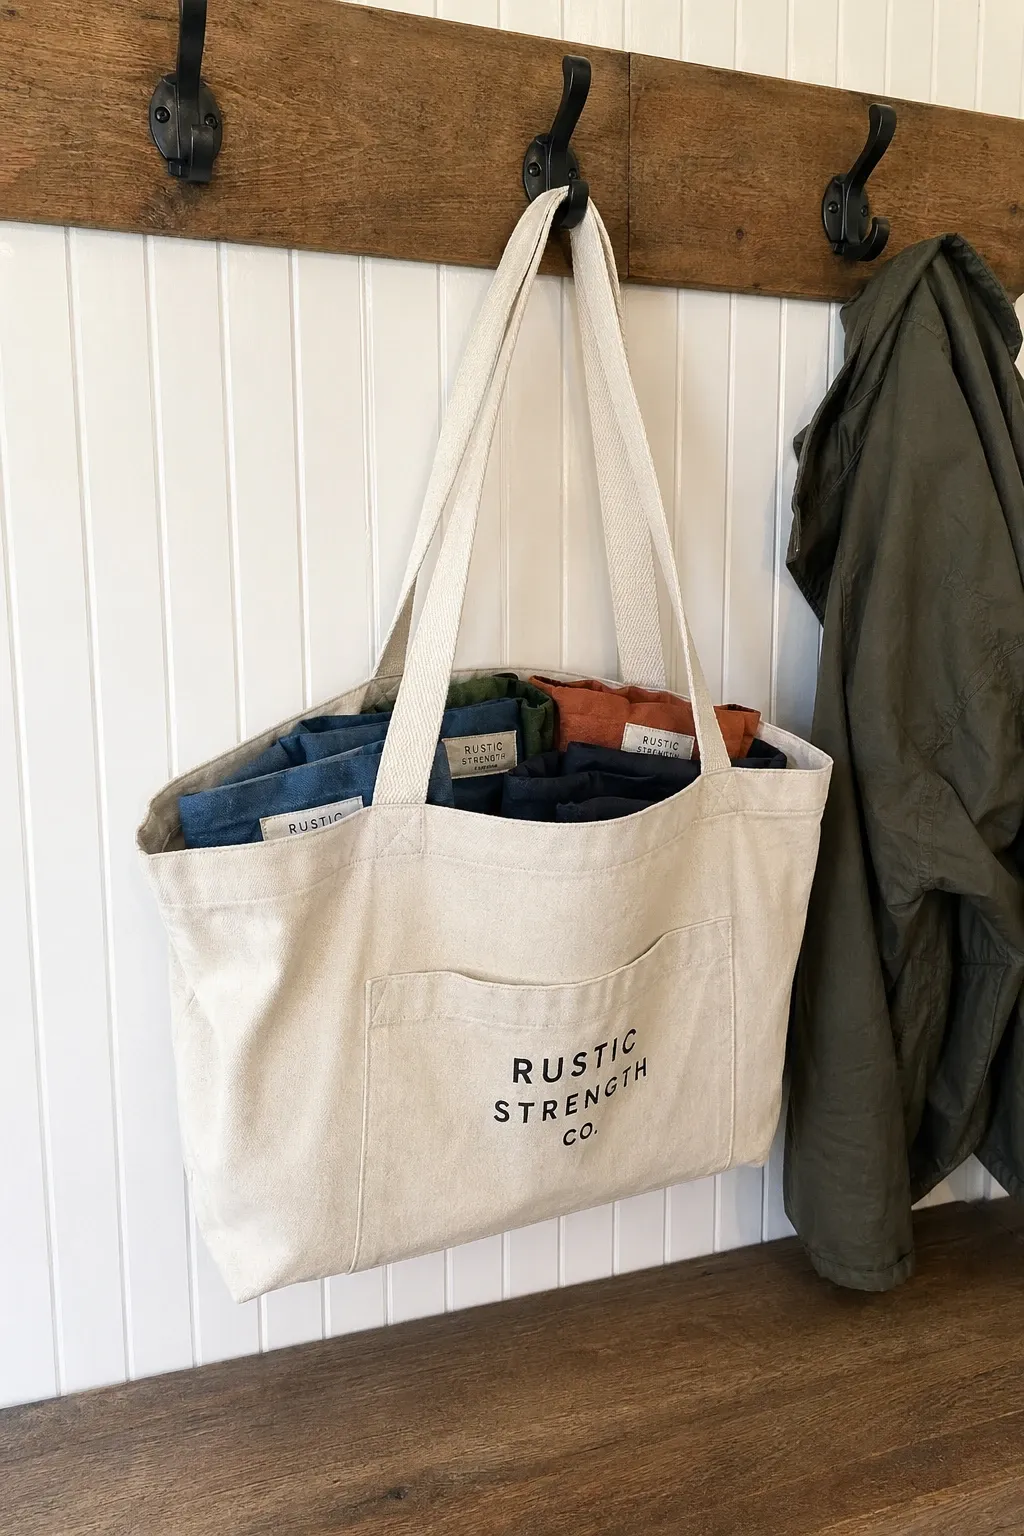
The simplest storage solution is stuffing all your reusable bags inside one large tote bag. Fold each bag flat, stack them inside the host tote, and hang the tote on a hook near the door. When you leave for shopping, grab the whole tote. All your bags are inside it and ready to go. When you come home, fold the bags back up and stuff them in the tote again. It is not fancy but it is effective and costs nothing.
Designer Tip: Use a sturdy canvas tote as the host bag because it holds its shape and sits flat on a hook without collapsing. A flimsy bag holding other bags will sag into a lumpy blob that looks messy and is hard to carry.
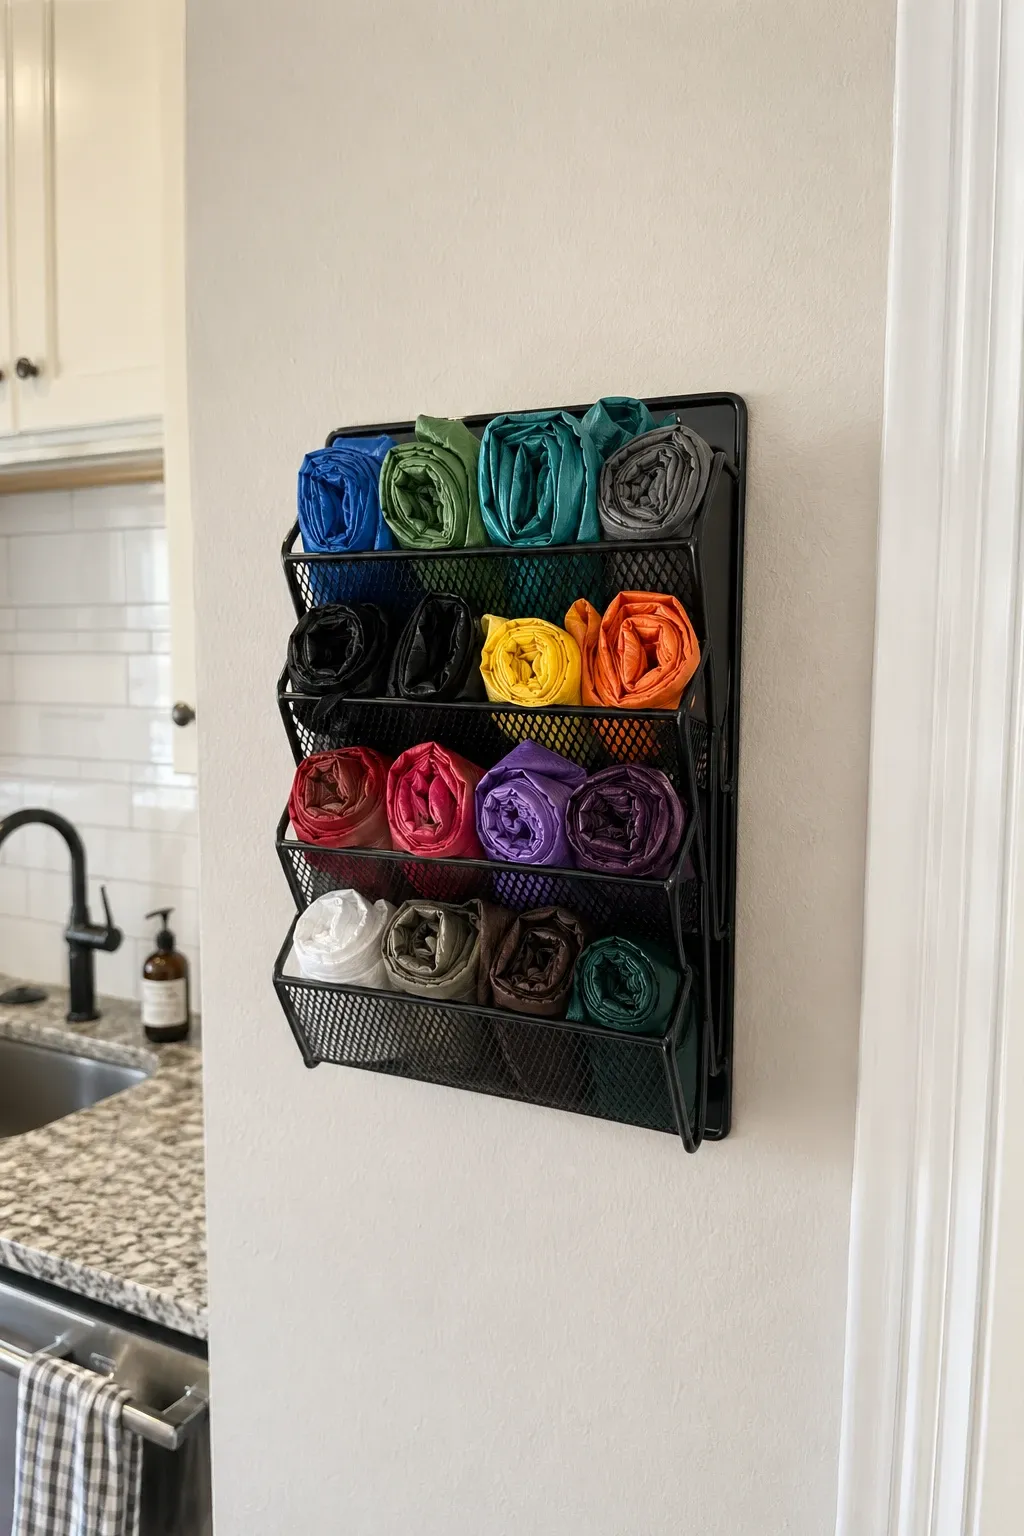
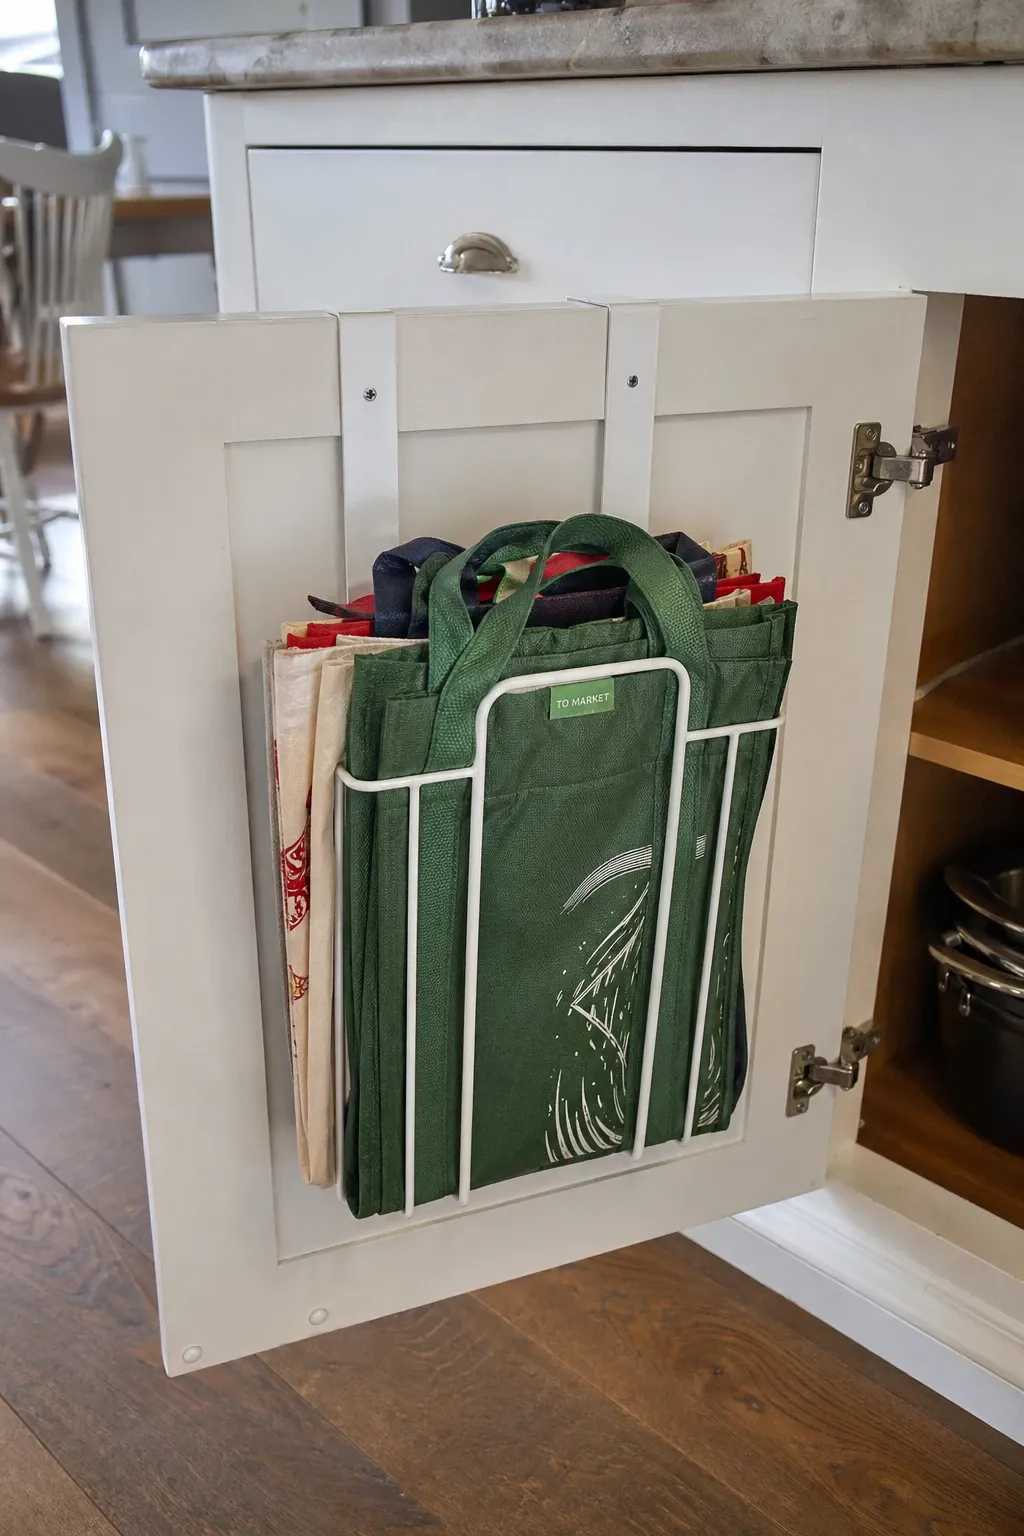
A wall-mounted or tabletop magazine rack holds folded reusable bags upright in a contained, visible display. The bags stand side by side like magazines, and you flip through them to find the one you want. A metal or wire magazine rack on the inside of a pantry door or mounted next to the garage door keeps bags organized and right where you need them when you leave the house.
Designer Tip: Choose a magazine rack with a solid bottom so smaller bags do not slide through gaps. Wire racks with wide spacing between the bars let slim produce bags and mesh bags slip through and fall to the floor.
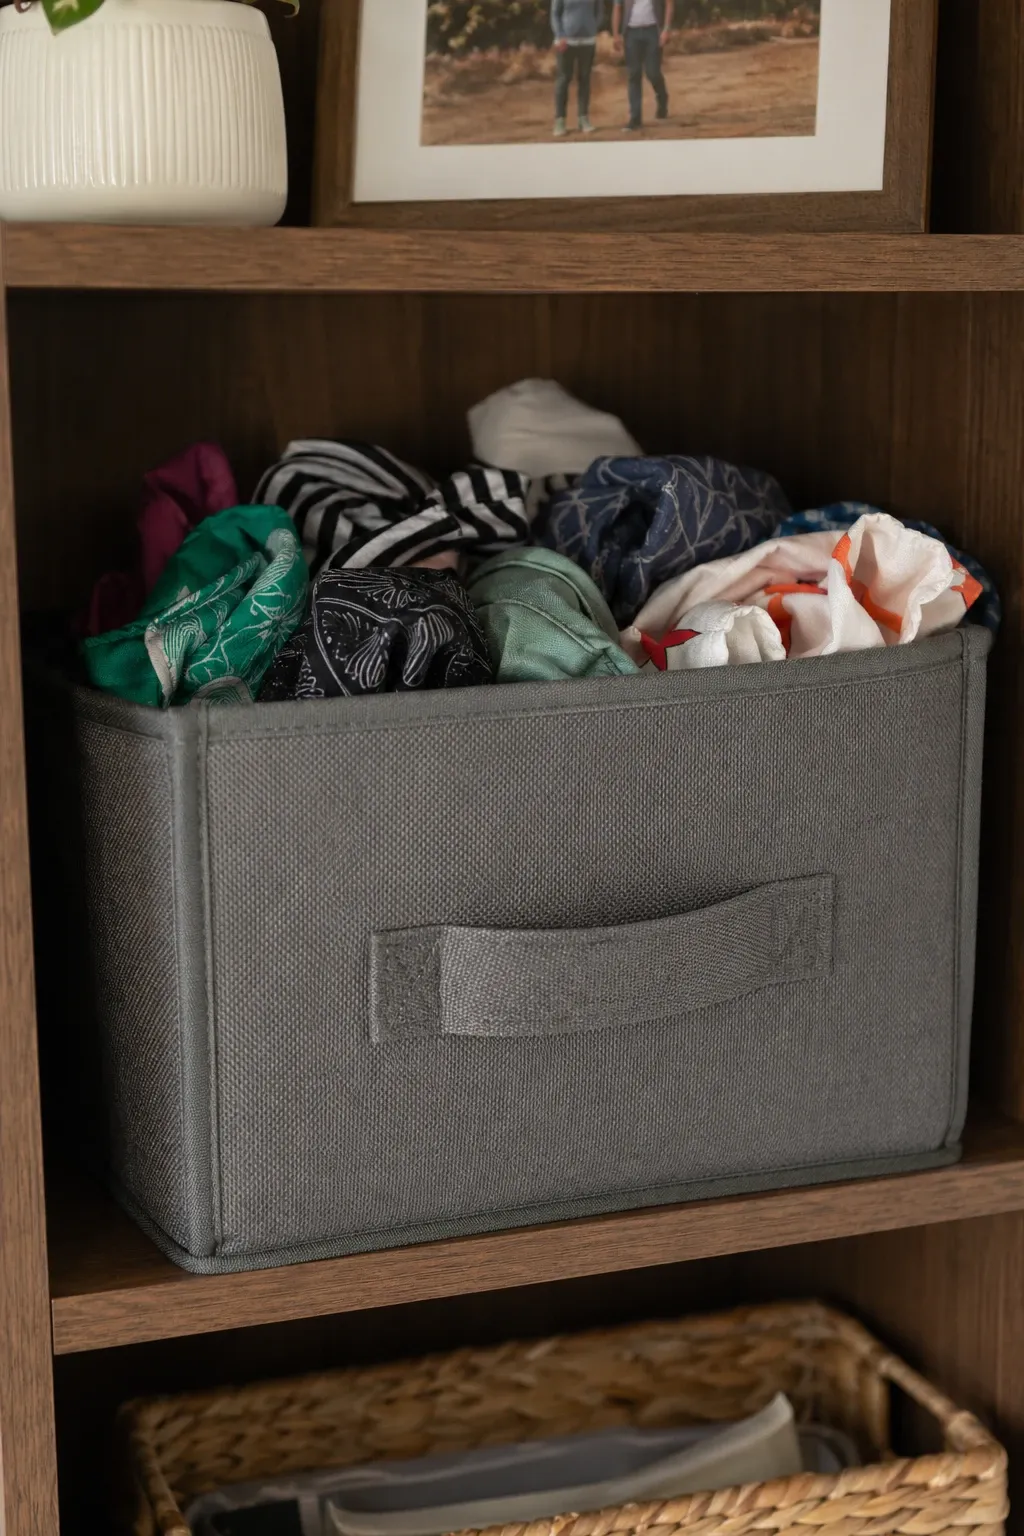
A fabric bin on a shelf or countertop is the grab-and-dump solution for people who will not fold. Toss the bags in the bin after unpacking groceries and pull one out when you need it. The bin contains the mess and gives the bags a home even when they are not neatly folded. It is not the most organized system, but it is realistic for busy households and infinitely better than bags scattered across three different drawers.
Designer Tip: Choose a bin that is open at the top and just the right size for your bag collection. Too big and the bags rattle around and look sparse. Too small and they overflow. A bin that is about 75 percent full looks tidy and has room for a few more bags after a big shopping trip.
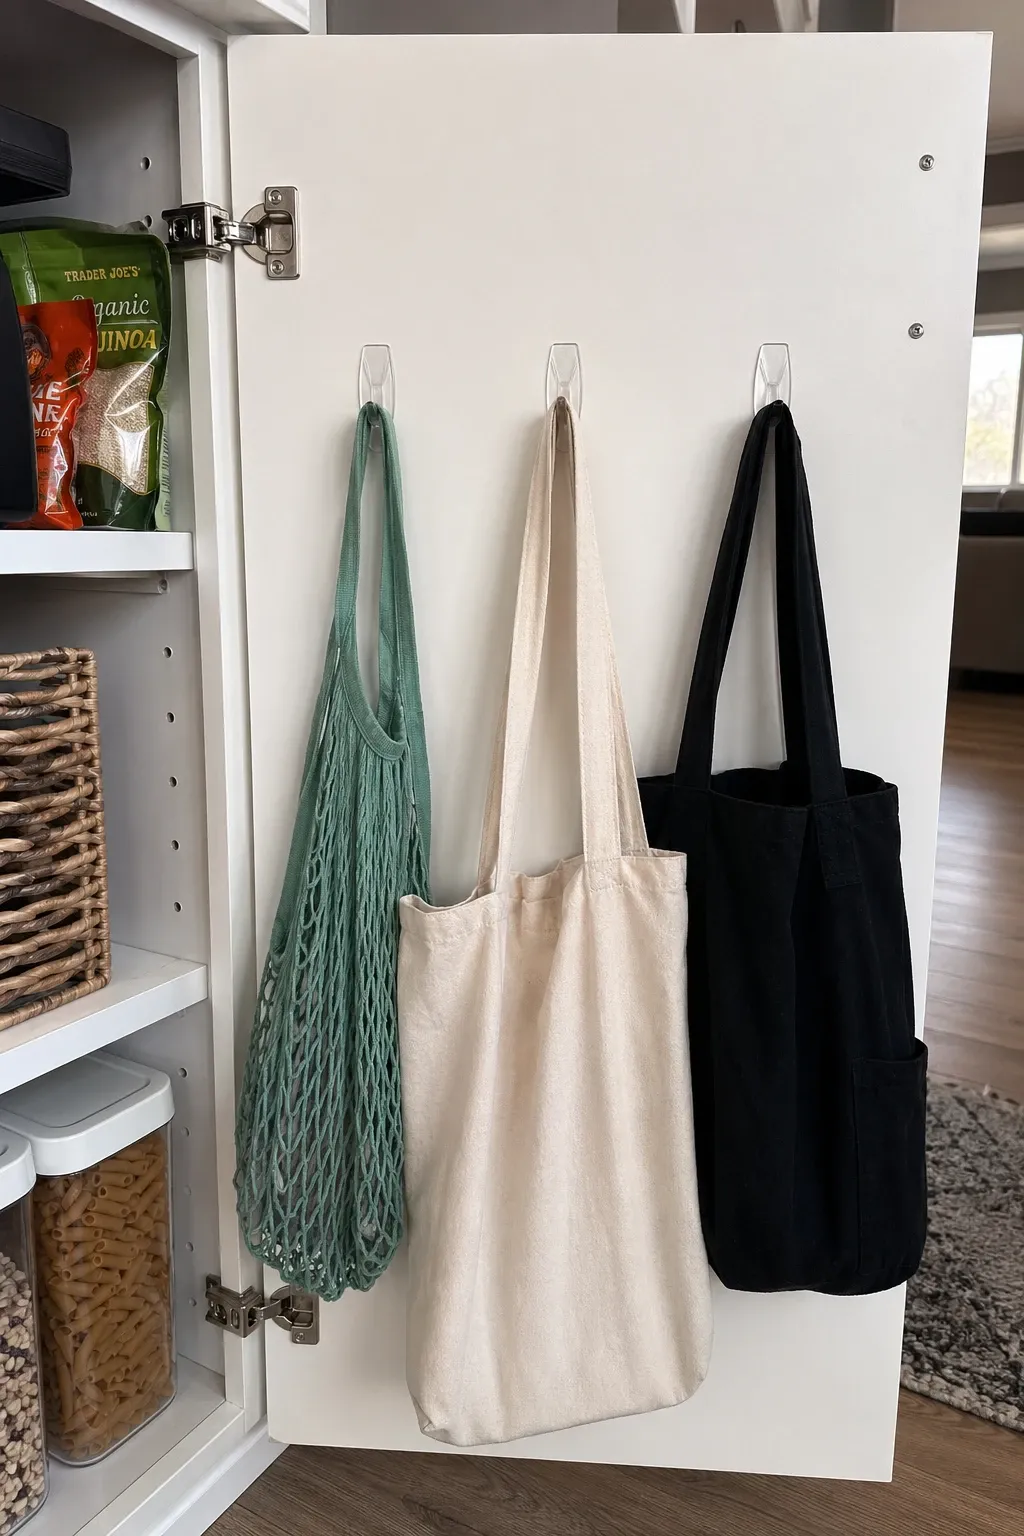
Adhesive hooks stuck on the inside of a cabinet door, on the wall near the door, or inside the pantry hold bags by their handles. Each hook holds one or two bags, keeping them separate and easy to grab. Command hooks are damage-free, renter-friendly, and cost about a dollar each. Line up four or five hooks and your bags hang neatly in a row where you can see and grab them without digging through anything.
Designer Tip: Mount the hooks at the same height in a straight line for a clean look. Random hook placement at different heights looks chaotic. A level row of hooks with evenly spaced bags looks organized and deliberate.
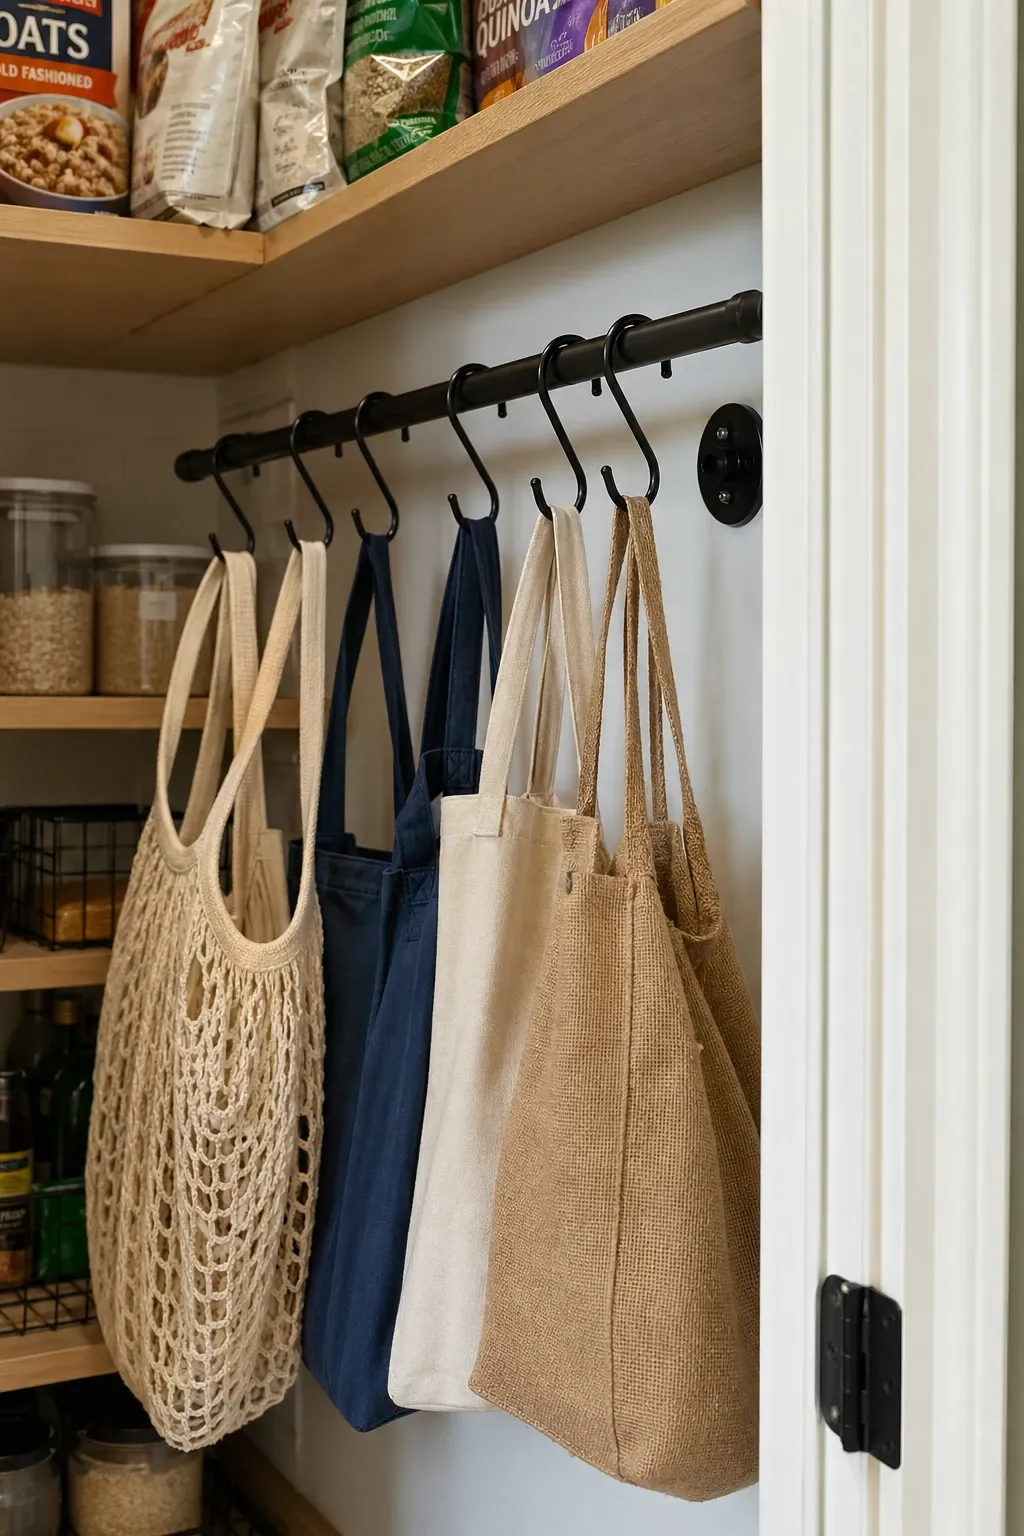
Clip carabiner hooks onto a tension rod or mounted rod inside a cabinet or closet, then clip a bag onto each carabiner. Each bag hangs individually, stays separate, and is easy to grab and re-clip. This is great for bags with handles or loops that can hook onto the carabiner. The tension rod can go inside a cabinet, a closet, or across the inside of a pantry.
Designer Tip: Use matching carabiners in a single color for a uniform look. Mismatched carabiners in random sizes and colors look like a junk drawer hanging on a rod. A set of identical matte black or brushed nickel carabiners looks intentional.
The top of the fridge is dead space in most kitchens. Set a basket up there and use it as the dedicated bag spot. After unloading groceries, fold or roll bags and toss them in the basket. Before heading out, reach up and grab what you need. It keeps bags completely out of the way and uses space that was sitting empty. The basket also hides the bags so they are not a visual distraction in the kitchen.
Designer Tip: Choose a flat, wide basket rather than a tall, narrow one. A wide basket is easier to reach into from below and does not stick up high enough to look awkward on top of the fridge. Woven seagrass or rattan baskets add texture and look warm against a white fridge.
A hanging shoe organizer with clear pockets is a bag storage powerhouse. Each pocket holds a folded bag, and because the pockets are transparent, you can see every bag without opening or moving anything. Hang it on the inside of a closet door, the back of the pantry door, or in the garage near the car. With 20 or more pockets, you have room for your entire collection plus space for produce bags, insulated bags, and wine totes.
Designer Tip: Fold each bag to roughly the same size so the pockets look uniform. One neat fold per pocket creates a grid of color that actually looks good on the back of a door rather than like a pile of laundry someone hung up.
Install a tension rod across the inside of the cabinet under the kitchen sink and drape bags over it. The bags hang in a row and stay visible and accessible. This uses the upper airspace inside the cabinet that usually goes to waste because cleaning supplies sit on the floor of the cabinet. The tension rod costs a few dollars, requires no tools, and creates instant bag storage in a cabinet you already have.
Designer Tip: Place the tension rod high enough that it does not interfere with items on the cabinet floor. You want to use the dead airspace above the cleaning supplies, not compete with them for room. Test the height before fully tightening the rod.
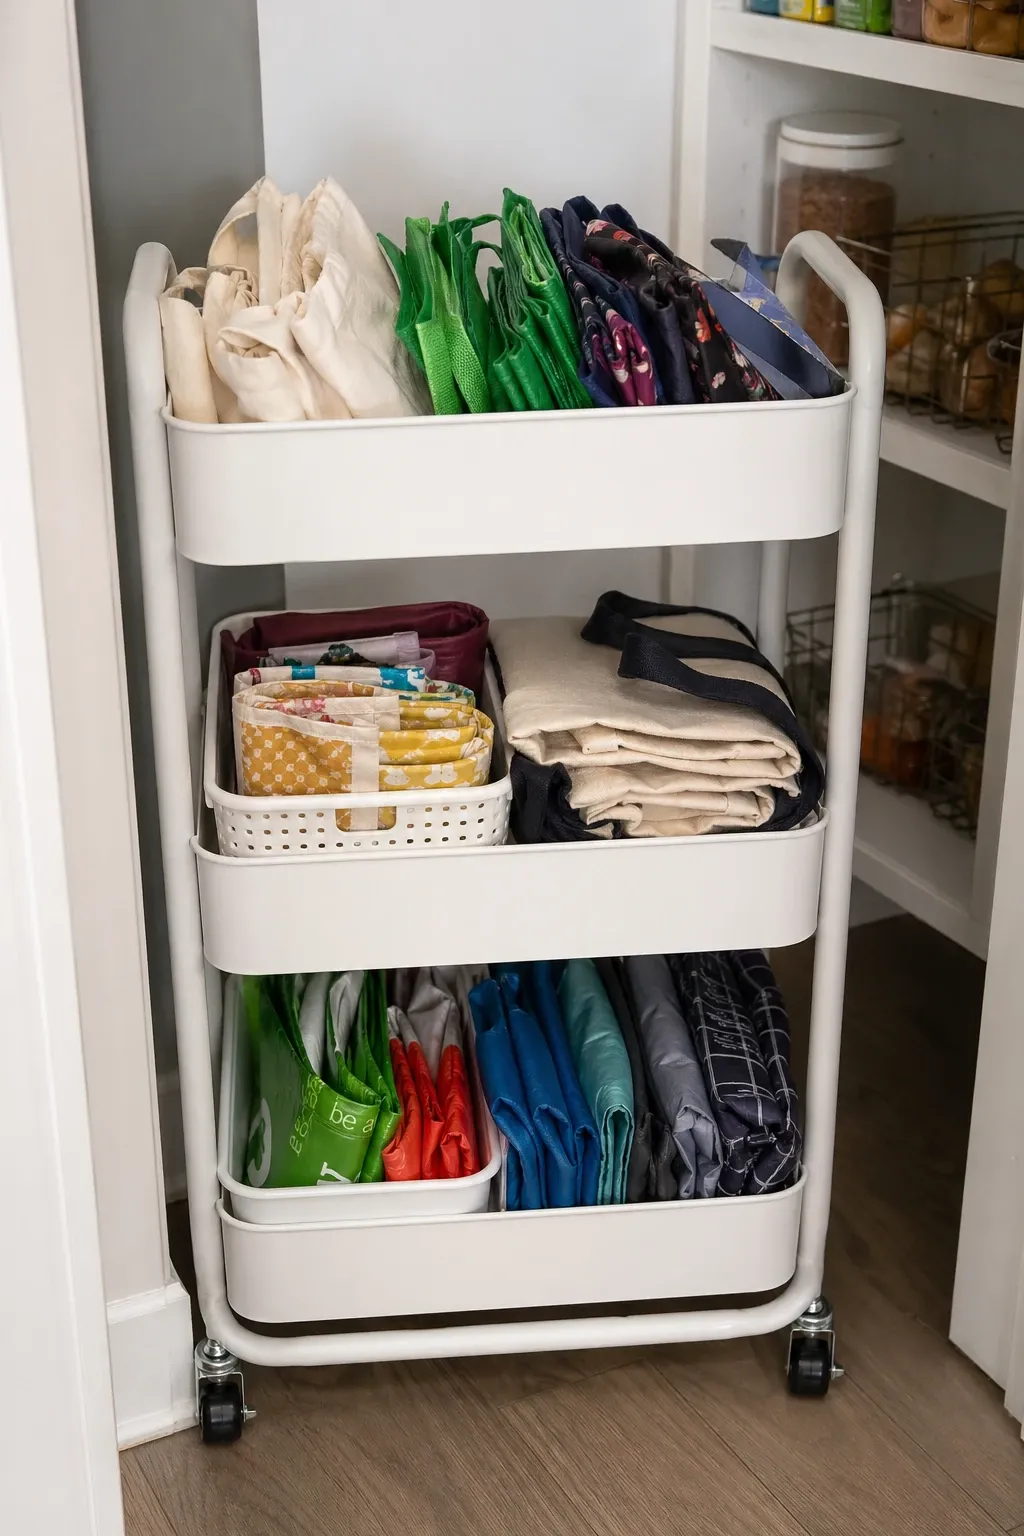
If you have different kinds of reusable bags for different purposes, sorting them into labeled bins makes the whole system faster. One bin for standard grocery totes, one for insulated cooler bags, one for produce mesh bags. Each bin gets a label so anyone in the household can find the right bag and put it back in the right spot. This works well on a pantry shelf, a mudroom shelf, or inside a large closet.
Designer Tip: Keep the labels consistent in font and material. Matching labels on matching bins create a system that looks like a professional organizer set it up. Handwritten masking tape labels work too, but use the same pen and the same tape for all of them.
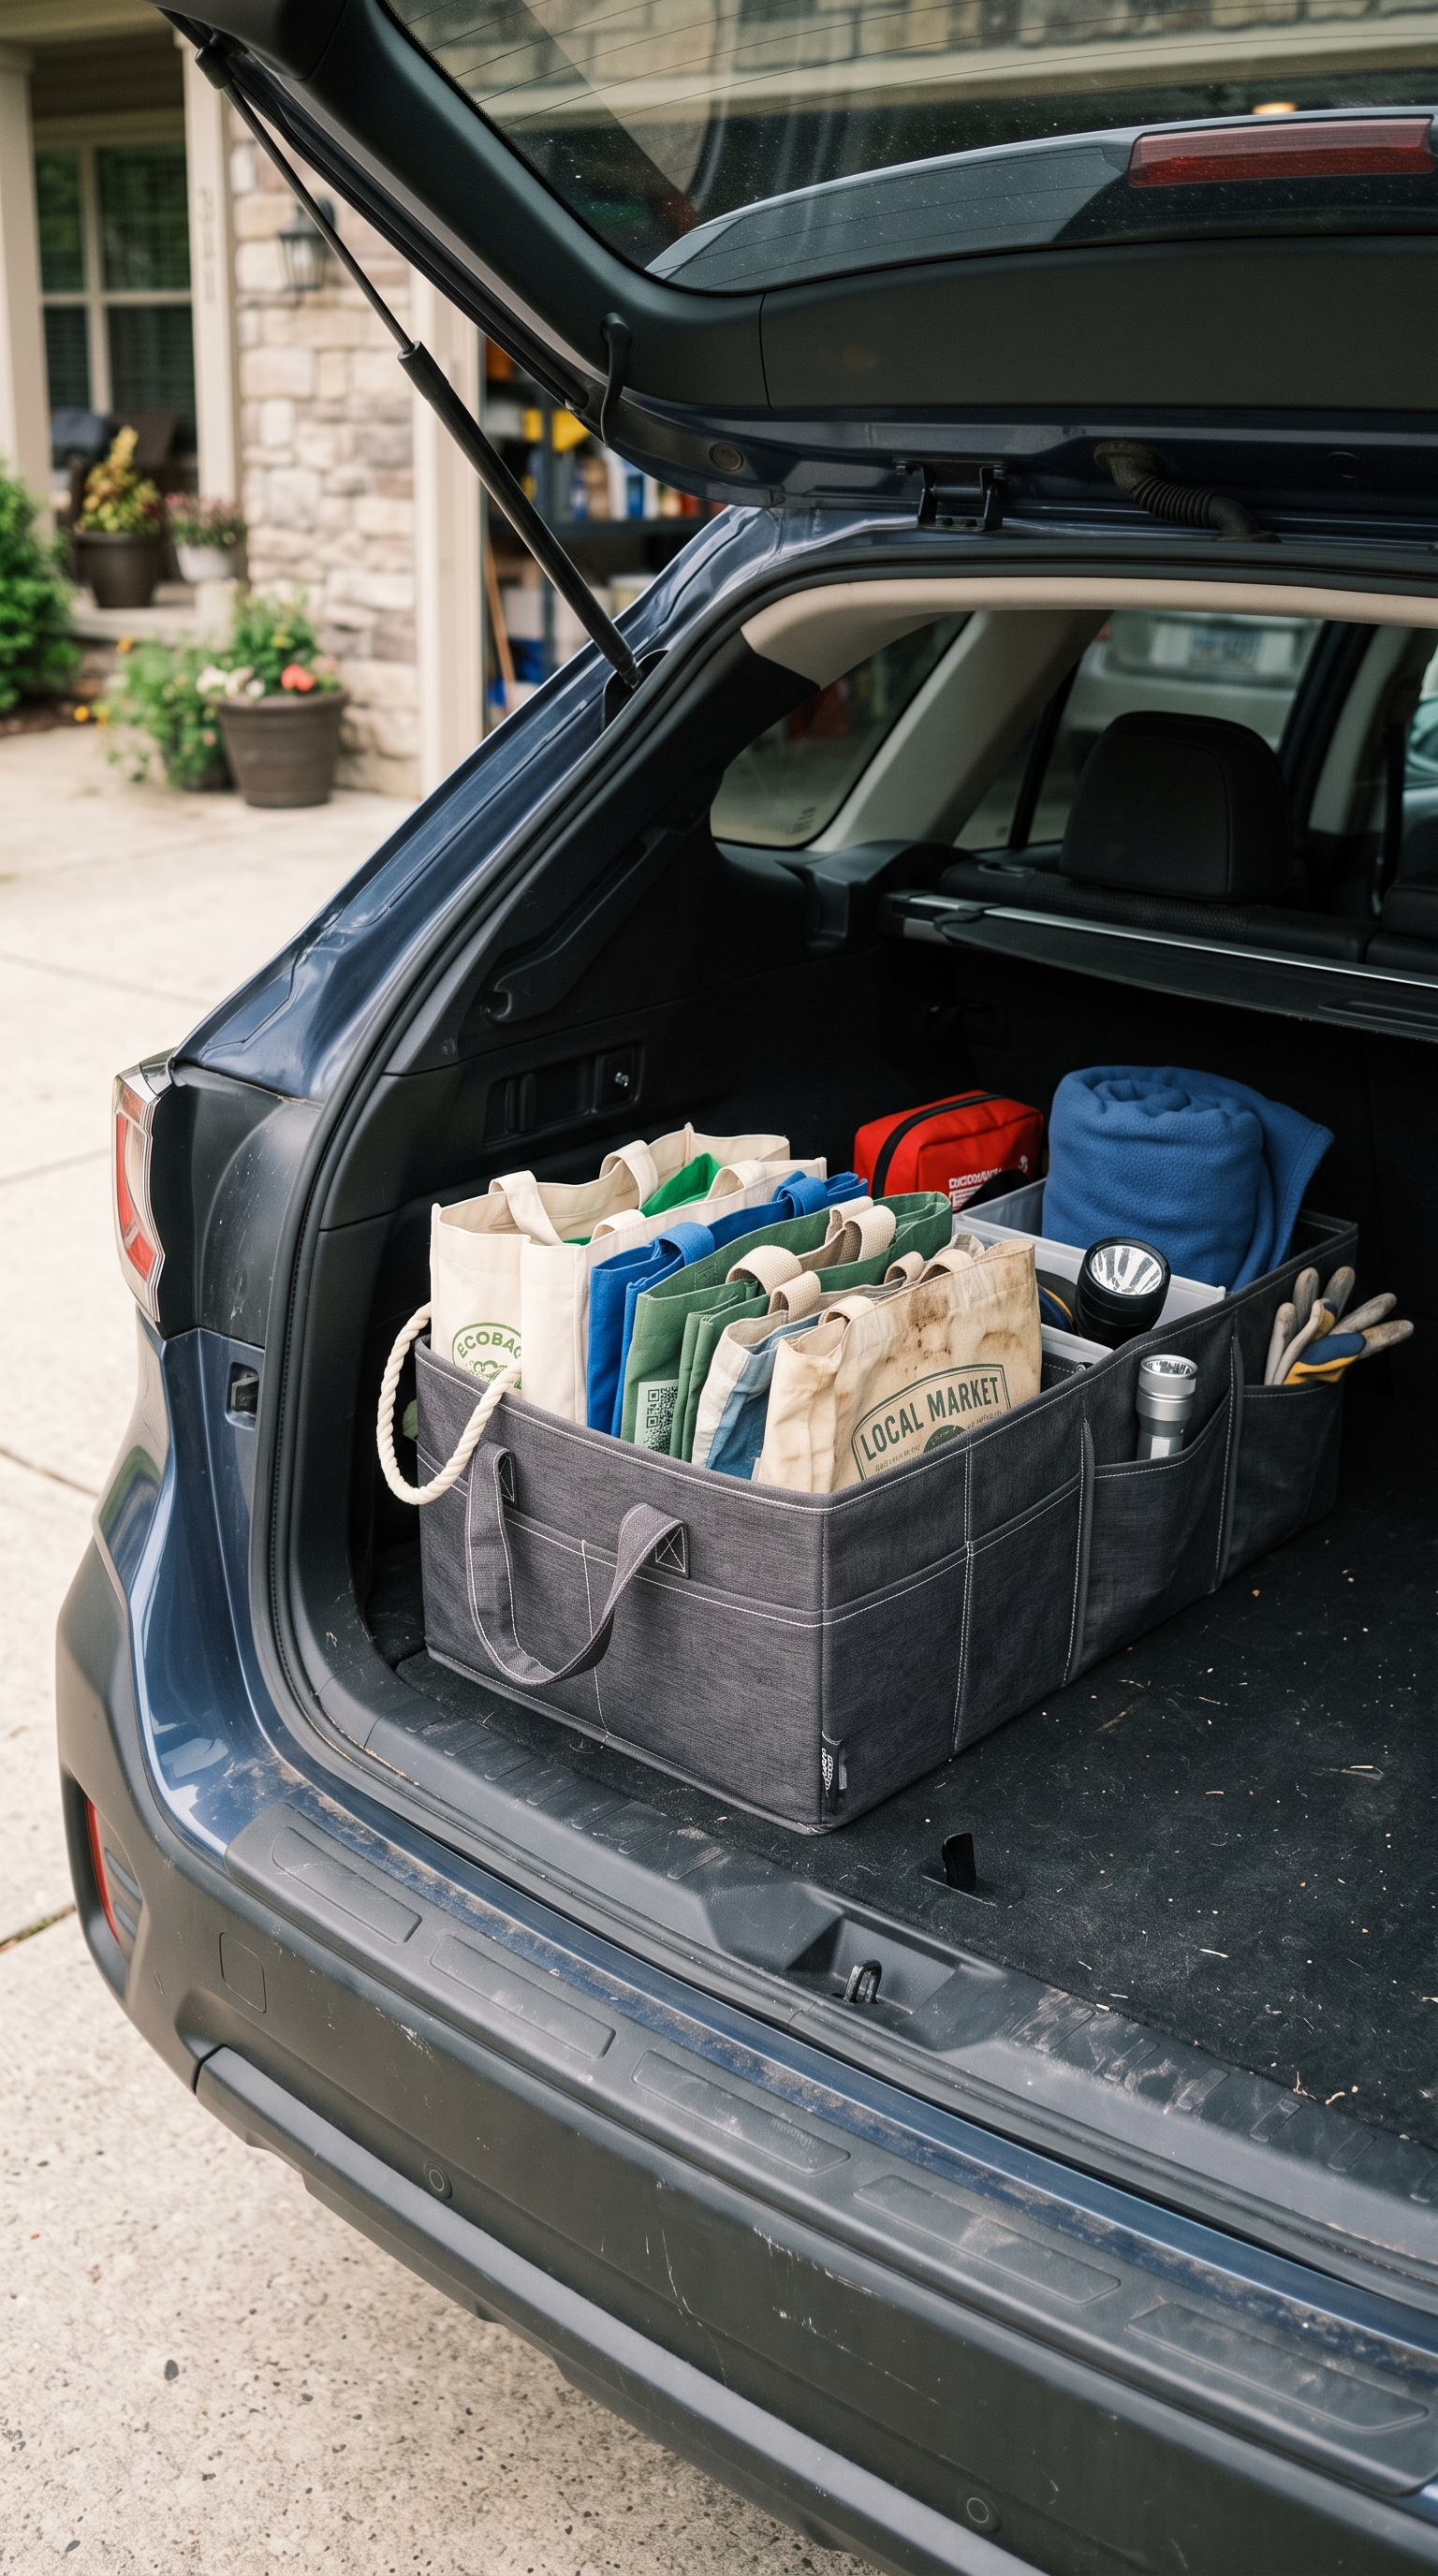
The best reusable bag storage might not be in your kitchen at all. A collapsible trunk organizer in your car keeps bags right where you need them. After unloading groceries at home, fold the bags and drop them back in the trunk organizer. Next time you drive to the store, they are already in the car. This solves the most common problem with reusable bags: remembering to bring them. They never leave the car, so they are always available.
Designer Tip: Get a trunk organizer with multiple compartments so bags stay separated from other trunk items like emergency kits, sports gear, or tools. A dedicated bag compartment keeps them clean and prevents them from sliding around every time you turn a corner.
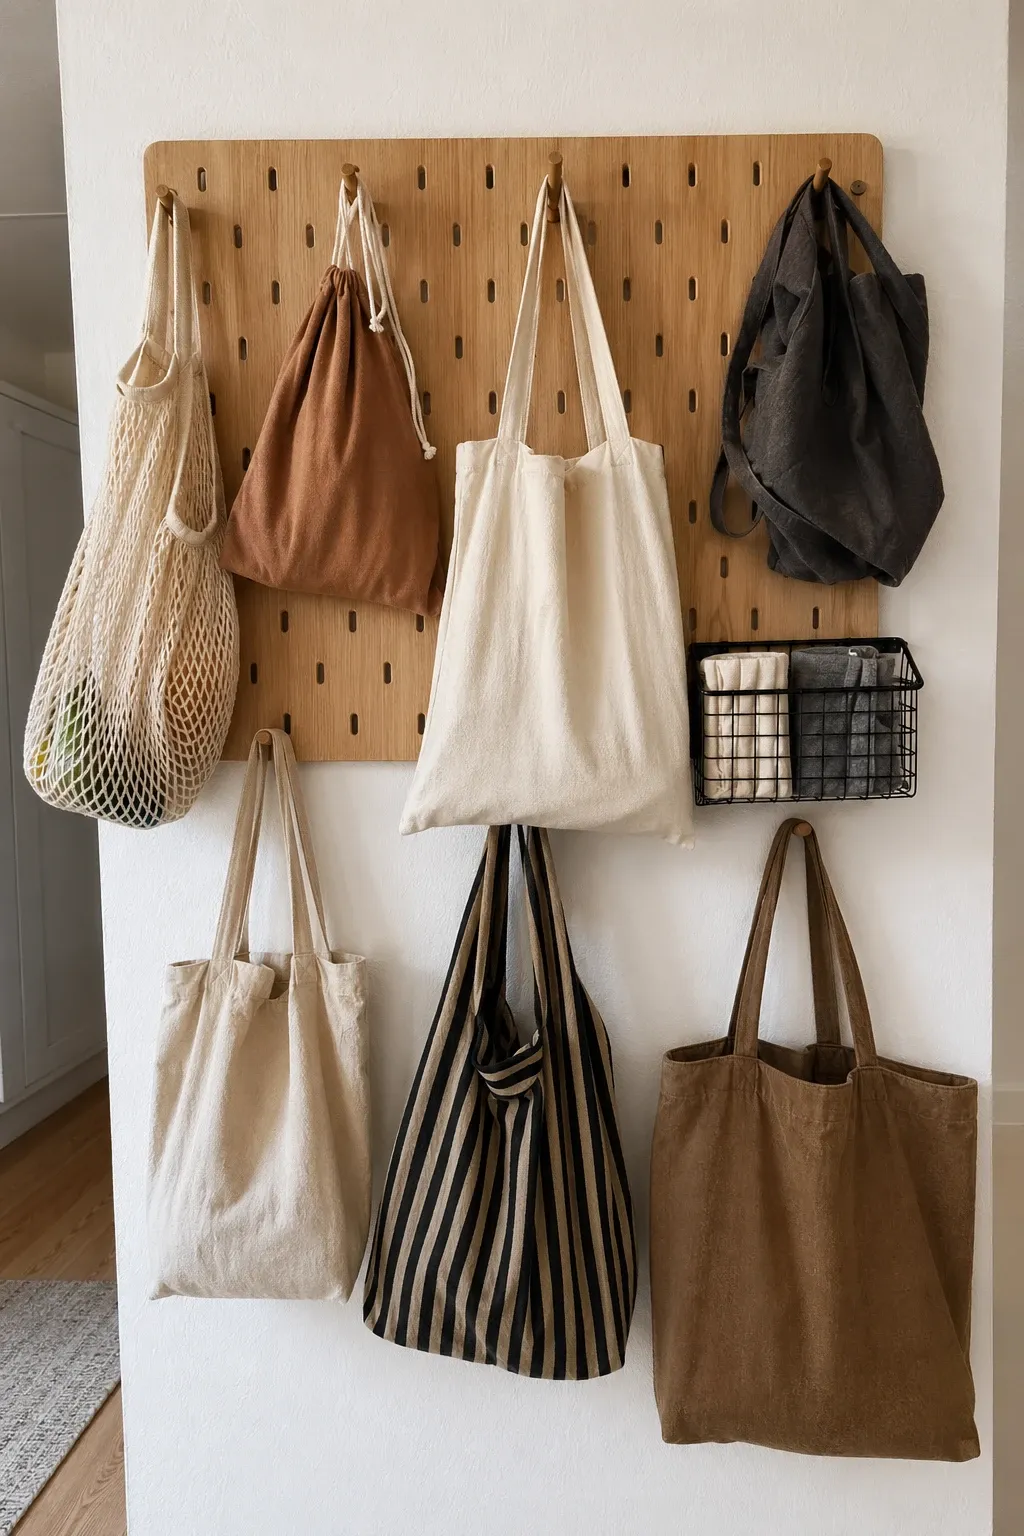
A pegboard mounted in the pantry, mudroom, or garage gives you fully customizable bag storage. Add hooks wherever you want them, hang bags by their handles, and rearrange the layout any time your collection changes. Pegboards let you see every bag at once, which means you actually use all of them instead of always grabbing the same two bags from the top of the pile. Add a small shelf attachment to hold folded bags that do not hang well.
Designer Tip: Paint the pegboard to match the wall or use a bold accent color for a design statement. A natural plywood pegboard works for rustic or industrial spaces. A white pegboard disappears into a white wall and lets the colorful bags become the visual feature.
The bag clutter problem is really a “bags do not have a home” problem. Pick any one of these ideas, give your bags a dedicated spot, and the drawer mess disappears. The best system is the one that fits your space and your habits. If you are the type to fold neatly, go with drawer dividers or a shoe organizer. If you are a grab-and-toss person, a fabric bin or a bag-in-a-bag setup will serve you better. The point is to stop fighting the bags and start working with them.
Frequently Asked Questions
How many reusable bags does a household need?
Most families do well with 8 to 12 standard grocery totes plus a few specialty bags like insulated cooler bags and mesh produce bags. That covers a full grocery run with some extras for spontaneous shopping trips. If you find yourself with more than 20, it is probably time to donate the ones you never reach for.
What is the best way to fold reusable bags for storage?
Fold the bag in half lengthwise, then fold in half again, and roll from the bottom up. This creates a compact roll that fits in drawers, bins, or pockets. Some bags have a built-in pouch that they fold into, which is even more compact. Rolling works better than flat folding for most storage methods because rolled bags stand upright and take up less space.
How do I keep reusable bags clean?
Most fabric bags can go in the washing machine on a cold cycle and air dry. Wipe insulated bags with a damp cloth and mild soap inside and out. Aim to wash bags every two to three weeks or immediately after carrying raw meat or anything that leaked. Clean bags last longer and do not pick up that musty smell that makes people avoid using them.
Should I store bags near the door or in the kitchen?
The best location depends on your routine. If you always drive to the store, keeping bags in the car trunk makes the most sense. If you walk, storing them near the front door or in the entryway closet means you grab them on the way out. Kitchen storage works well for unloading and reloading but adds a step if you forget them on the way out the door. Think about where in your routine you most often forget the bags and put them there.