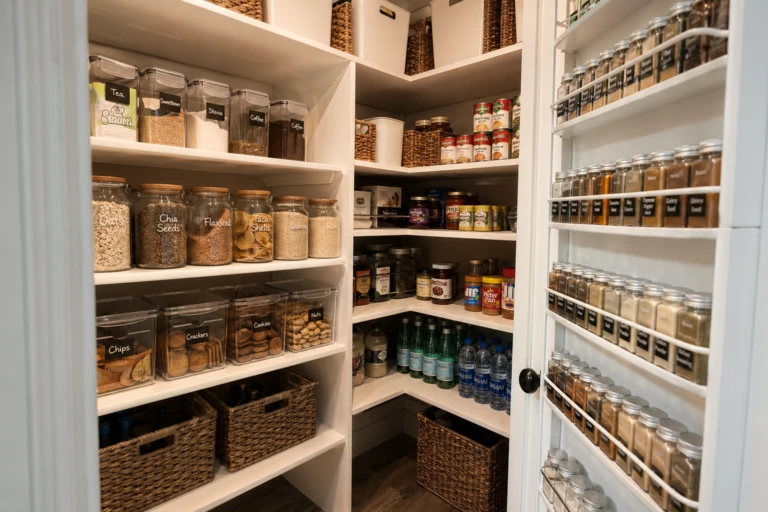
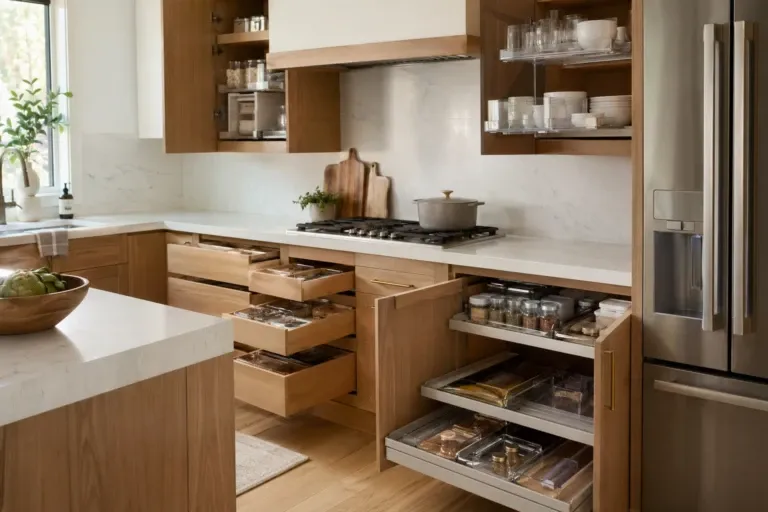
Kitchen drawers go from organized to disaster in about two weeks if there is no system in place. I have reorganized mine more times than I can count, and the setups that actually lasted all had one thing in common: they gave every item a specific spot. Here are the kitchen drawer organization ideas that have worked long term in my kitchen and in kitchens I have helped friends put together.
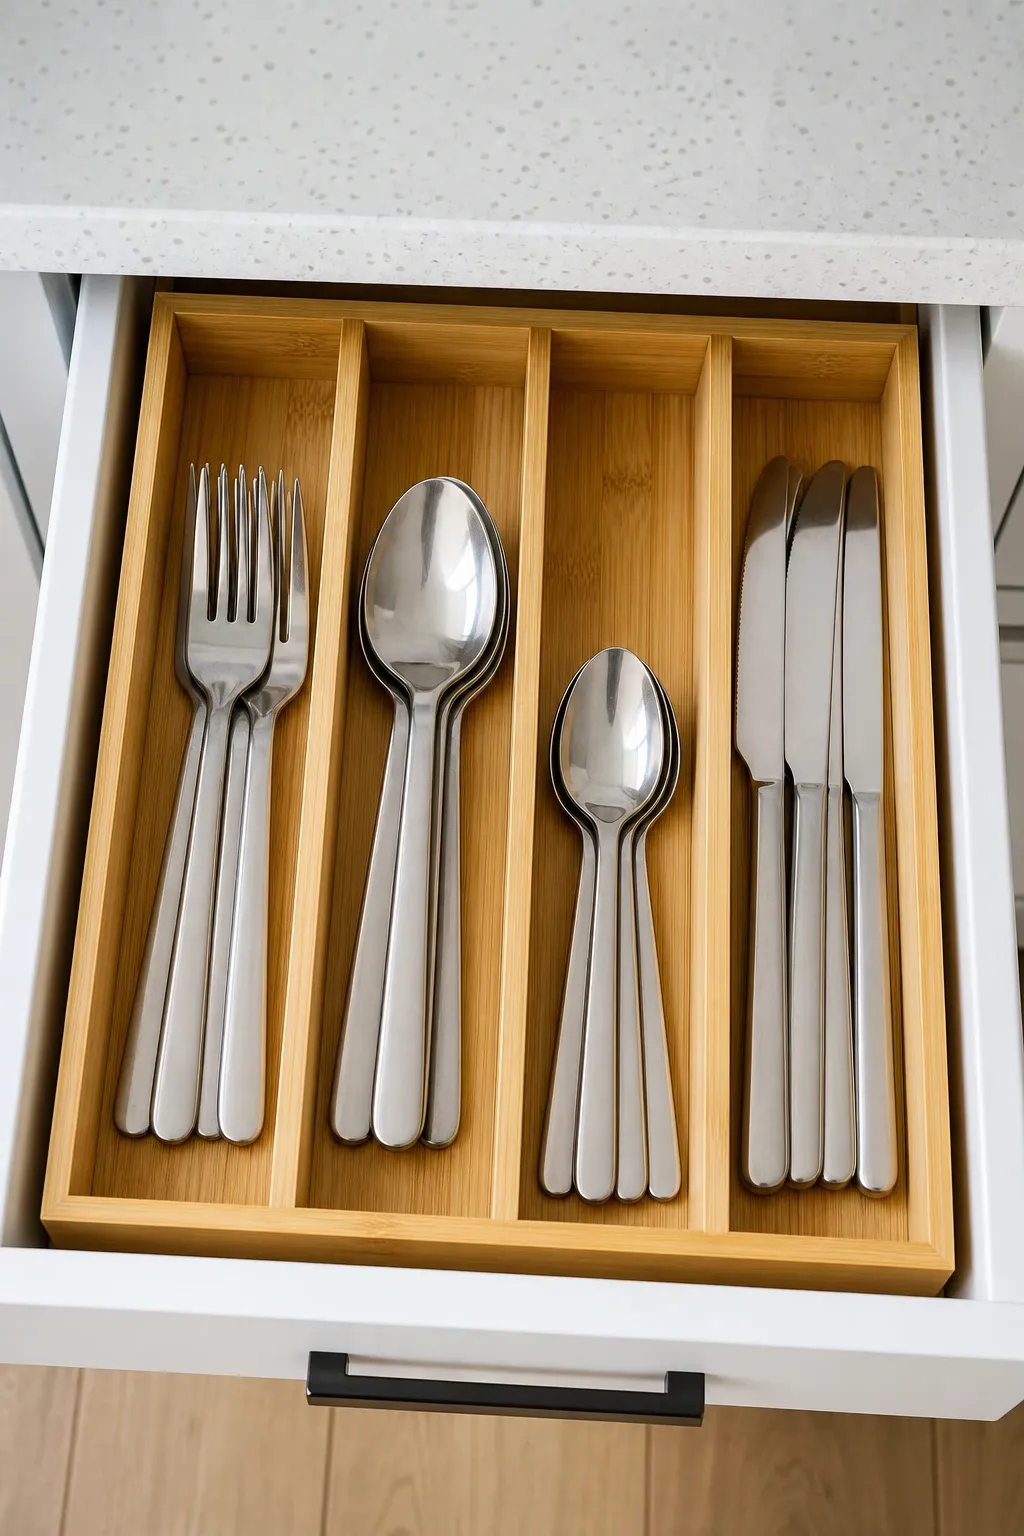
Bamboo dividers that expand to fit the drawer width create sections for different utensil types. Spring-loaded dividers press against the drawer walls and stay in place without screws or adhesive. They look clean, feel solid, and you can rearrange them whenever your needs change. Bamboo holds up well in the kitchen because it resists moisture better than regular wood.
Designer Tip: Measure the inside depth of your drawer, not just the width. Many expandable dividers are too tall for shallow drawers and prevent the drawer from closing. Check the divider height against your drawer depth before buying.
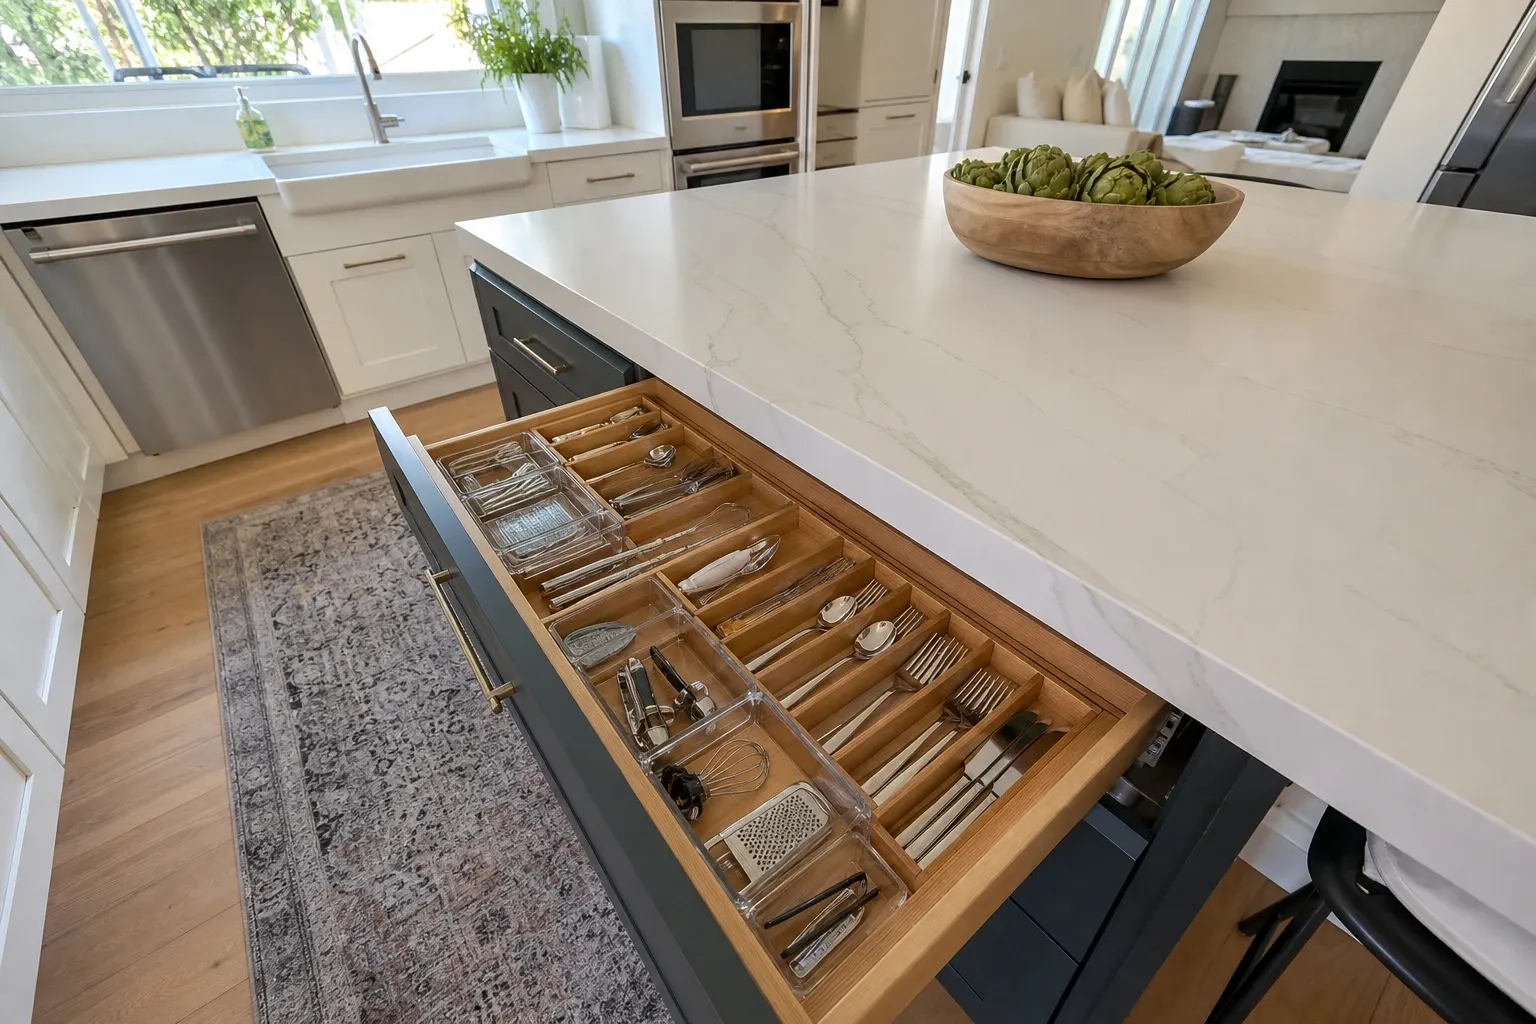
A molded utensil tray with separate compartments for forks, knives, spoons, and serving pieces keeps the silverware sorted. The tray lifts out for easy cleaning, which is important because crumbs and dust collect in the bottom of utensil drawers faster than anywhere else in the kitchen. A tray that matches the drawer width with minimal gaps around the edges prevents items from sliding under the tray.
Designer Tip: Get a tray with angled compartments rather than straight ones. Angled slots make it easier to grab a single fork or knife without fumbling, and the silverware nests more neatly.
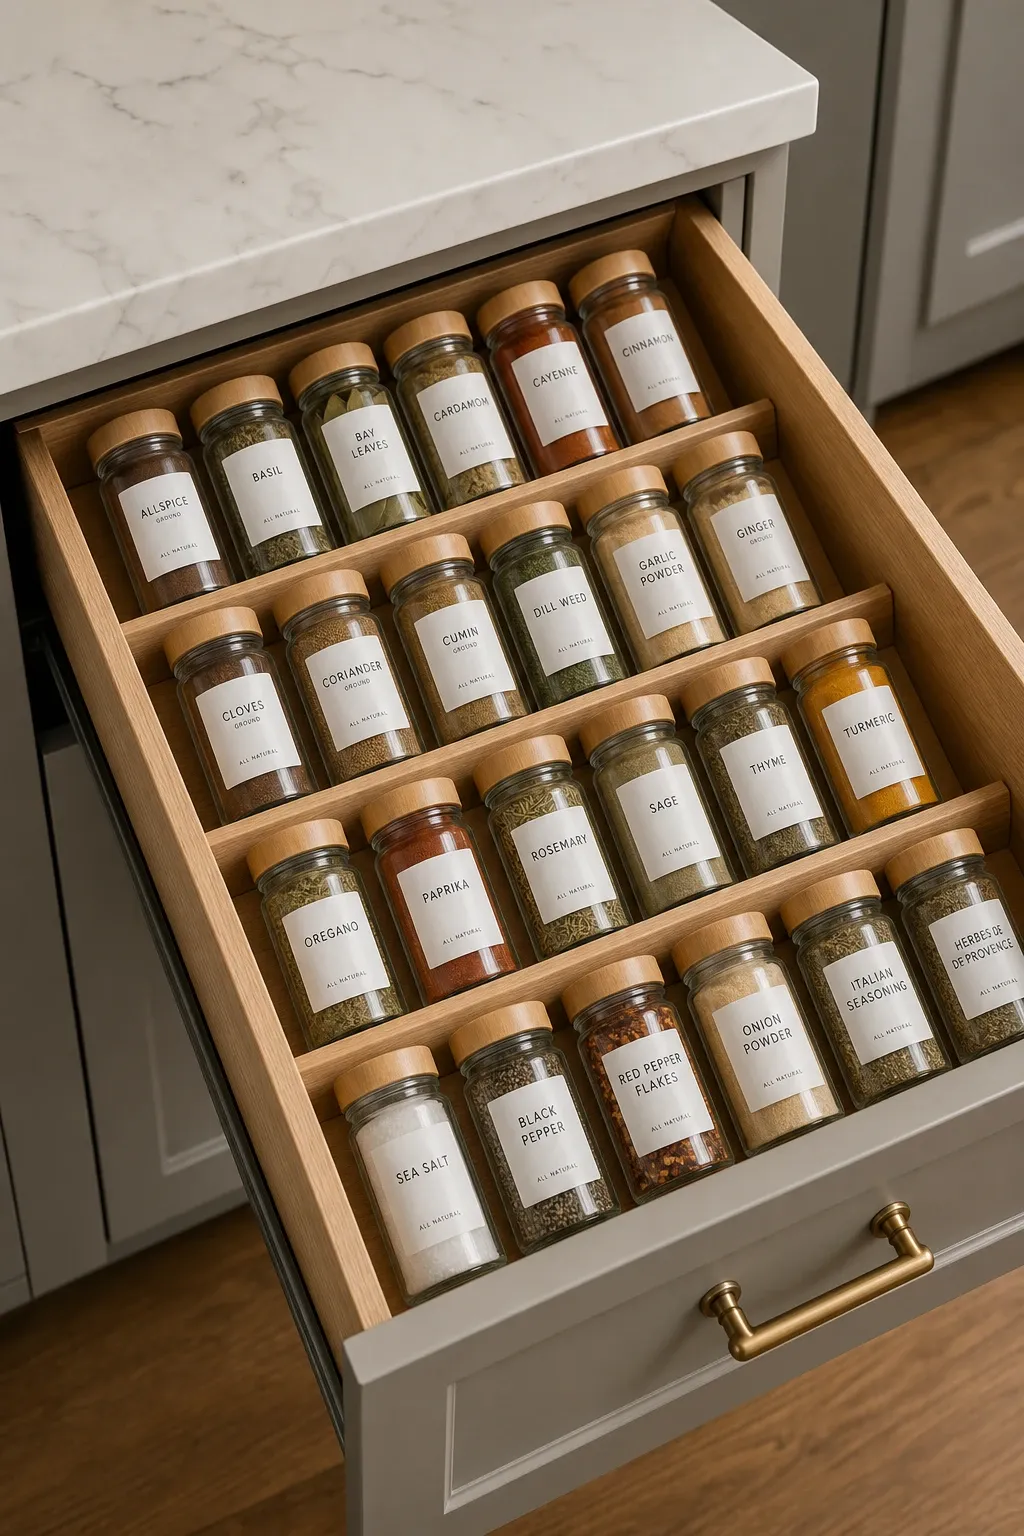
An angled spice insert holds jars tilted so you can read the labels from above when you open the drawer. No more pulling out every jar to find the one you need. This setup works best in a wide, shallow drawer near the stove. Transfer spices to uniform jars with top labels for the cleanest look, or use the angled insert with store-bought jars if the labels face the right direction.
Designer Tip: Alphabetize your spices. It sounds obsessive but it saves time every single day. When you are cooking and need cumin, you go straight to the C section instead of scanning every jar.
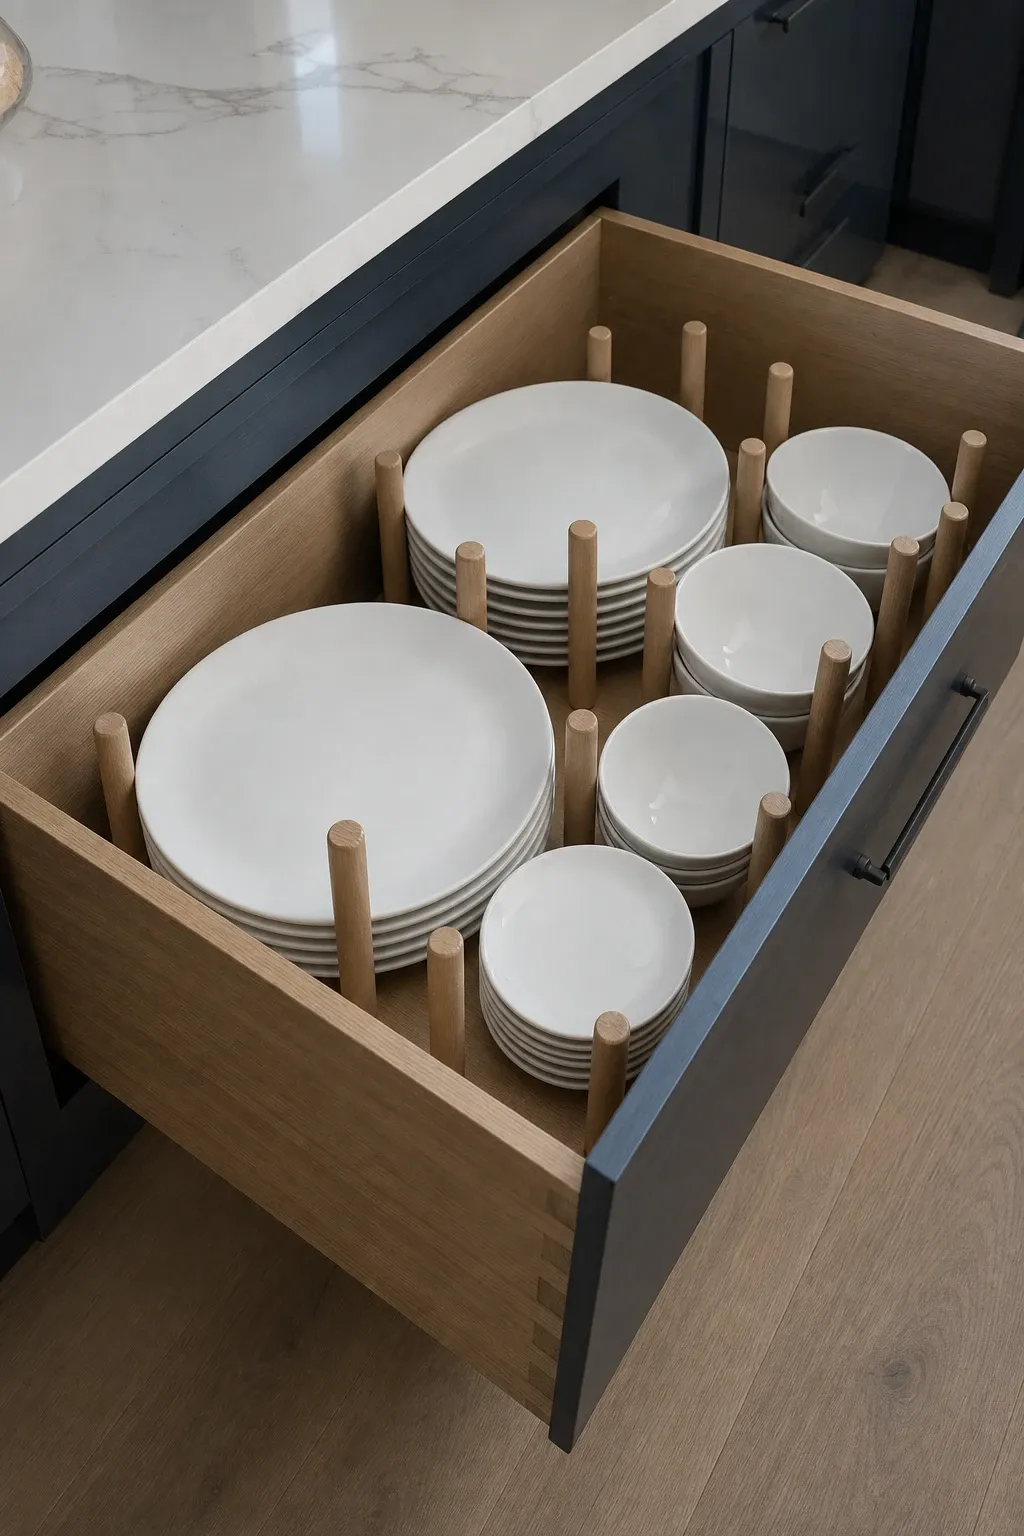
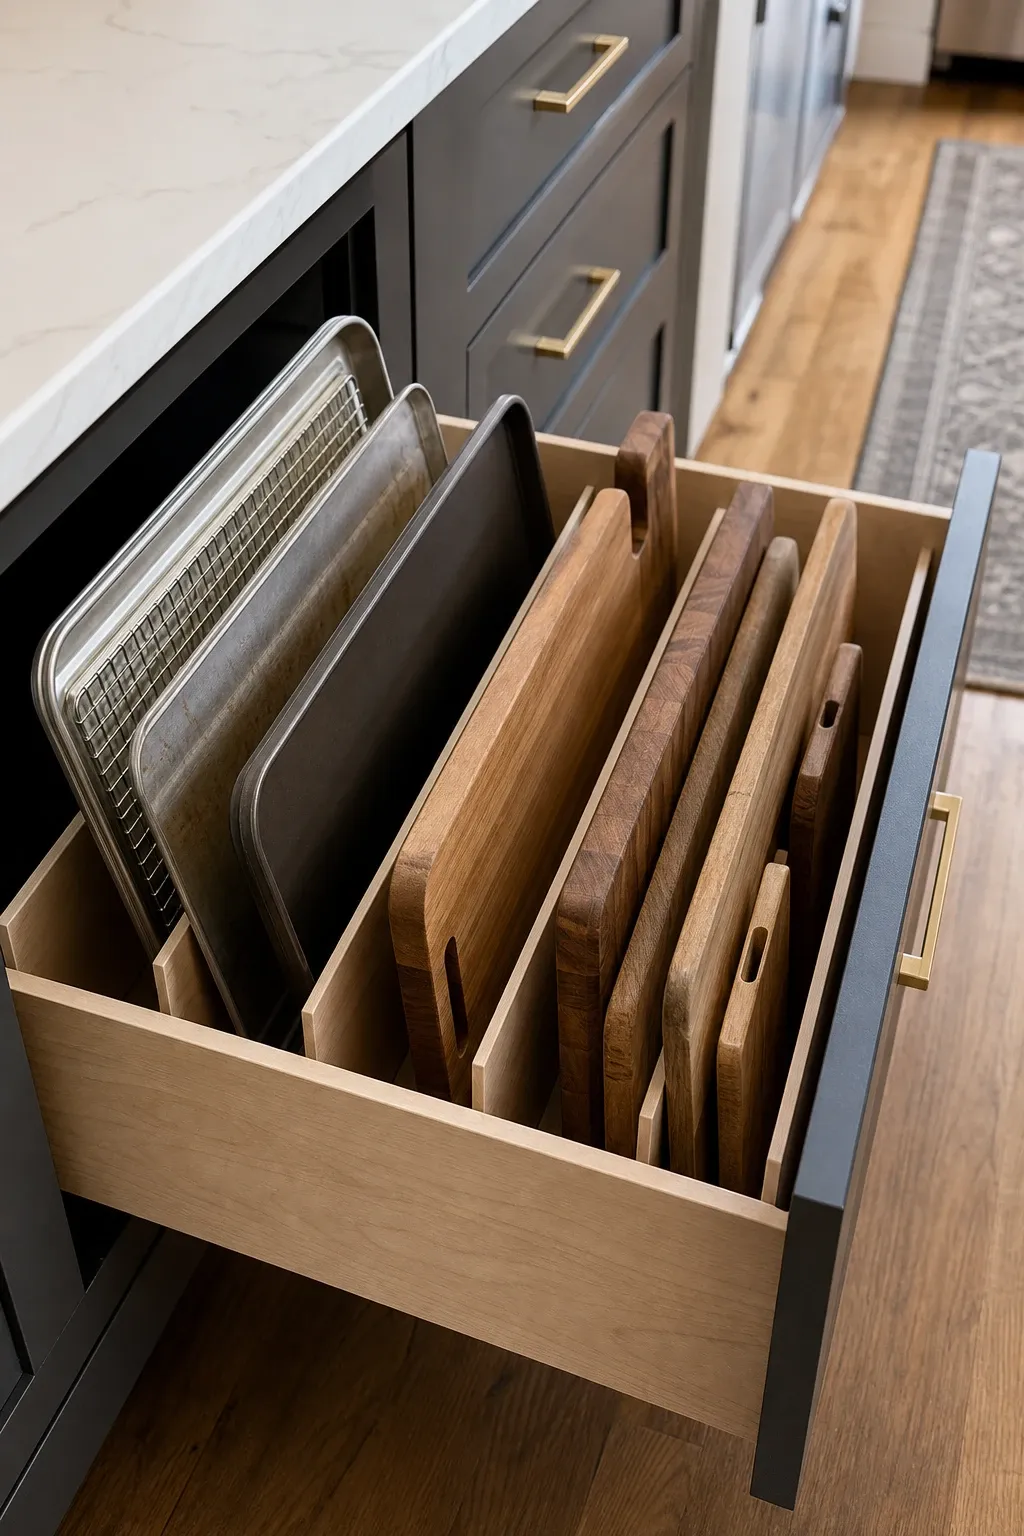
Pegs that fit into a grid of holes on the drawer bottom hold plates, cutting boards, and baking sheets upright. You slide items in between the pegs and they stay put. Rearrange the pegs when you get new dishes or change what goes in the drawer. This system works well for deep drawers that would otherwise become a stacked mess where you have to lift everything to reach the bottom item.
Designer Tip: Place the pegs slightly closer together than you think you need. Loose items that wobble between pegs chip and scratch each other. A snug fit between pegs keeps plates and boards from moving during the opening and closing of the drawer.
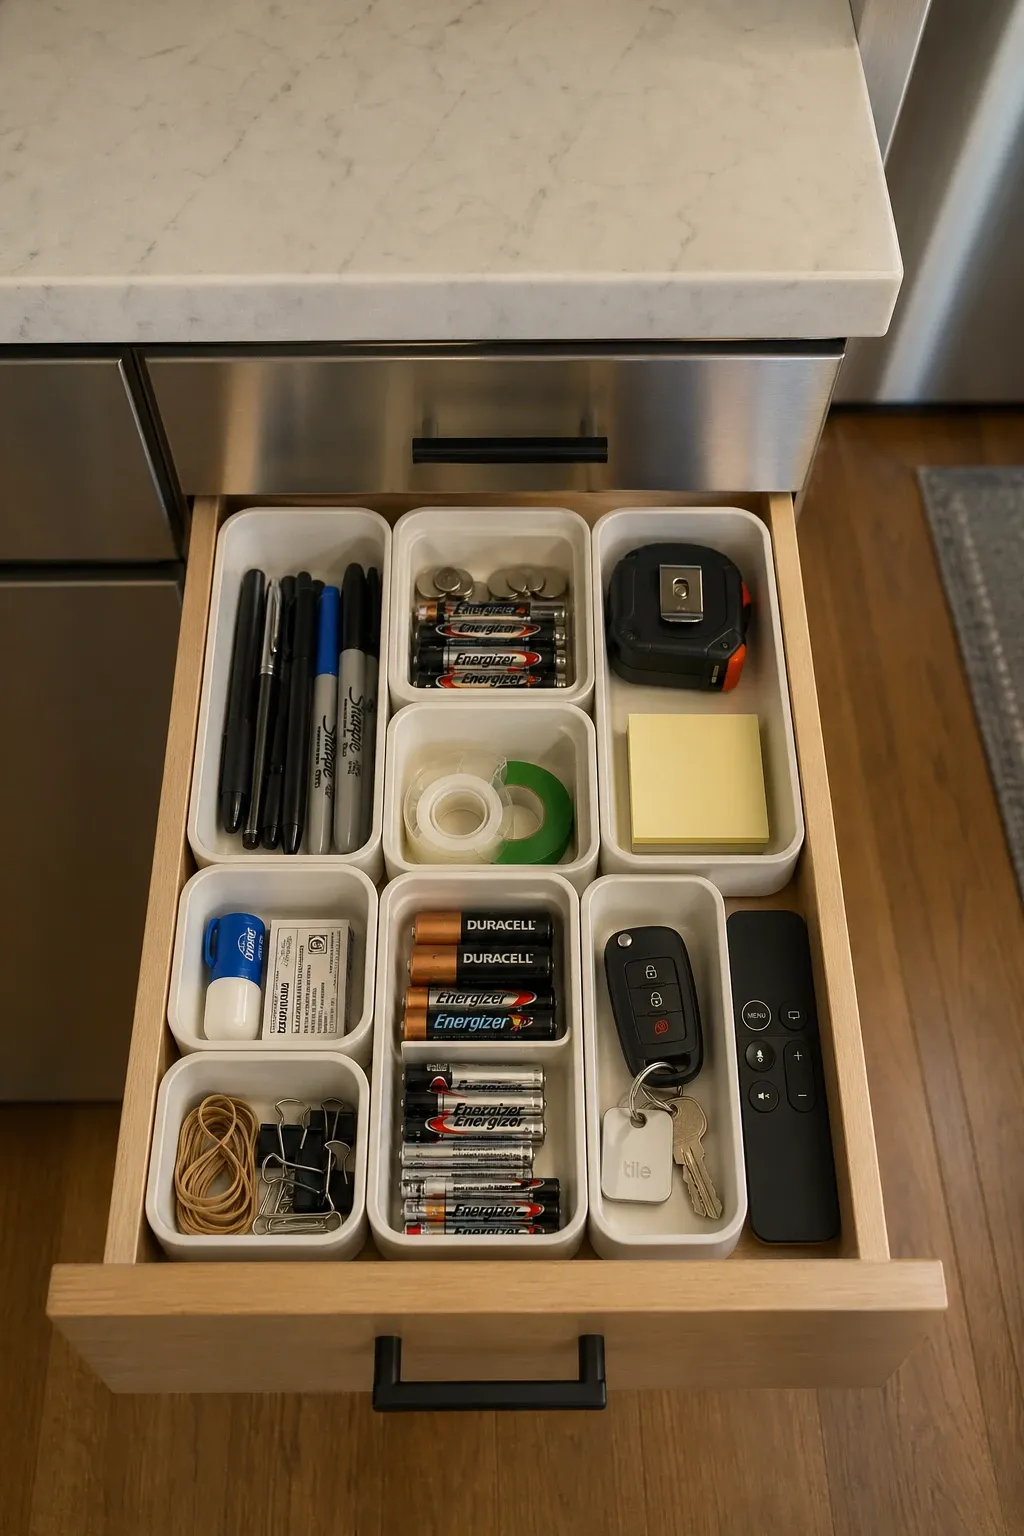
Every kitchen has a junk drawer, and accepting that fact is the first step. The second step is putting a small-compartment tray in it. Batteries in one section, pens in another, tape and scissors in a third. The tray does not eliminate the junk drawer. It organizes the junk so you can actually find the scissors when you need them instead of rummaging through a pile of random items.
Designer Tip: Put a small piece of non-slip liner under the junk drawer tray. Junk drawers get opened and closed aggressively because people are usually in a hurry when they need something from them. The liner keeps the tray from sliding forward every time the drawer opens.
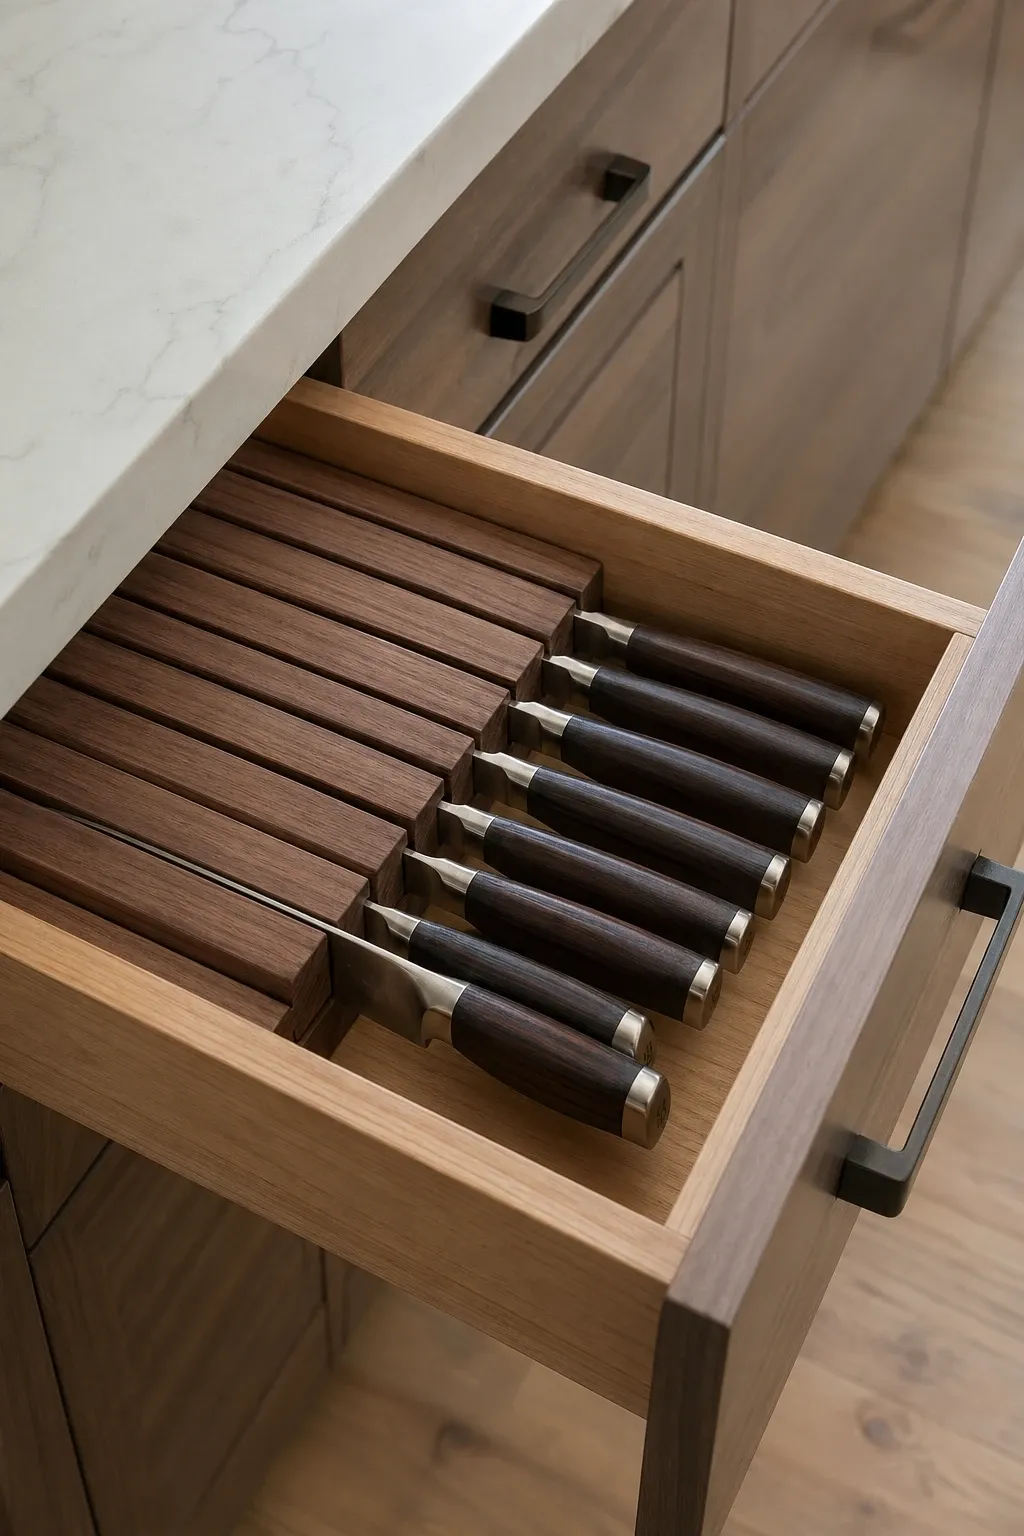
A drawer insert with individual blade slots keeps knives separated, protected, and easy to grab by the handle. This is safer than loose knives rattling around in a drawer and better for the blades than a magnetic strip where they can bang against each other. The slots hold each knife at an angle so you can see which knife is which without pulling them all out. Frees up counter space that a knife block would take.
Designer Tip: Make sure the insert is secured to the drawer bottom with adhesive pads or screws. A knife insert that slides around in the drawer is a safety hazard. The insert should not move at all when you pull a knife out.
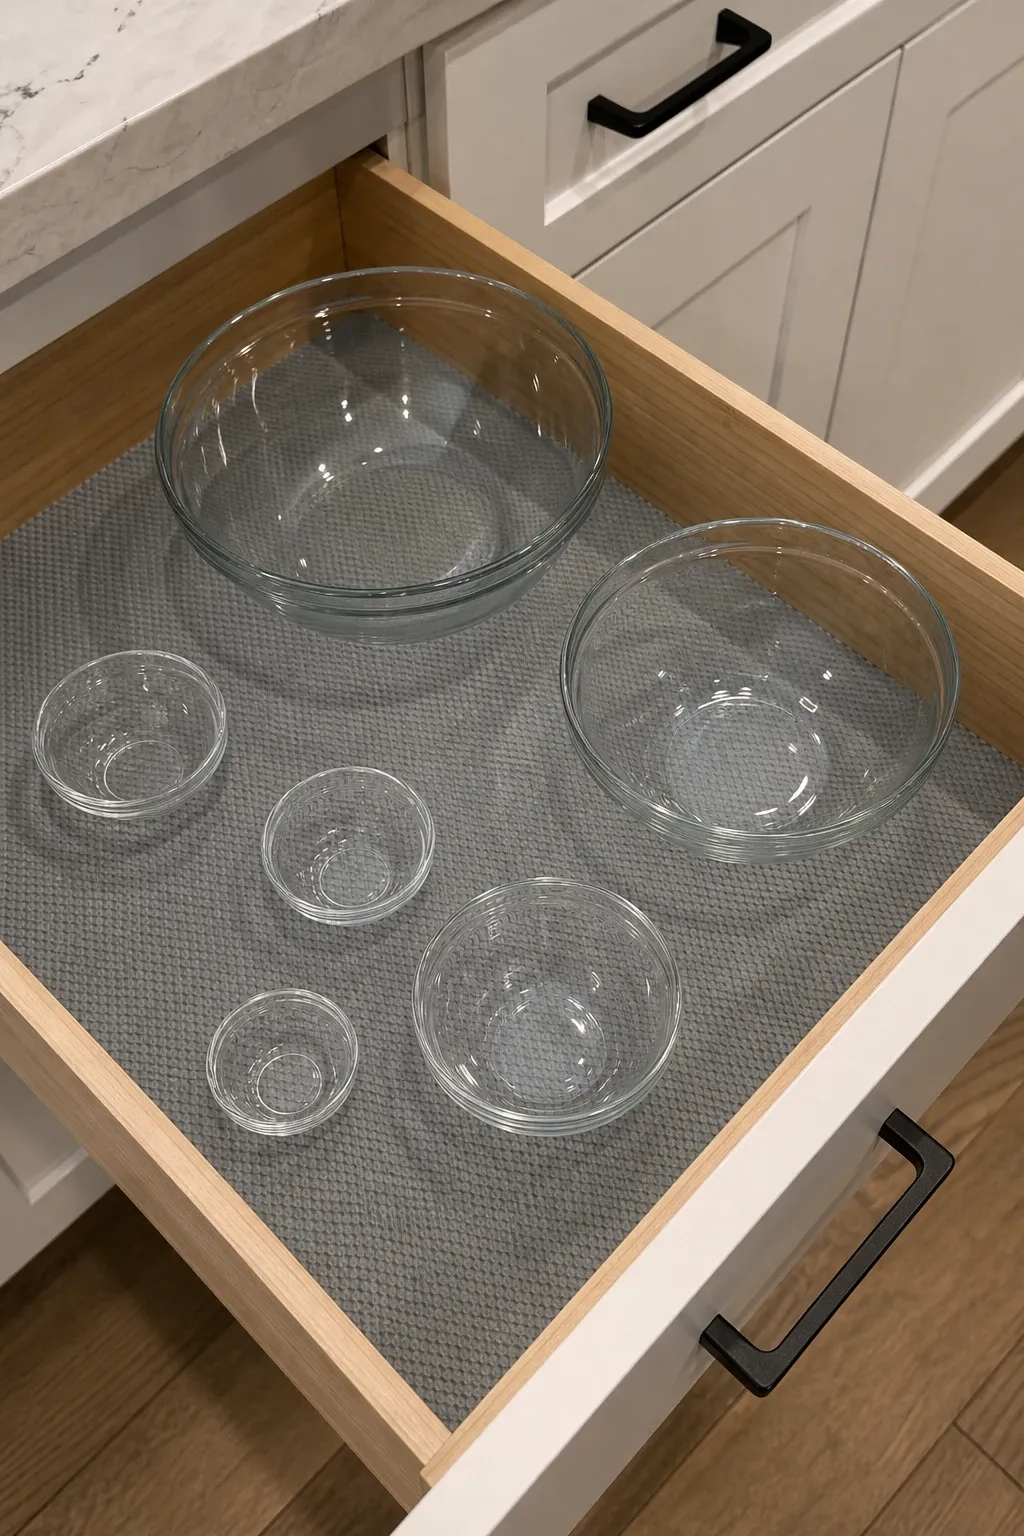
Non-slip drawer liner on the bottom of every drawer prevents items from sliding around every time you open or close the drawer. Without liner, everything shifts to the front when you push the drawer shut and shifts to the back when you pull it open. Liner is cheap, takes ten minutes to install, and makes every other organization tool in the drawer work better because nothing moves.
Designer Tip: Cut the liner slightly smaller than the drawer bottom so the edges do not curl up. Curled liner edges catch on items and create bumps that make the drawer look messy. A clean, flat cut that sits half an inch from each wall is ideal.
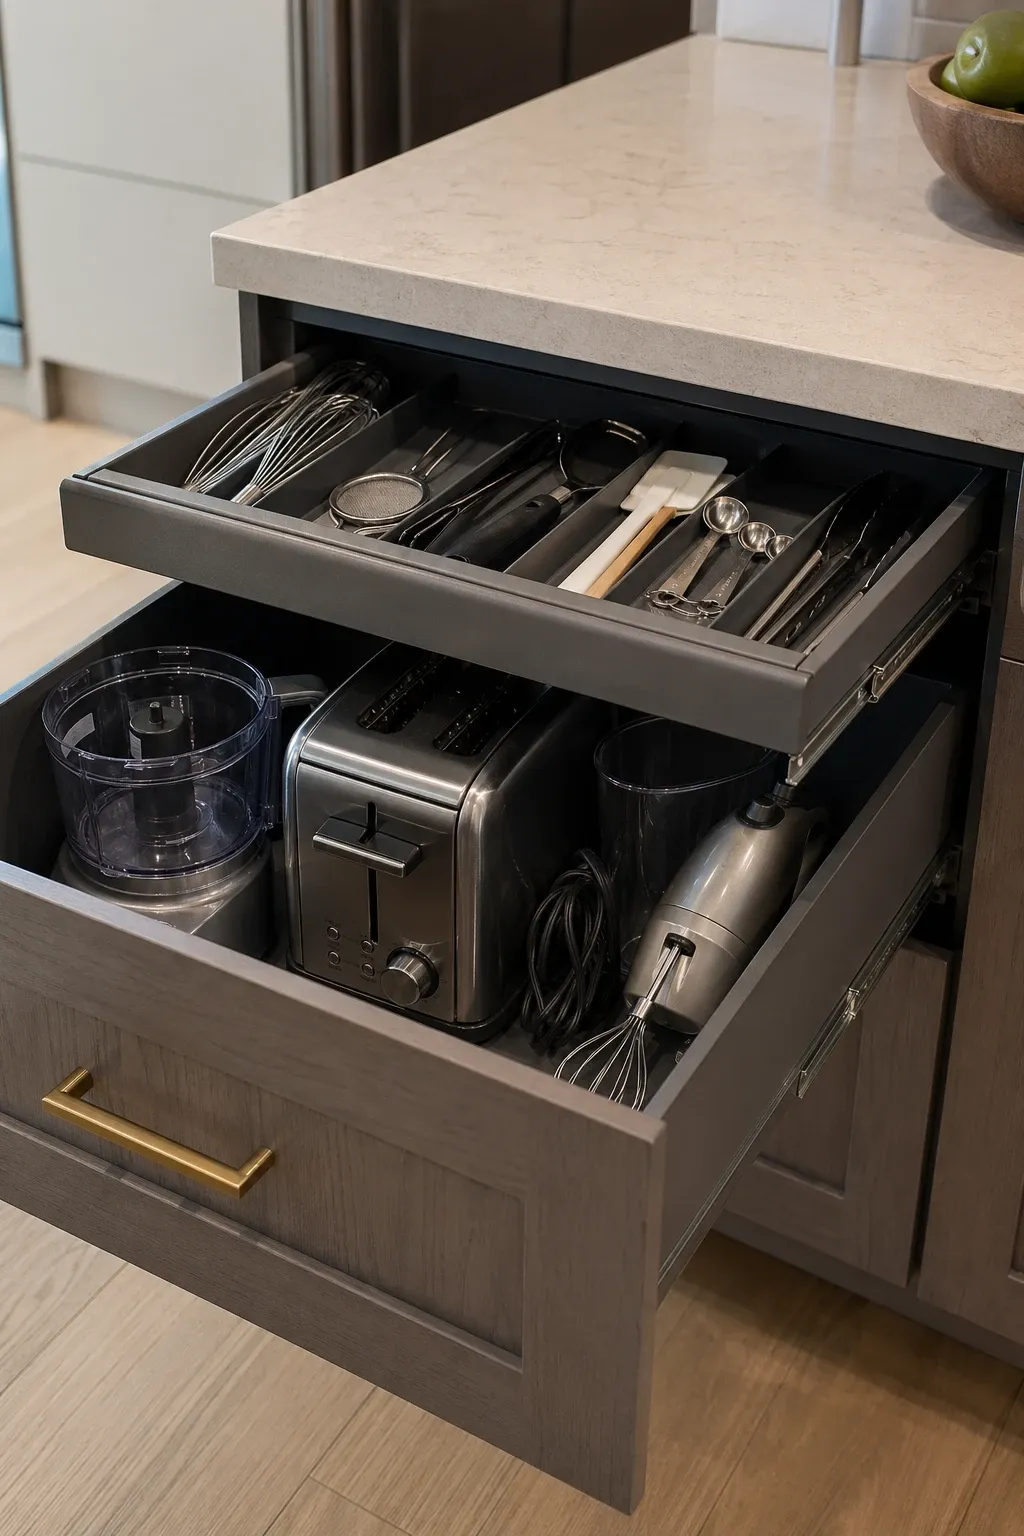
A two-tier organizer adds a sliding top tray above the main drawer space, doubling the storage in a single drawer. Small items like measuring spoons, bag clips, and twist ties go on the top tier. Larger items like spatulas and tongs stay on the bottom. The top tray slides to expose the items below. This solves the problem of deep drawers where small items get buried under big ones.
Designer Tip: Put the items you reach for most often on the top tier. If you have to slide the top tray aside every time you open the drawer, the two-tier system slows you down instead of helping.
A dedicated drawer for plastic wrap, aluminum foil, parchment paper, and storage bags keeps these bulky boxes out of the pantry where they take up shelf space. Lay the boxes flat in the drawer with labels facing up. A shallow drawer near the prep area works best. Some drawer organizers have a built-in cutter bar so you can pull and cut wrap without taking the box out of the drawer.
Designer Tip: Store the boxes with the opening facing the same direction. When every box opens the same way, you can pull wrap with one hand while holding the food with the other. Consistency in box orientation makes a small but noticeable difference in daily use.
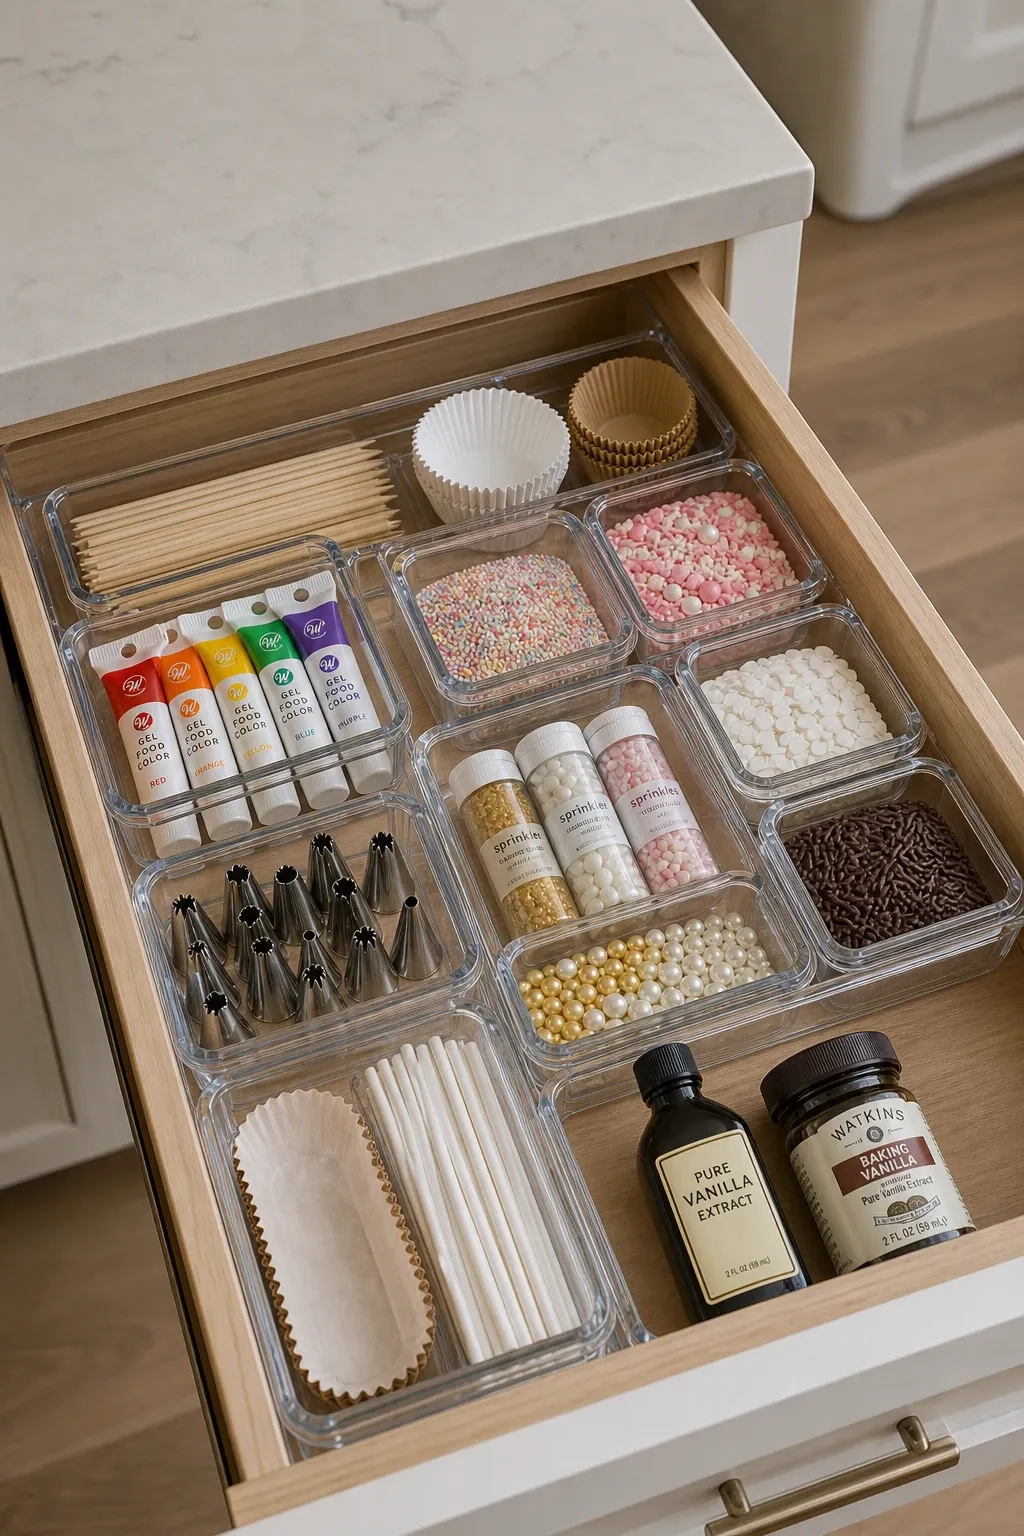
Grouping all baking tools in one drawer makes baking day much smoother. Measuring cups, measuring spoons, whisks, silicone spatulas, cookie cutters, pastry brushes, and rolling pins all in one place. When everything for baking lives in one drawer, you pull open that drawer and you are ready to go. No hunting through three different drawers and two cabinets for the tools you need.
Designer Tip: Nest measuring cups and spoons inside each other and secure them with a small clip or rubber band. Loose measuring spoons spread across the drawer and end up under other tools where you cannot see them.
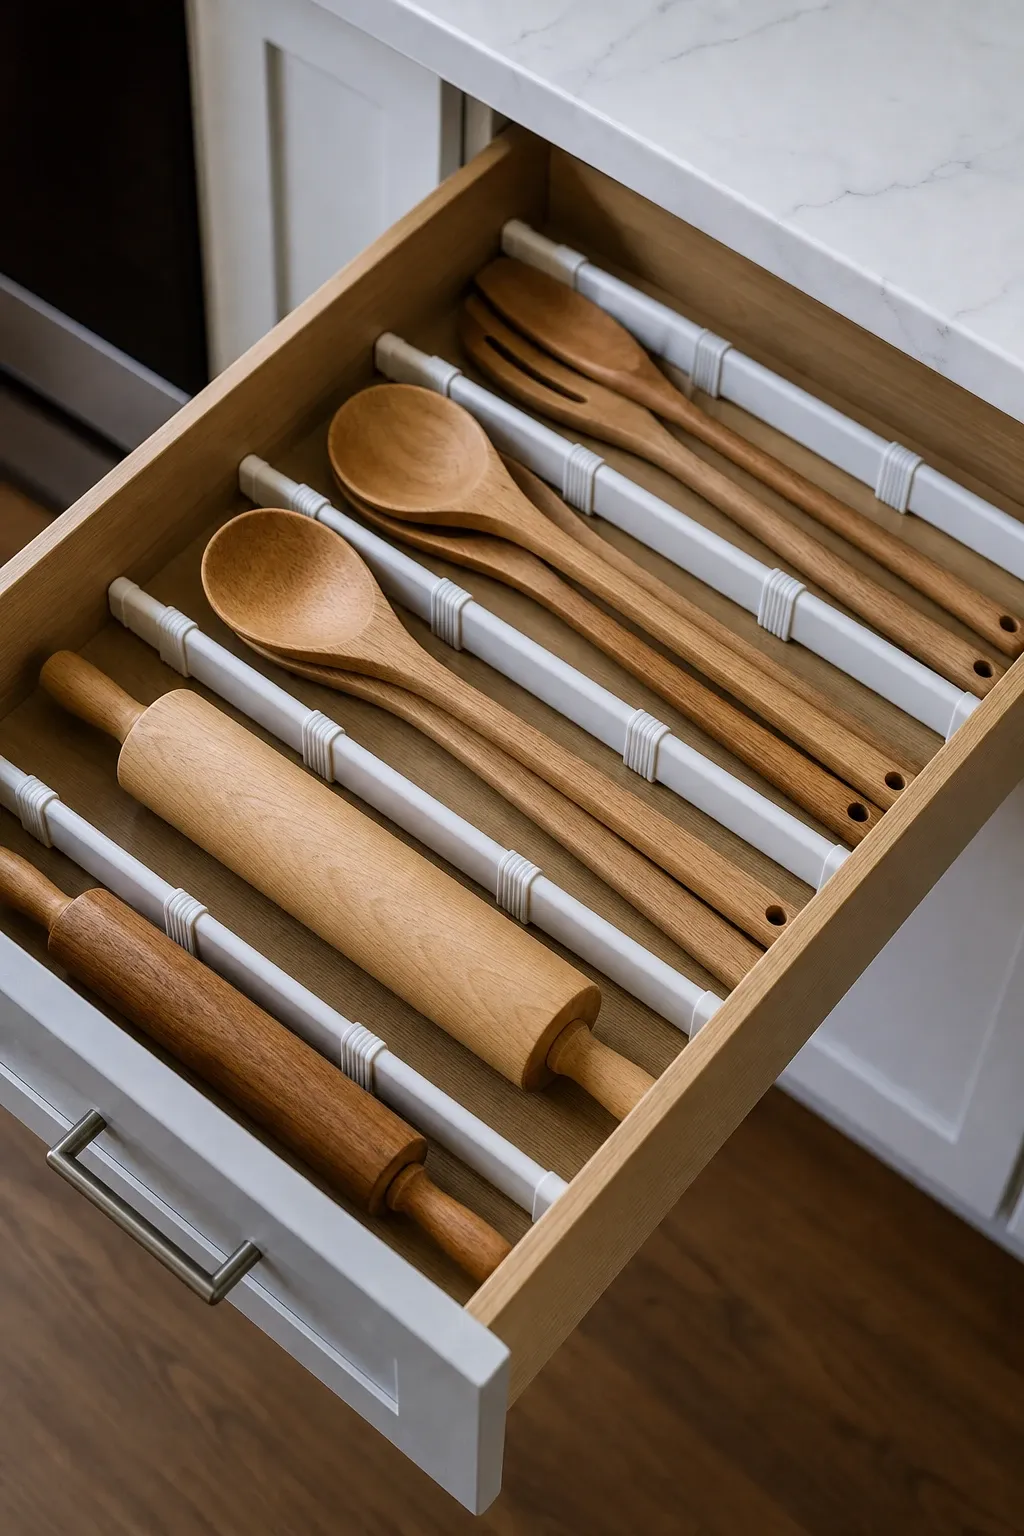
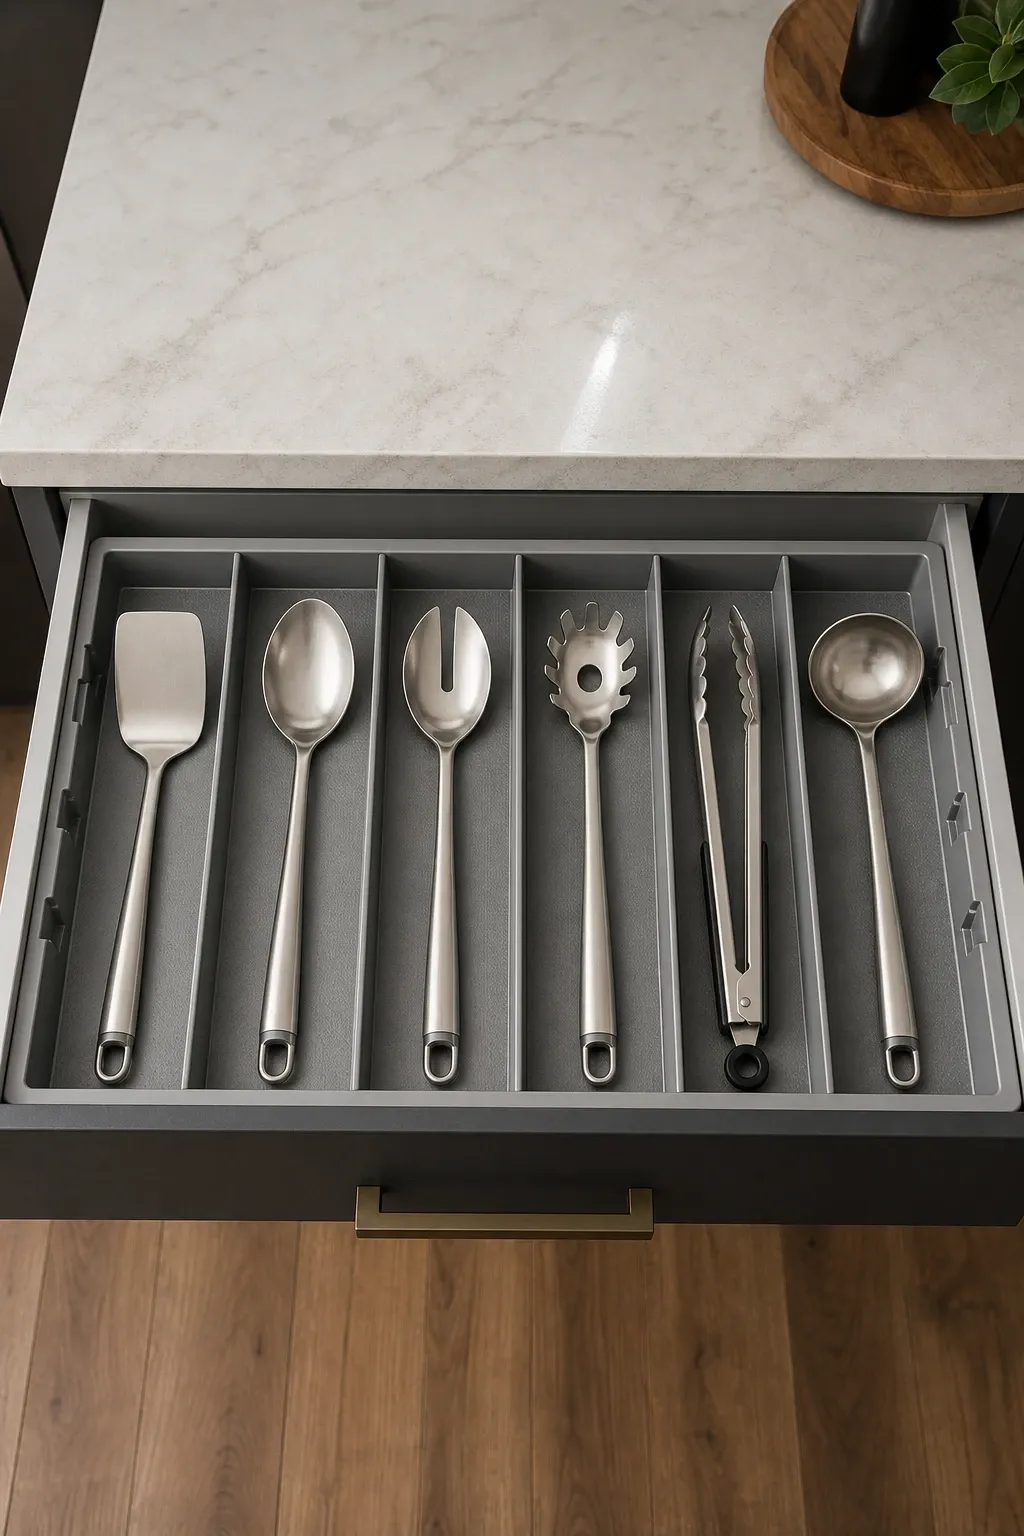
Large cooking utensils like ladles, slotted spoons, turners, and tongs belong in a drawer near the stove rather than in a countertop crock. A drawer keeps them out of sight, protected from grease splatter, and accessible with one hand while cooking. Use dividers to keep each utensil in its own lane so they do not tangle together into a pile that you have to sort through every time you cook.
Designer Tip: Place the utensils with handles pointing toward you for quick grab-and-go access. Handles facing the back of the drawer means you are fumbling to grab the right end of the utensil while something is sizzling on the stove.
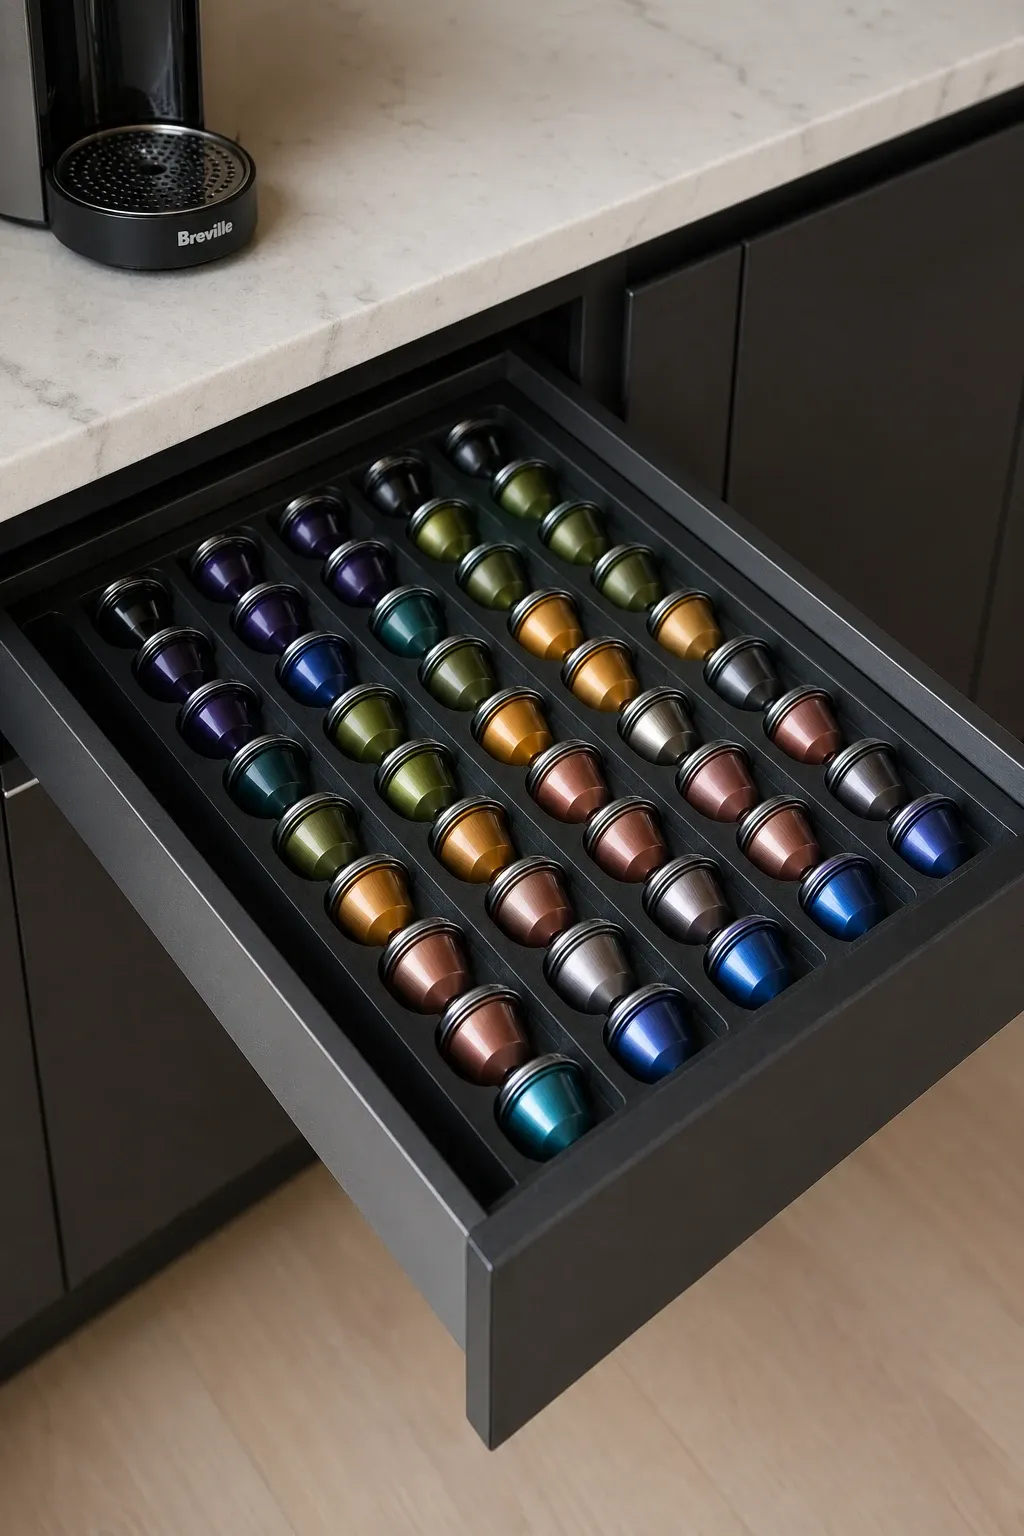
A drawer near the kettle or coffee maker stocked with tea bags, coffee pods, sugar packets, and stirring spoons creates a self-contained beverage station. Stand tea boxes upright so you can read the labels from above. Coffee pods fit neatly in a grid organizer. This keeps the counter clear of boxes and bags and puts everything for making a drink within arm reach of where you make it.
Designer Tip: Keep only what fits comfortably in the drawer and store backup stock elsewhere. An overstuffed beverage drawer is hard to use and items get crushed. The drawer is for daily use. The pantry is for backup supply.
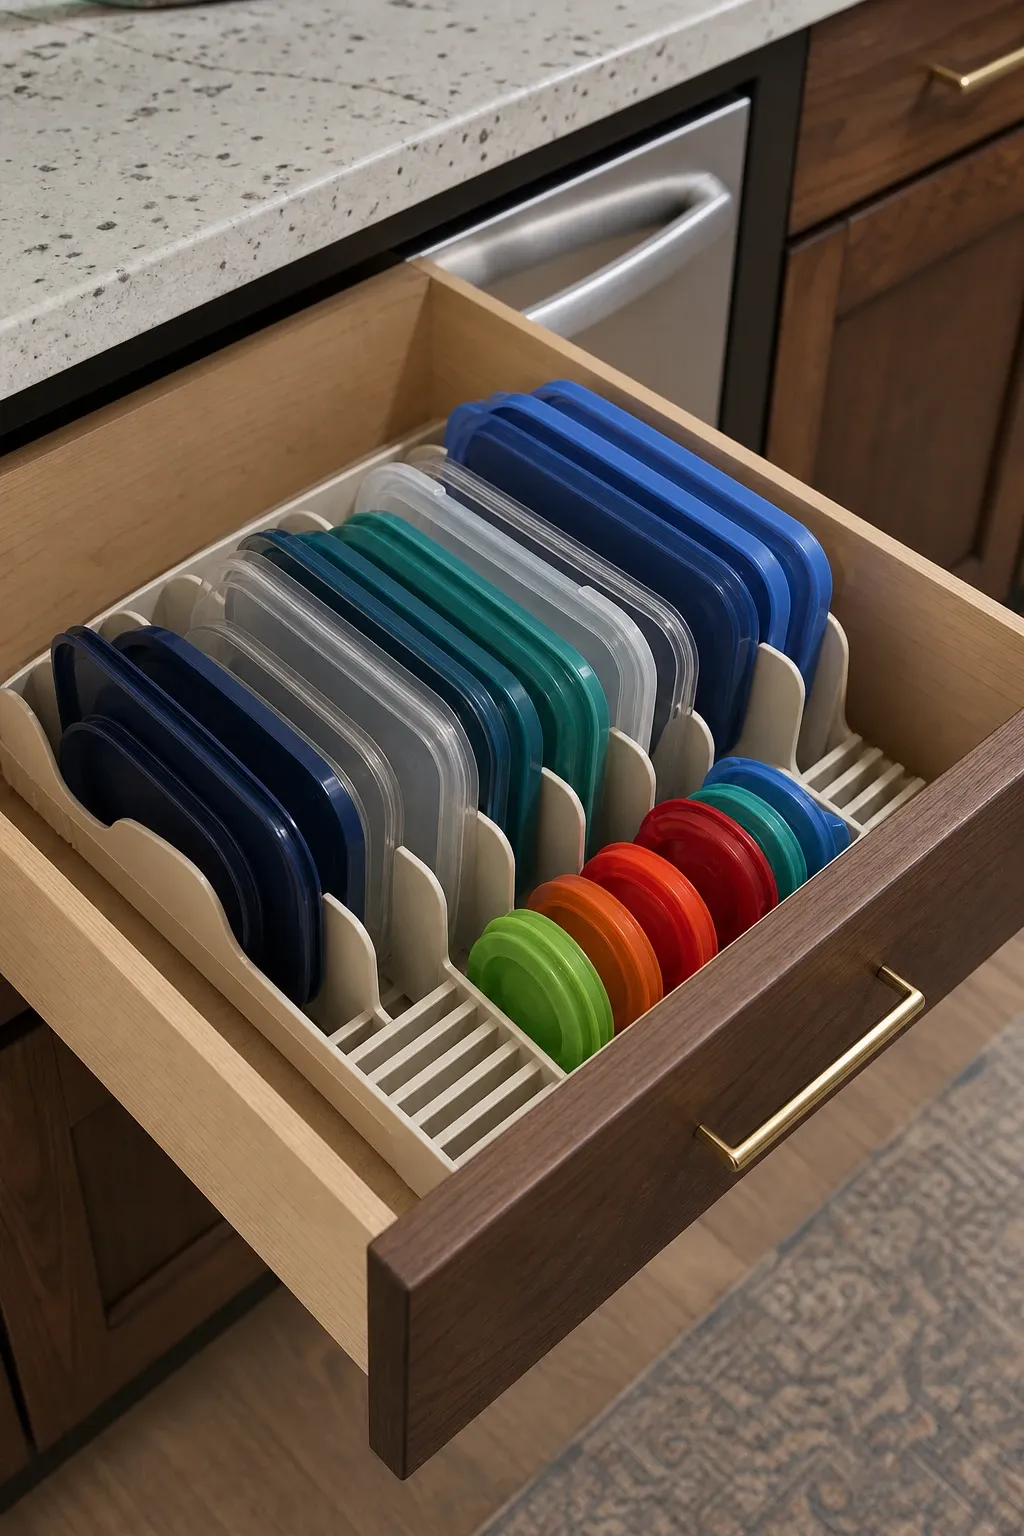
A drawer dedicated to container lids solves one of the most common kitchen frustrations. Stand lids upright in a file-style organizer so you can flip through them like records in a crate. This makes finding the right lid fast and prevents the avalanche of lids that falls out every time you open the container cabinet. Separating lids from containers sounds wrong but it actually makes both easier to access.
Designer Tip: Match your lids to your containers and get rid of any orphans before organizing. Orphan lids that do not match any container just waste space and create confusion. A quick matching session before organizing saves frustration later.
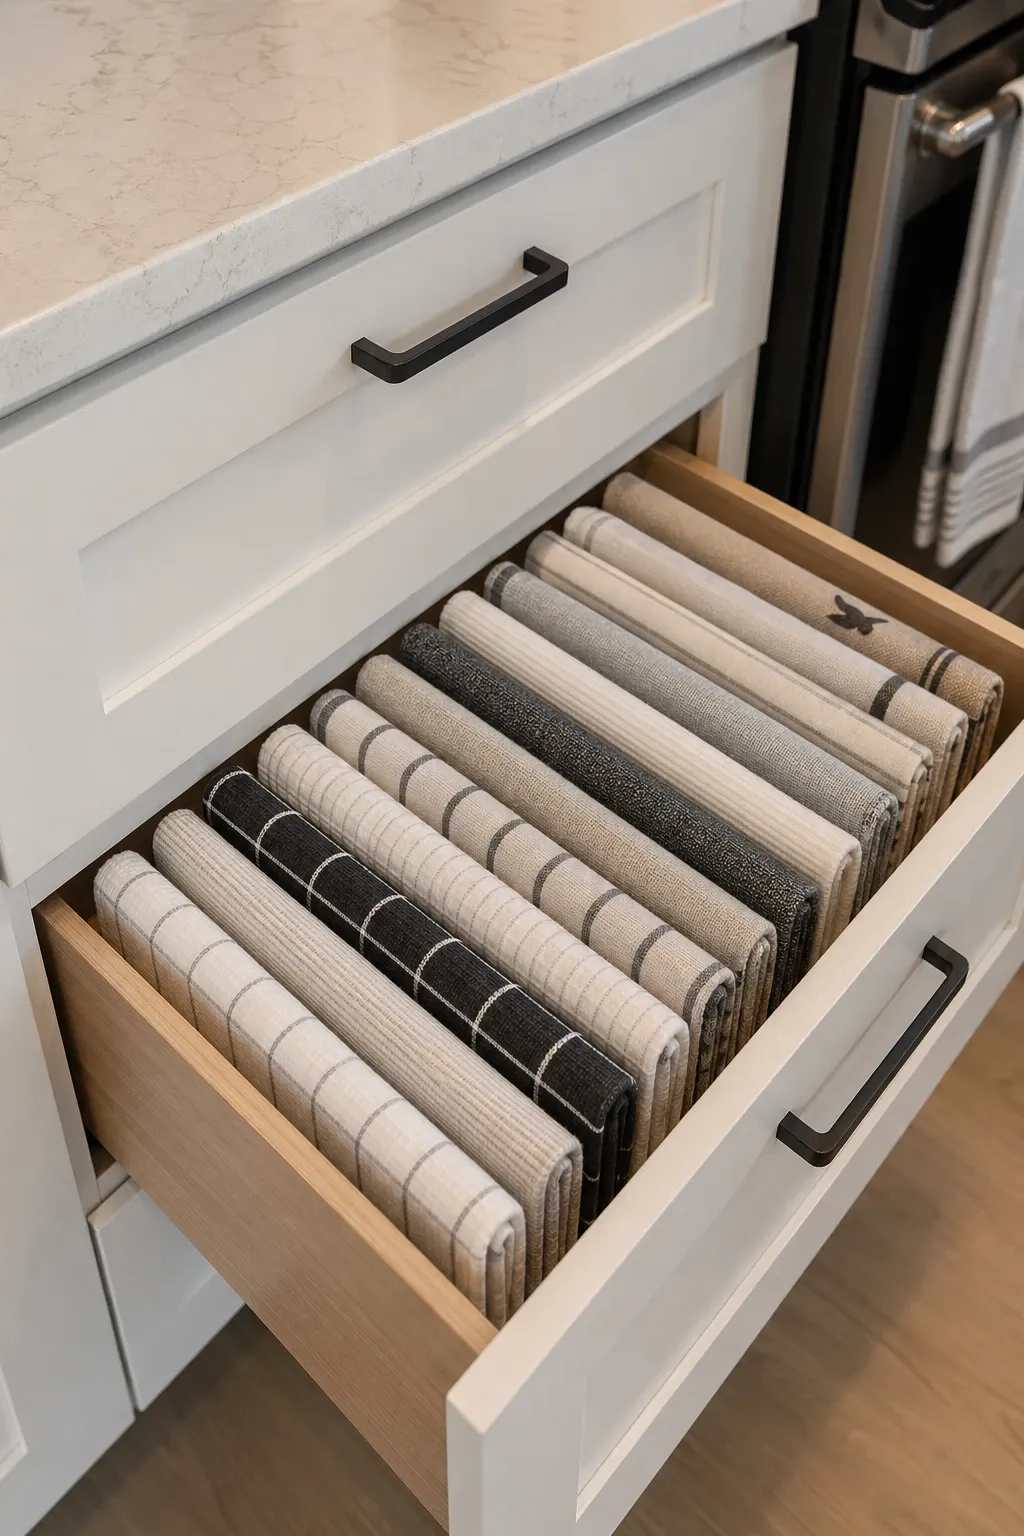
A drawer for kitchen towels, dishcloths, and oven mitts keeps these items accessible and out of sight. Fold or roll towels so they stand upright in the drawer. You can see every towel at a glance and pull one without disturbing the others. This is much tidier than a towel bar where used and clean towels hang together, and it keeps oven mitts where you can find them instead of shoved in a random cabinet.
Designer Tip: Roll towels instead of folding them. Rolled towels fit more compactly, stand upright on their own, and you can see the color or pattern of each one. Folded towels tend to unfold when you pull one from the middle of the stack.
Small labels on the inside front of each drawer tell everyone in the household what goes where. Labels make the system maintainable because other people in the house know where to put things back. Without labels, you are the only person who knows the system and you end up reorganizing constantly. A label maker or handwritten tags on the inside of the drawer front keep the system running without your constant supervision.
Designer Tip: Label what the drawer is for, not what is currently in it. “Baking Tools” is better than listing every item. Category labels stay accurate even when specific items change, which means you do not have to remake labels every time you add or remove something.
The key to kitchen drawer organization that lasts is giving every category of item its own drawer and every item within that drawer its own spot. Start with the drawers you open most often and work outward. Invest in liners and dividers for those high-traffic drawers first. Once the most-used drawers are sorted, the rest follow naturally because you have freed up space by moving items to their correct homes.
Frequently Asked Questions
How many kitchen drawers do I need for good organization?
Most kitchens work well with a minimum of four organized drawers: one for everyday utensils, one for cooking tools, one for wraps and storage supplies, and one for the junk drawer. If you have more drawers available, dedicated drawers for knives, spices, baking tools, and linens make the kitchen run even smoother.
What is the best material for drawer organizers?
Bamboo and molded plastic are the two most durable options. Bamboo looks better and resists moisture well. Plastic is lighter, cheaper, and easier to clean. Avoid cardboard organizers in the kitchen because they absorb moisture and break down over time.
How do I keep kitchen drawers organized long term?
Labels, liners, and a monthly five-minute check. Labels tell everyone where things go. Liners keep items from sliding. The monthly check lets you toss broken items, return misplaced items to their correct drawer, and catch disorganization before it spirals. Consistency matters more than perfection.
Should I organize drawers by item type or by activity?
Organize by activity when possible. A baking drawer with all baking tools is more useful than having measuring cups in one drawer and whisks in another. Activity-based grouping means you open one drawer and have everything you need for that task. It reduces trips between drawers while you are cooking.